1986 Subaru Leone RX TURBO STi

Detailed reference pages on Members special projects ...
User avatar
nico leone
Junior Member
Posts: 127
Joined: Sun Feb 09, 2014 11:12 pm
Location: Hamilton Ontario Canada

Post by nico leone » Mon Feb 10, 2014 12:10 am

well the season is done for me and I got out on the track a couple times more for fun to test out my new brake pad's, the pad's helped out a bit more but still need more work.

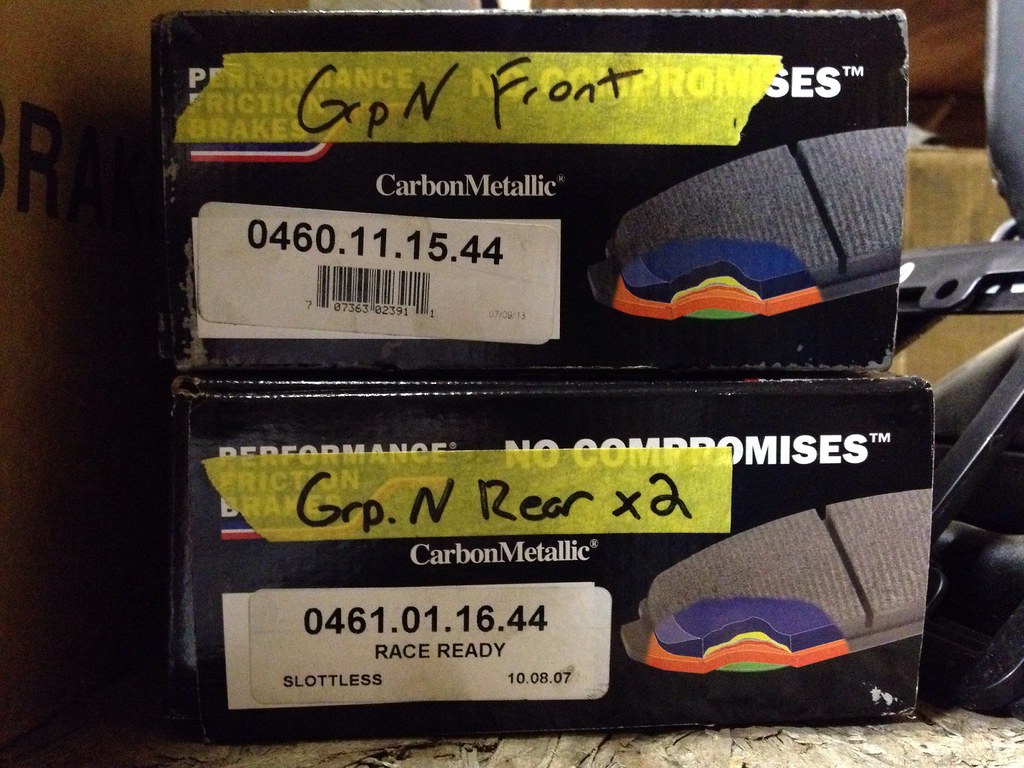
PFC 01 compound group N pad's work well very well, lots of dust but rather stop then not.
Image

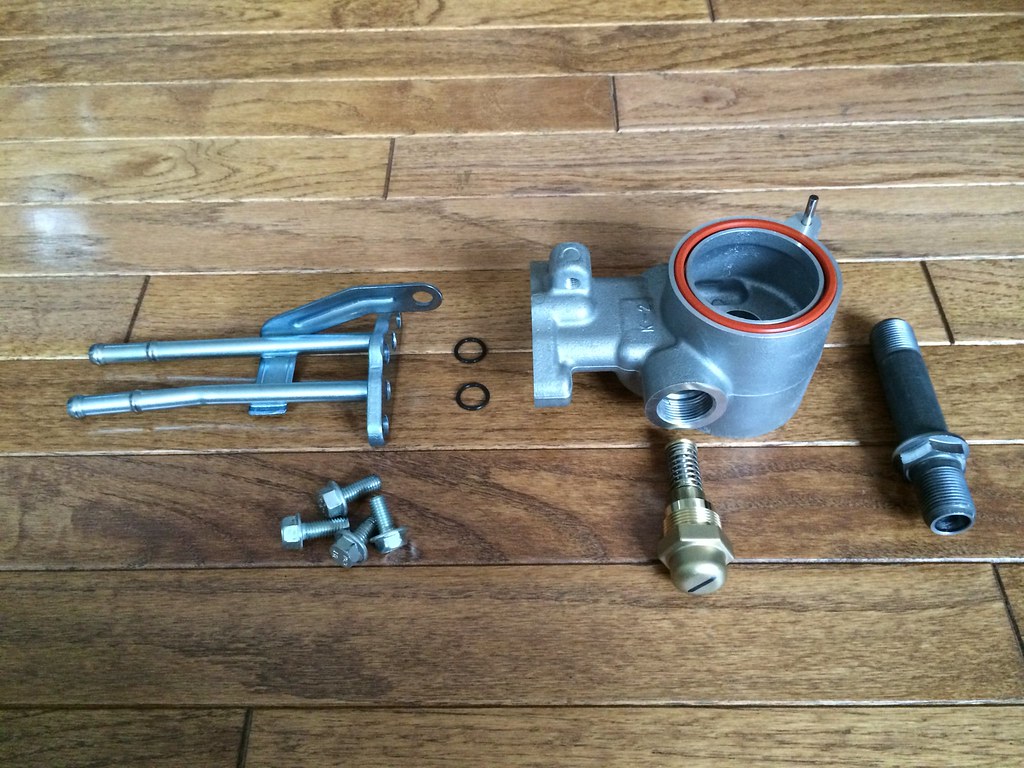
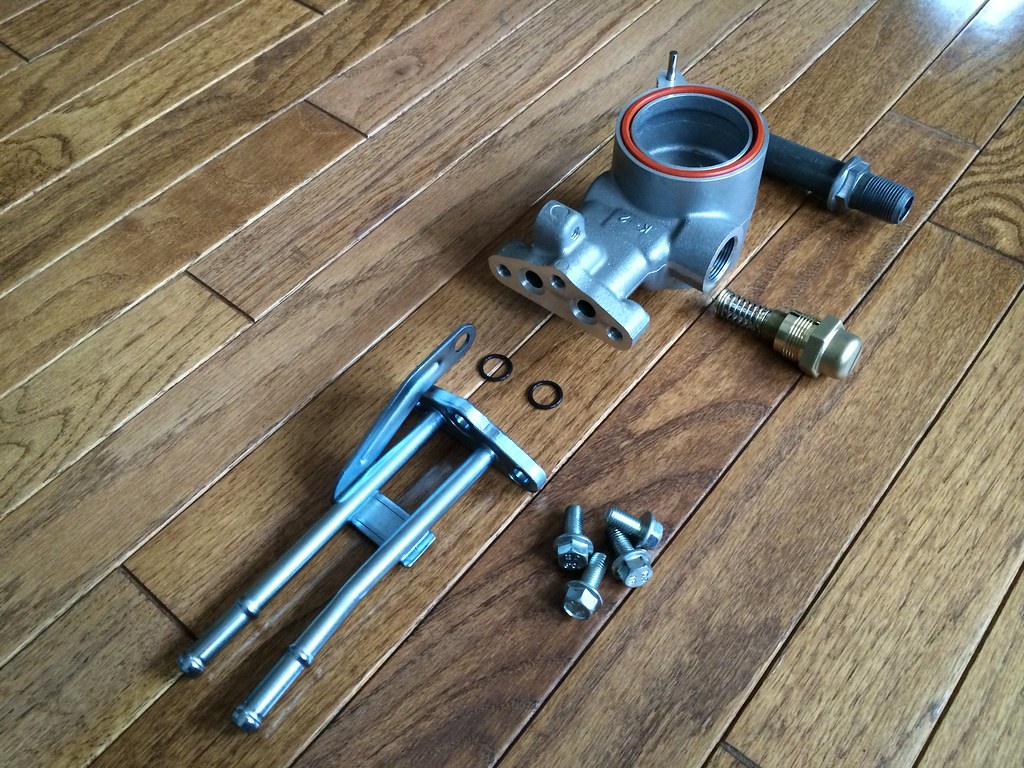
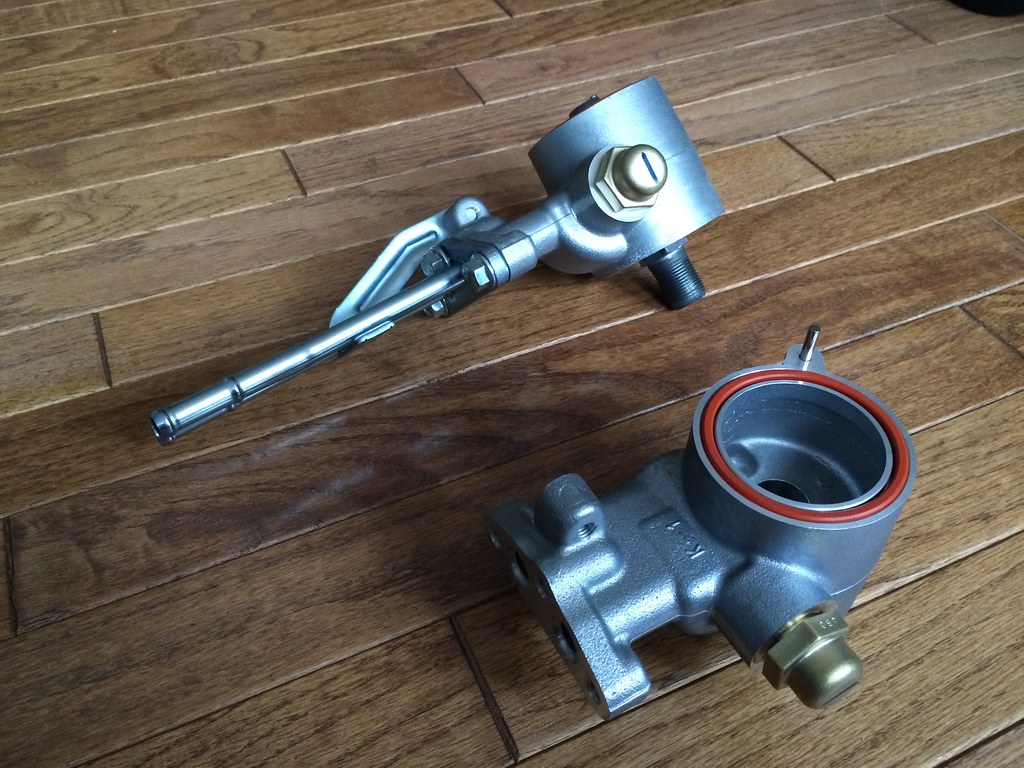
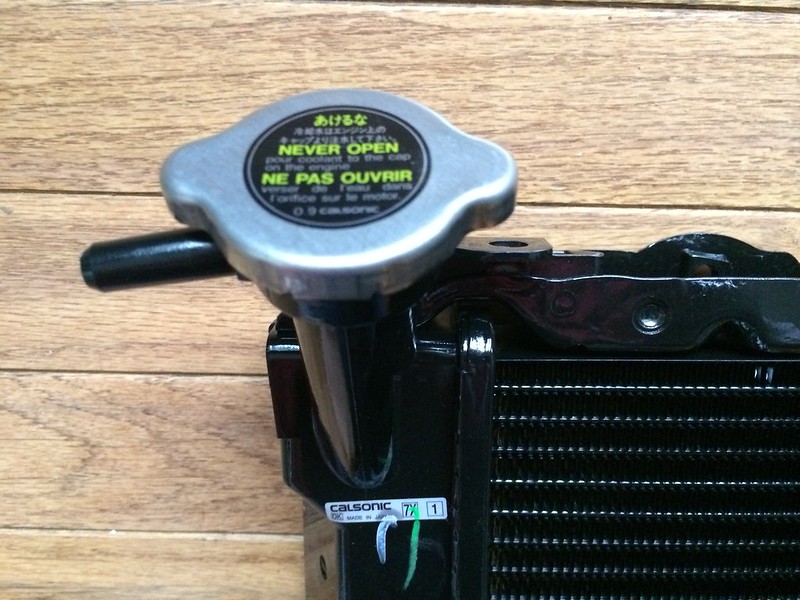
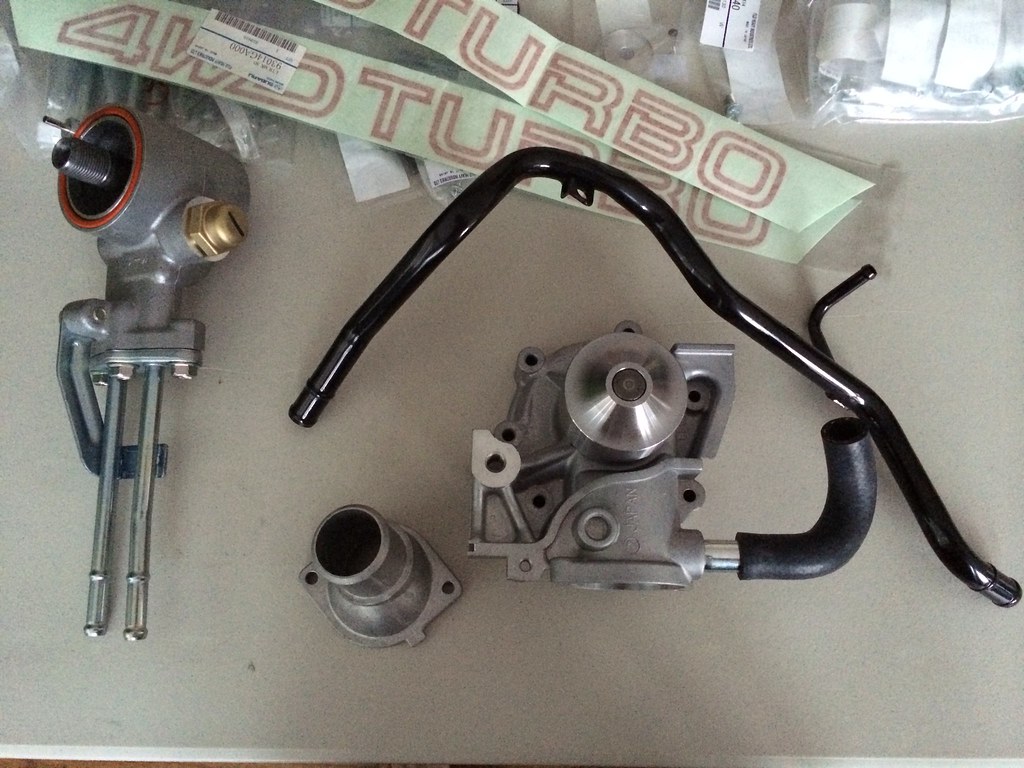
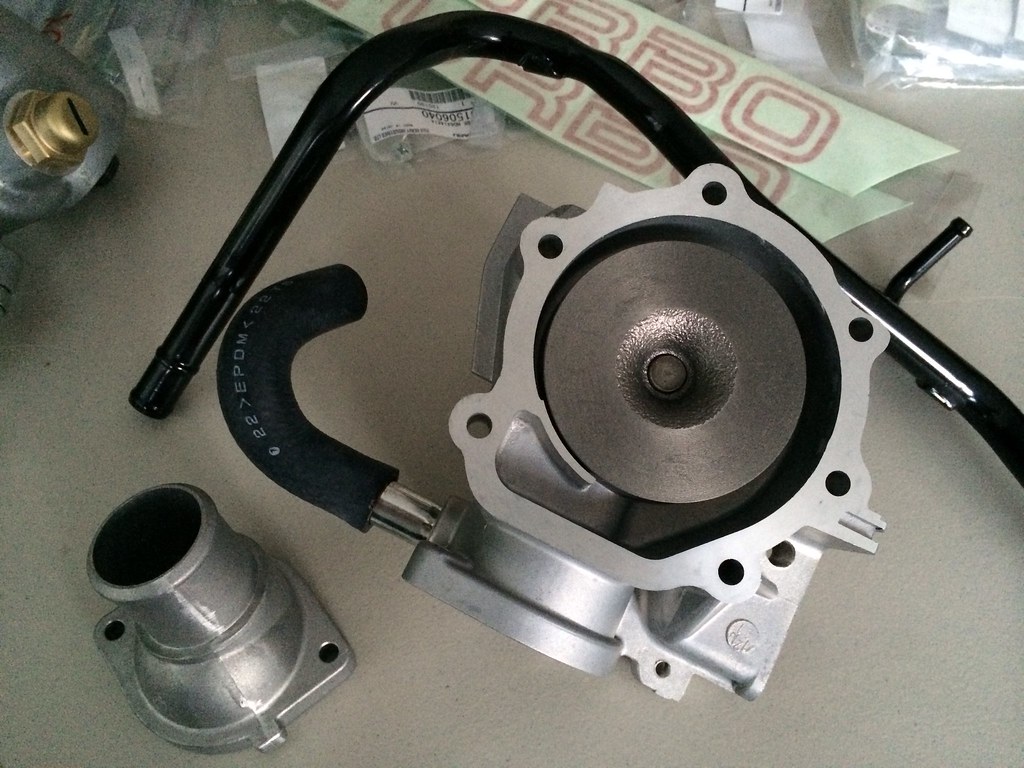
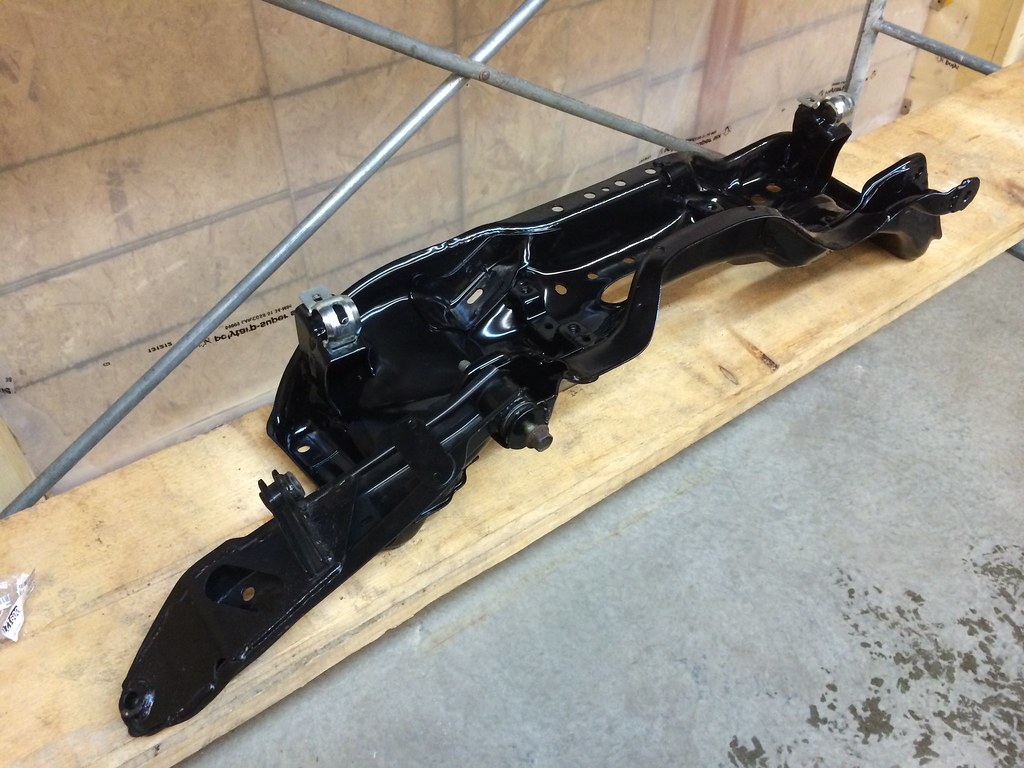
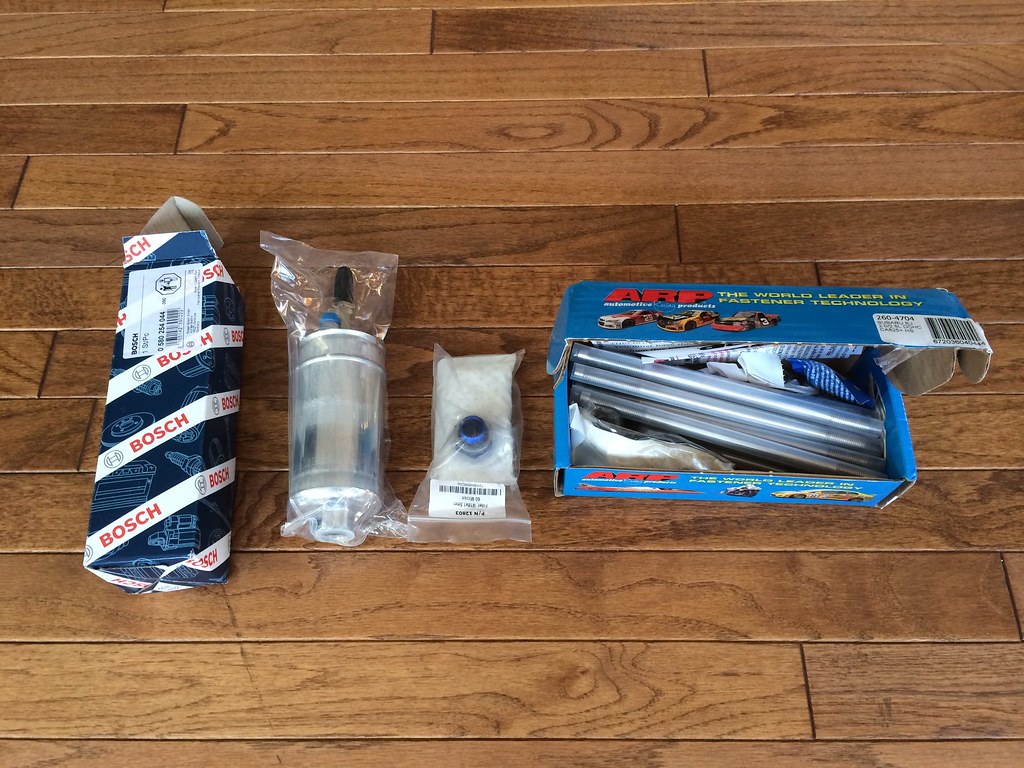
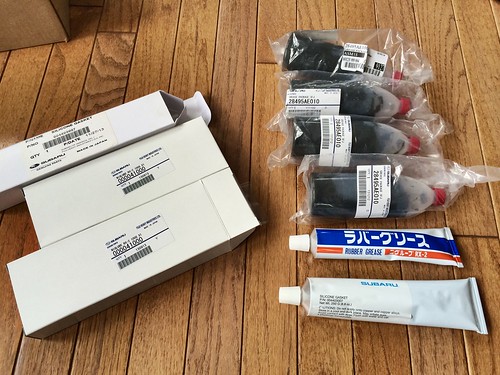
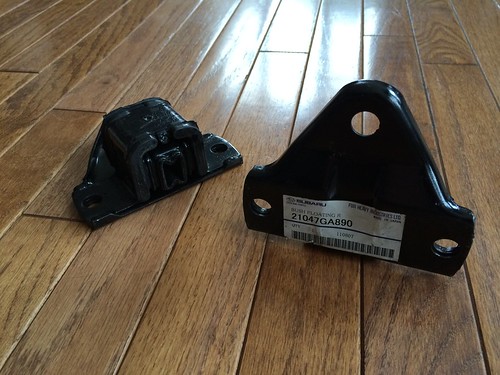
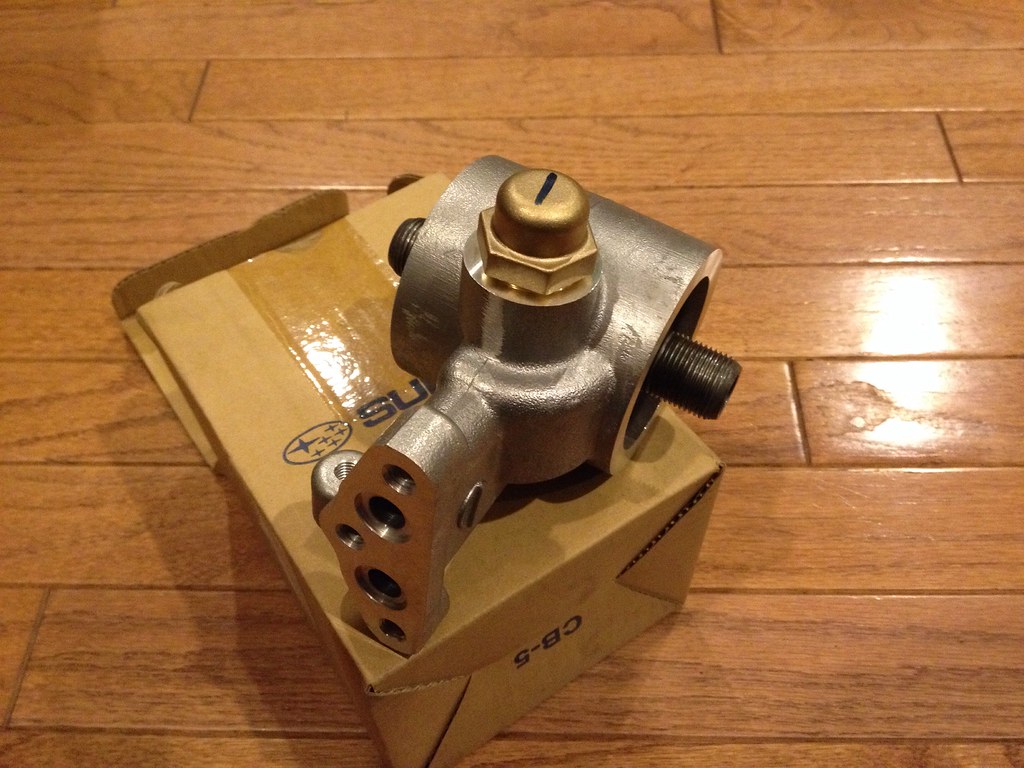
S203 S204 Spec-c Ra R oil cooler adapter factory from subaru oem has come in. built in thermostat opens at 100 C and OEM Made In Japan By STi no other adapter is better !
Image


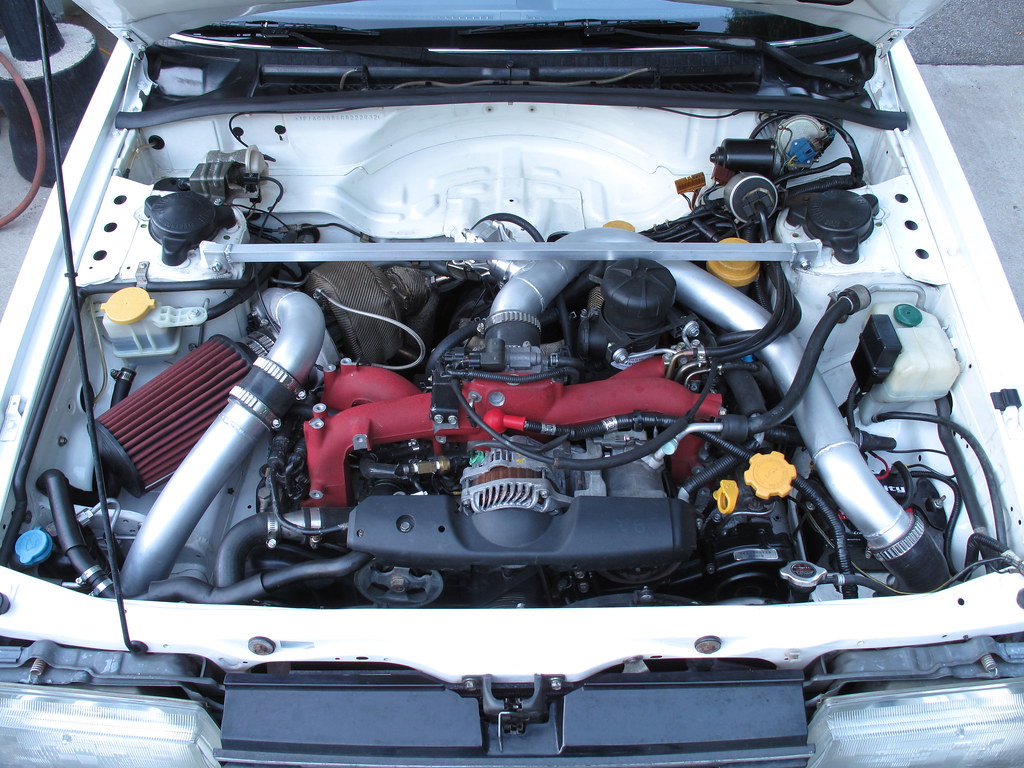
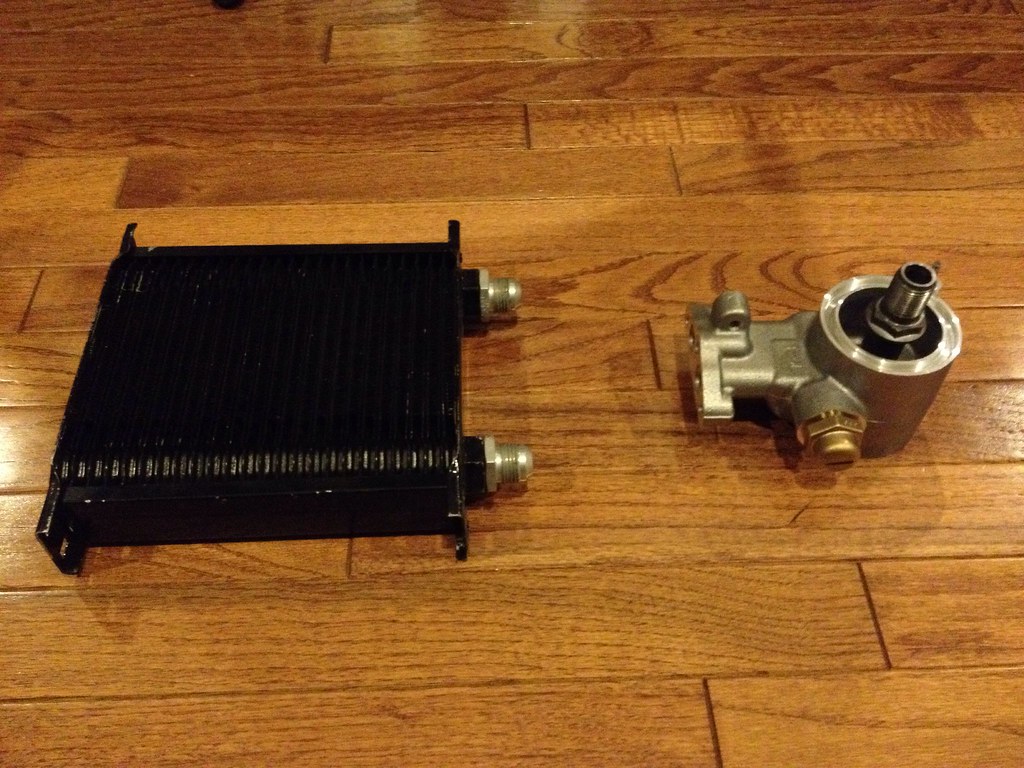
my spare earls cooler should do the job, got rid of A/C for this set up :( lol
Image


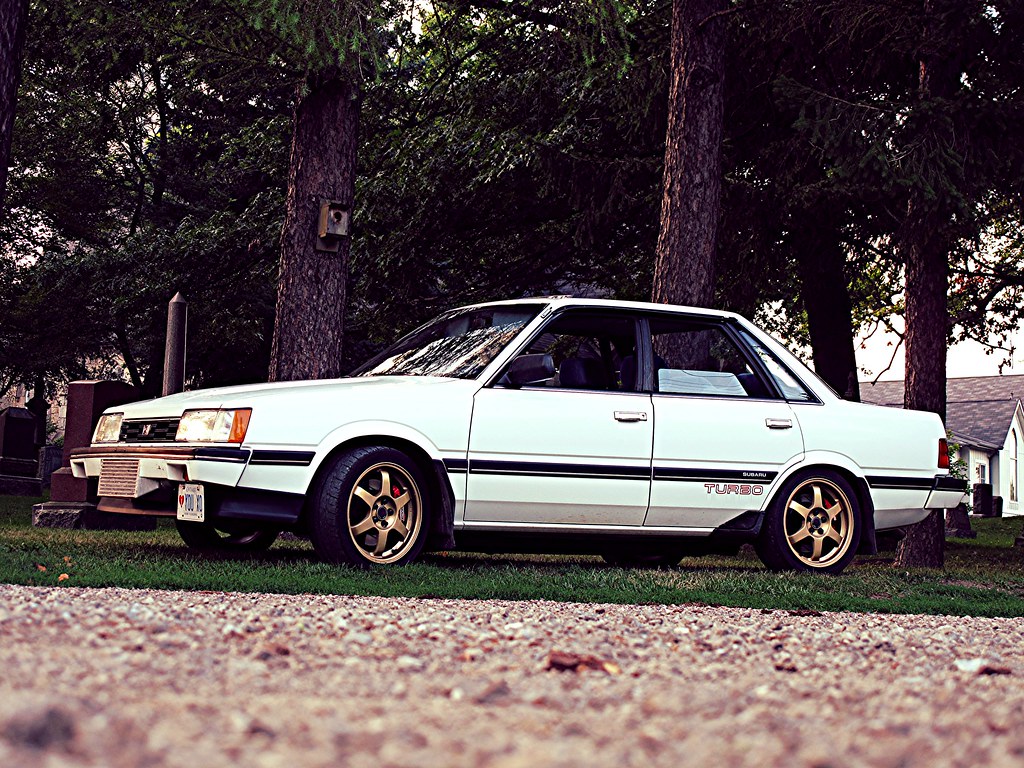
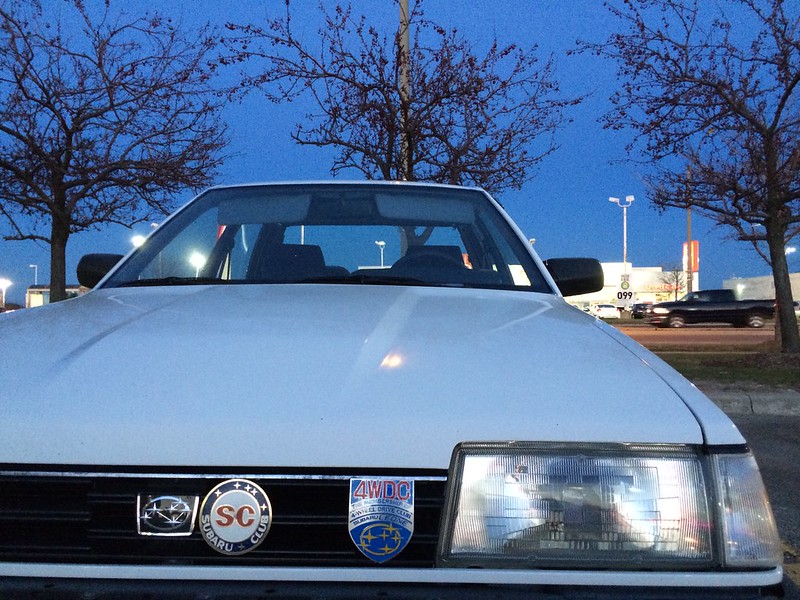
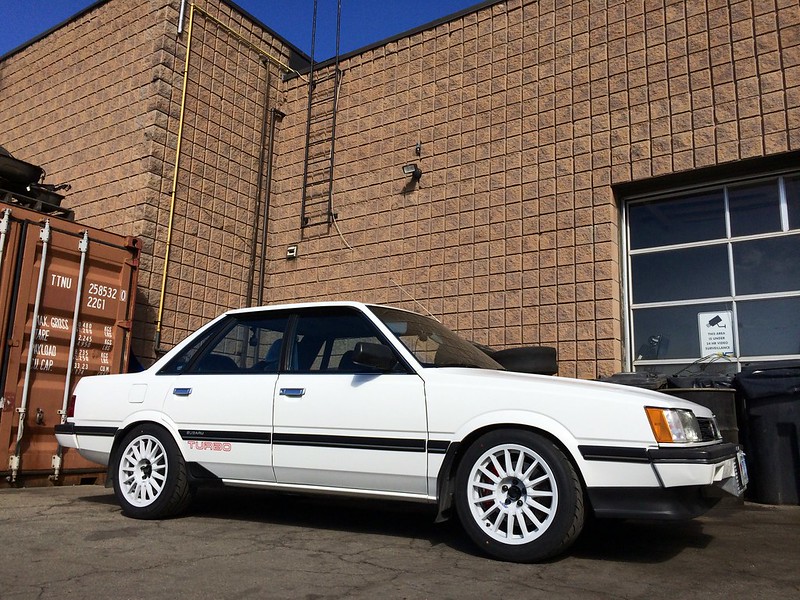
I put the 86 Subaru Leone away for the season but next year to do lit will be fun.

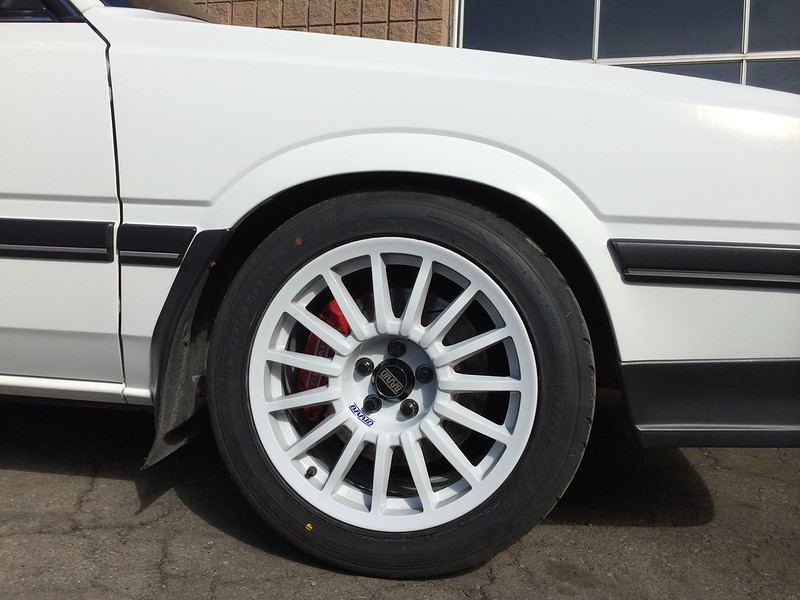
wider sticky tires + smaller wheels 15"
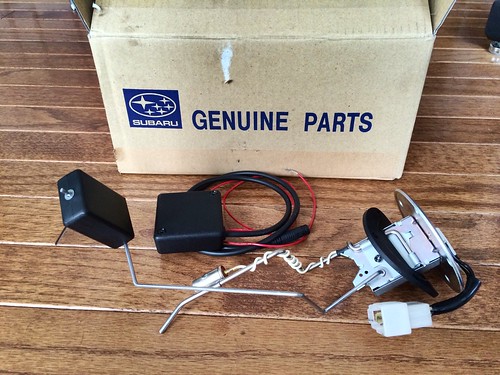
Race gas tune 500hp DD it
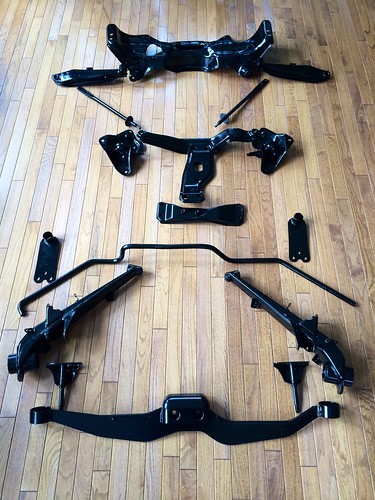
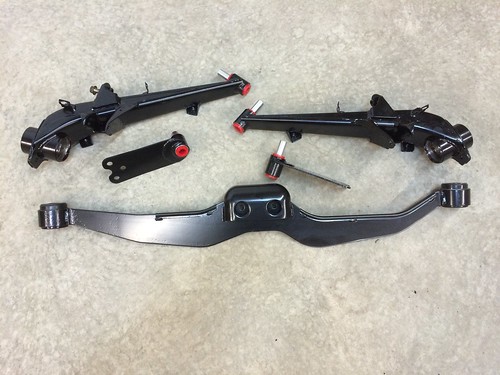
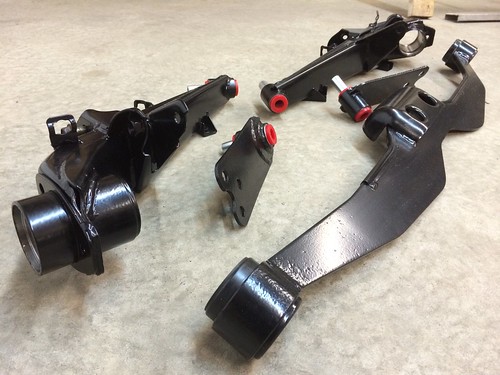
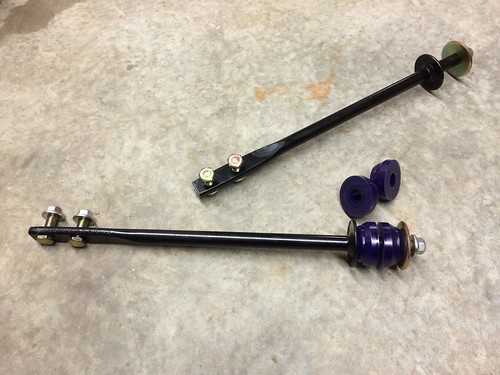
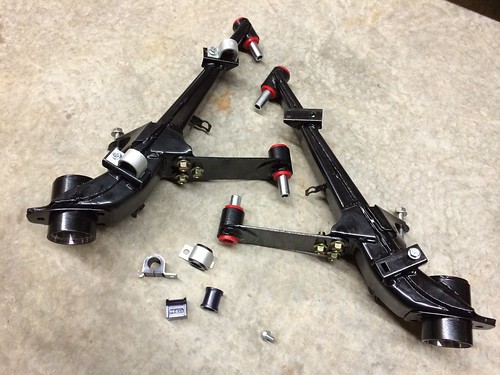
better suspension stiffer springs
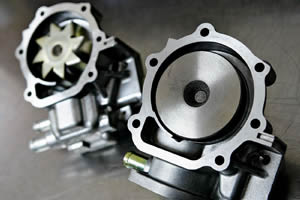
STi oil cooler
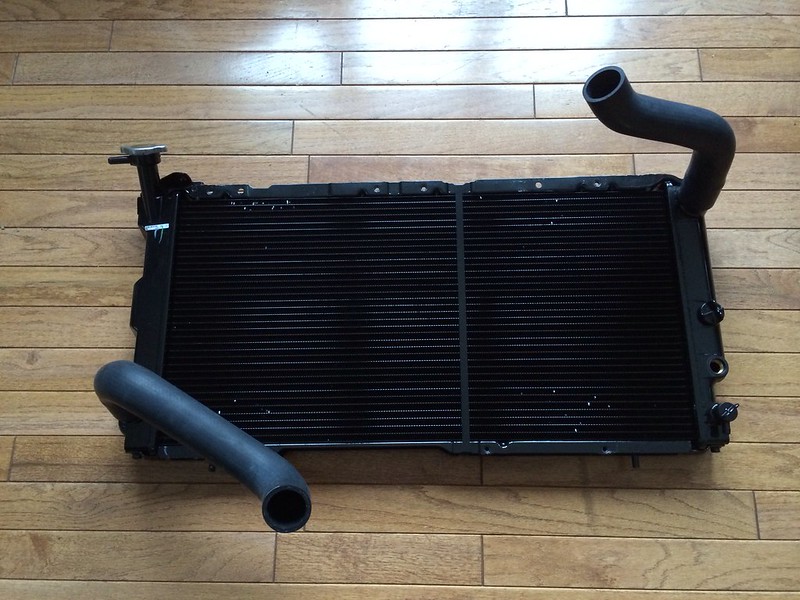
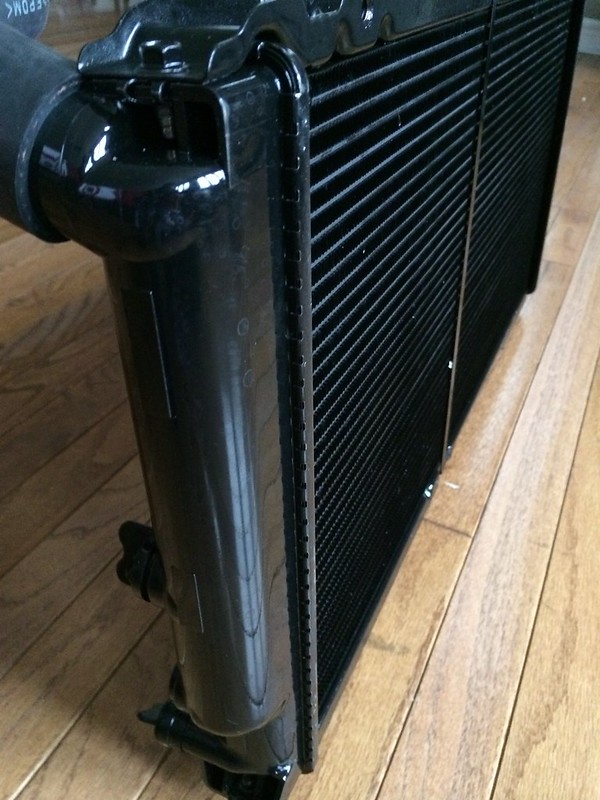
BRZ koyo rad install


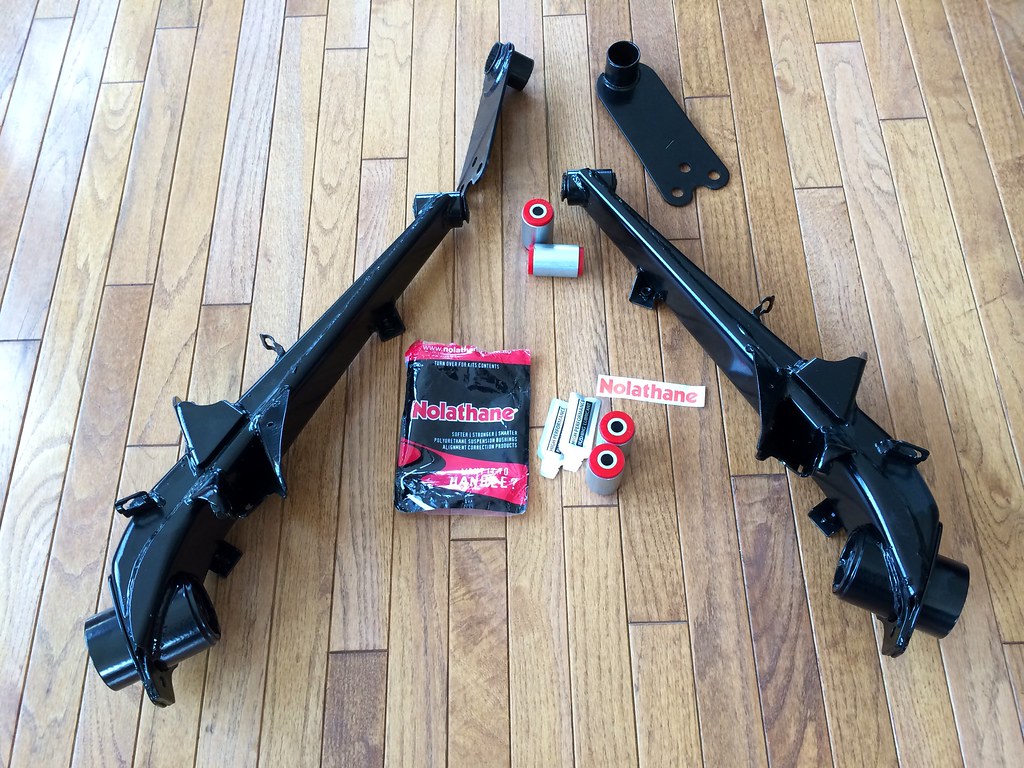
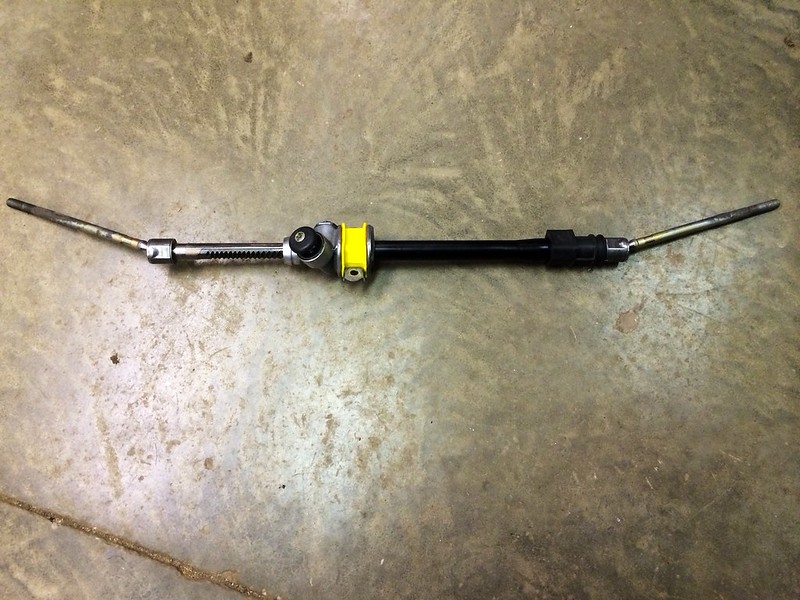
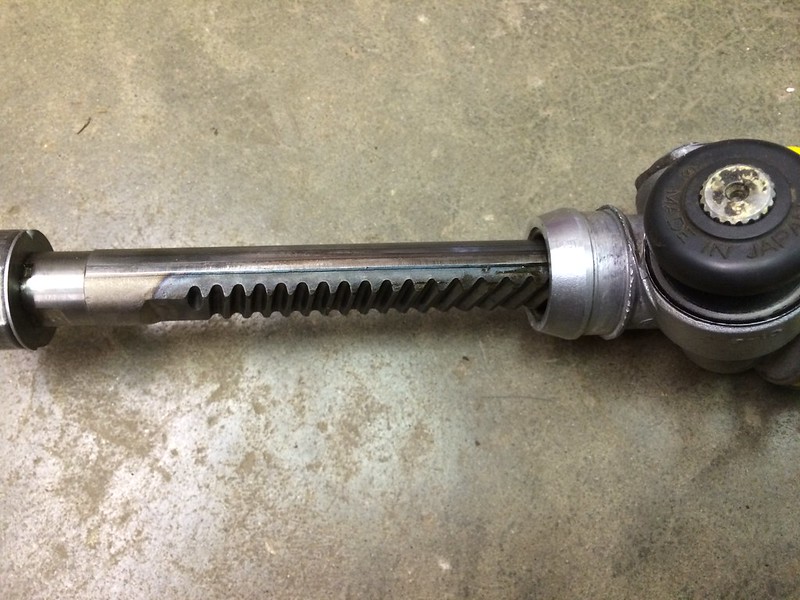
i also was going to swap out my STi Spec-c 6mt 3.900 to my S204 STi 6mt 3.545, but its now in my winter beater (99 Nico). i think my winter beater will be more in need of longer gearing next spring when i do the motor swap.

http://forums.nasioc.com/forums/showthr ... ?t=2558289


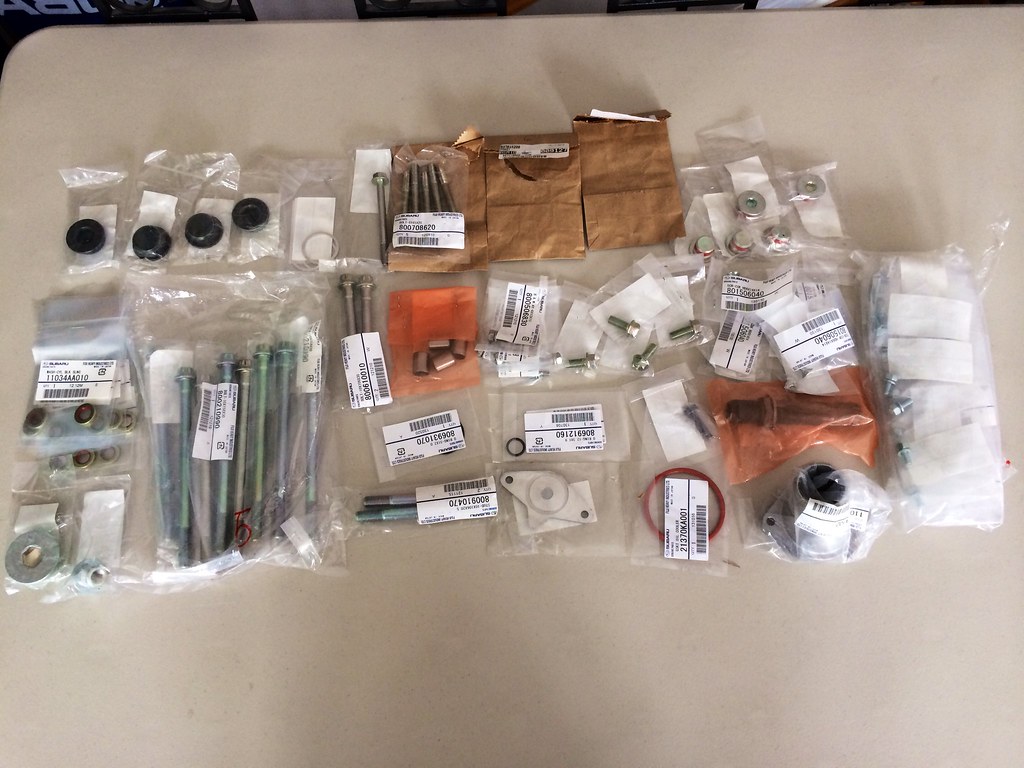
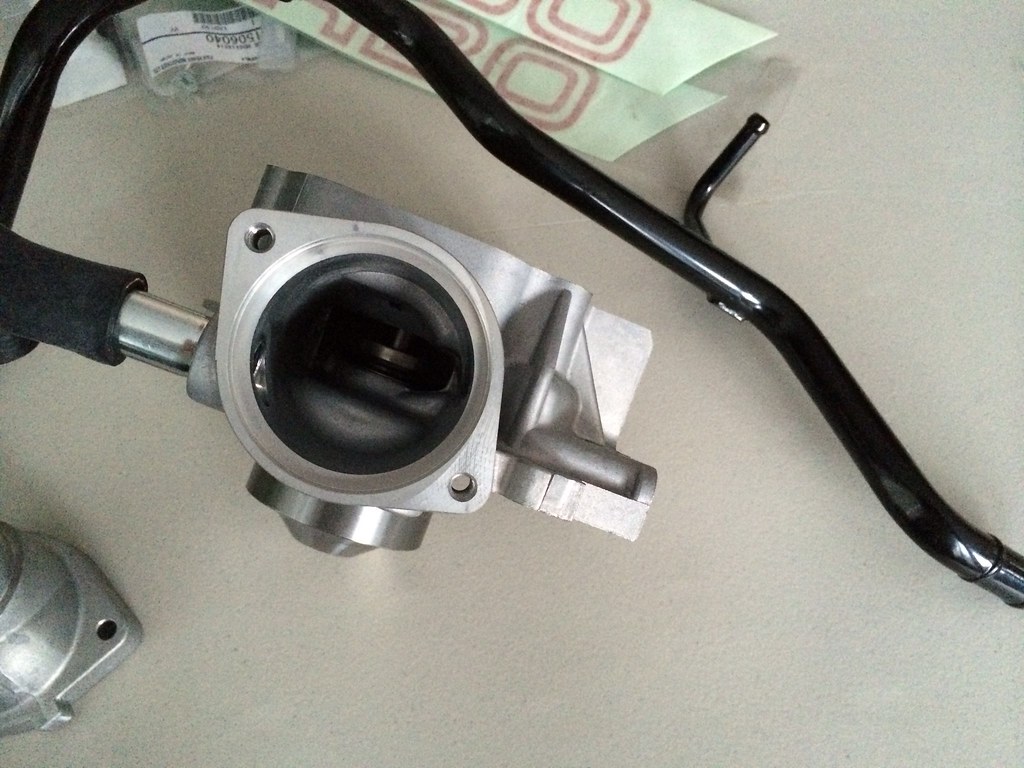
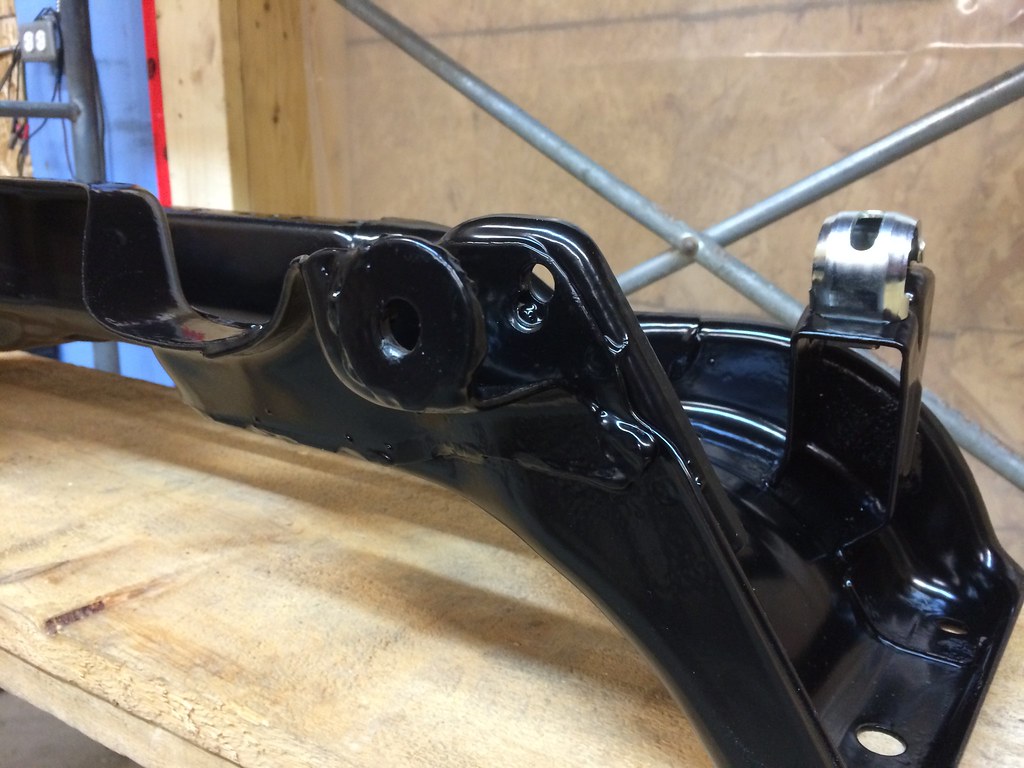
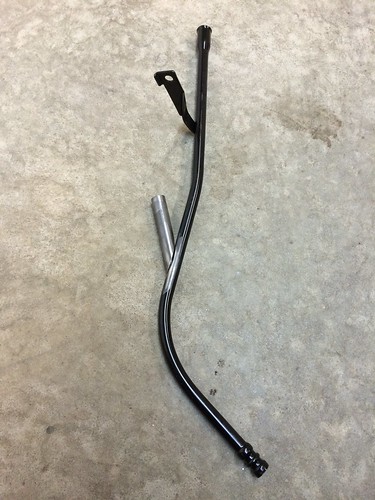
well cooler bits arrived now got to figure out should i tap for threads or use hose and clamps system.

STi JDM Spec-C, RA-R, S204, S203, oil cooler adapter
Image

Image

Image

User avatar
nico leone
Junior Member
Posts: 127
Joined: Sun Feb 09, 2014 11:12 pm
Location: Hamilton Ontario Canada

Post by nico leone » Mon Feb 10, 2014 12:11 am

very excited about this radiator ! its a brand spanking new OEM Subaru 1988 Subaru XT6 2.7L H6 Radiator, its 2 core and also has the proper port size for inlet also outlet as a new EJ motors use.

it's also a perfect match to my EA82T turbo radiator, same size same width same cap location same mount points and also XT6 rad hoses to complete the job.


I wish I new all this from the start of the build, but it sure is going to be sweet next summer on the race track to do more laps in the heat, also the spal fans will bolt up in the same position as the gl-10 turbo mt rad. with the bigger radiator and my oil cooler this should complement the motor very well now.

Image

Image

Image


and my new trunk seal which took a long time maybe it was made for me in japan but it came in also oem subaru for that perfect fit, i had a small rip in mine that i didnt like.

Image

User avatar
nico leone
Junior Member
Posts: 127
Joined: Sun Feb 09, 2014 11:12 pm
Location: Hamilton Ontario Canada

Post by nico leone » Mon Feb 10, 2014 12:11 am

I been slacking on my updates, but most my parts are in for the spare EJ22T motor. i decide to get all new case bolts washers caps pretty much everything lol.

Image


also got a new weather stripping for the hood, the original one had a small tear in it.

Image


also picked up the original stickers for my rear doors, i have turbo on the door from factory but my car was a FWD not AWD... so i have to give it the subaru justice of the AWD.

Image

User avatar
nico leone
Junior Member
Posts: 127
Joined: Sun Feb 09, 2014 11:12 pm
Location: Hamilton Ontario Canada

Post by nico leone » Mon Feb 10, 2014 12:12 am

and here we have 2 EJ22T blocks out of 9 cleaned and ready for the shelf for when the time comes, lets hope no more broken motors for 2014 season..

Image


here is the spare EJ22T ill be using and its V9 JDM heads rods pistons all on a wheelie cart lol... this motor will get all the new plugs and JDM oil cooler.


Image

User avatar
nico leone
Junior Member
Posts: 127
Joined: Sun Feb 09, 2014 11:12 pm
Location: Hamilton Ontario Canada

Post by nico leone » Mon Feb 10, 2014 12:12 am

here is my water pump set up, this pump is for a non turbo Subaru "1990 Subaru Legacy 2.2L NA". There is a couple things special to this water pump which works perfect in my build. The black pipe is coolant heater core pipe single, and the hose adapter is H6 ez30

Image


little back ground on the design


Image

The EJ257 and EJ255 engines are using a low cost stamped impeller water pump that is inferior to this JDM spec closed back cast impeller water pump. The stamped impeller pump is less efficient and more susceptable to cavitation. We suggest installing a closed-impeller pump on any performance or motorsport Subaru engine build


Image


so besides the cast impeller, the inlet port is huge which should help a bit more with coolant flow. on a turbo water pump there is 3 nipple ports... 1 oil cooler... 2 swirl pot... 3 heater core... now because I'm not using a swirl pot and have a rad cap on the rad I can delete that nipple port & the pipe all together.

also my oil cooler has no coolant going into it any more so that port can be deleted also, because of the use of the JDM spec-C S204 adapter.

Image

User avatar
nico leone
Junior Member
Posts: 127
Joined: Sun Feb 09, 2014 11:12 pm
Location: Hamilton Ontario Canada

Post by nico leone » Mon Feb 10, 2014 2:59 pm

is it summer yet ??

Image


Image

User avatar
nico leone
Junior Member
Posts: 127
Joined: Sun Feb 09, 2014 11:12 pm
Location: Hamilton Ontario Canada

Post by nico leone » Thu Feb 13, 2014 10:58 pm

Image


my new momo prototipo steering wheel, its got that old vintage look

Image


more boost with race fuel and a tune fore some real power.

Image

User avatar
RSR 555
Elder Member
Posts: 6951
Joined: Sat Nov 10, 2007 10:42 am
Location: ATM... stuck in Rockingham

Post by RSR 555 » Fri Feb 14, 2014 1:42 am

Damn.. I need to see these pics in private :p

What model is that thermostat housing/water pump inlet piece from? and any of those 9 blocks for sale? I wouldn't mind one a spare for my 22B
You know you are getting old when the candles on your birthday cake start to cost more than the cake itself.

RSR Performance
Home of the 'MURTAYA' in Oz
Subaru Impreza WRX based Sportscar
[SIGPIC][/SIGPIC]

Disclaimer: Not my website but hyperlink here to Subaru workshop manuals

User avatar
El_Freddo
Master Member
Posts: 12502
Joined: Tue Oct 04, 2005 10:00 am
Location: Bridgewater Vic
Contact:

Post by El_Freddo » Sat Feb 22, 2014 8:05 pm

RSR 555 wrote:Damn.. I need to see these pics in private :p
Oh yeah... say no more, say no more :rolleyes:

Nico, great you've made it over here mate! Crazy build you've got going on there!

I'm jelly about the XT6 radiator you've got access to over there!

Keep the awesome pics rolling in - would love to see some in action!

Cheers

Bennie
"The lounge room is not a workshop..."
Image
El Freddo's Pics - El_Freddo's youtube

User avatar
nico leone
Junior Member
Posts: 127
Joined: Sun Feb 09, 2014 11:12 pm
Location: Hamilton Ontario Canada

Post by nico leone » Mon Mar 17, 2014 12:32 pm

RSR 555 wrote:Damn.. I need to see these pics in private :p

What model is that thermostat housing/water pump inlet piece from? and any of those 9 blocks for sale? I wouldn't mind one a spare for my 22B

22b very nice car sir !... I can get more ej22t from here and there but I must keep some on hand for my self.. the shipping will be expensive I think


El_Freddo wrote:Oh yeah... say no more, say no more :rolleyes:

Nico, great you've made it over here mate! Crazy build you've got going on there!

I'm jelly about the XT6 radiator you've got access to over there!

Keep the awesome pics rolling in - would love to see some in action!

Cheers

Bennie

hello again ! I was searching some bushing part numbers up and this fourm came about all Aussie products for my model are still in stock down there so I order a ton of new bushings for my car... soon ill have pics of the new good for my toy very excited for them.


got lots of parts coming in for my toy very excited to fix the little problems and add some new updated bits to make this car more fun a race track this year.


I found a nice GL-10 Turbo cross member from the local scrap yards had it sand blasted and powder coated black for that long lasting effect. also did the USMB washer weld on trick to re locate the control arms a bit further out so I wont have rubbing binding problems any more with the XT6 control arms.

Image


here you can see the old hole with new hole

Image


my spare Bosch 044 came in (might use this for my other build going on will see) and my arp head studs 625+ for the spare motor, still waiting for the new subaru crankshaft to come in from subaru japan to build the block which wont be much longer.

Image

User avatar
FujiFan
Junior Member
Posts: 494
Joined: Sun Oct 31, 2010 8:32 pm
Location: CentralCoast NSW

Post by FujiFan » Mon Mar 17, 2014 11:04 pm

Have been following this build from the start, totally loving it:cool:

This was from post #18
the rear suspension is all old school up top and coilover down town, ill show how i did it very easy to do and keeps all the oem rubbers for when i pick up the ladys and its a nice soft ride !
Please share with us how you mix n match the rear adjustable coilovers with factory upper mounts.

User avatar
nico leone
Junior Member
Posts: 127
Joined: Sun Feb 09, 2014 11:12 pm
Location: Hamilton Ontario Canada

Post by nico leone » Tue Mar 25, 2014 9:16 am

FujiFan wrote:Have been following this build from the start, totally loving it:cool:

This was from post #18


Please share with us how you mix n match the rear adjustable coilovers with factory upper mounts.

sent you a pm and will explain soon all most time to pull the car out of winter storage...


So I been collecting parts for my car now do to everything being Super RARE or no longer available (NLA) from Subaru any more.

just in case I bend something or I need to replace something, some of the stuff is still getting sand blasted and powder coated.


front control arms bushings XT6 only white line # W51458. you must melt out the XT6 bushing and re use the shell for this to work.

top corner in Pic is bushing and shell


there rear mustache bar on the older Subaru's also have a bushing that can be replaced with a white line part number # W91379. this part fits on all new Subaru's T bar holding the diff up. to make this bushing work you must burn out your old metal shell that the bolt goes into, then drill out the white line bushing to the same size as the bolt shell.

pic bushings is in center XT6 control arms you can see them.


there will be more bushing's coming to firm up the ride on my car, I need to measure them still and cross fit from a newer Subaru once all stuff comes in.


Image

User avatar
nico leone
Junior Member
Posts: 127
Joined: Sun Feb 09, 2014 11:12 pm
Location: Hamilton Ontario Canada

Post by nico leone » Wed Mar 26, 2014 1:08 am

today my Nolathane bushings came in for my Subaru XT6 control arms, for people that never heard of Nolathane, there the owner of Whiteline which is more popular in north america then in Australia but the boys down under know all this all ready lol.


Now I'm waiting for my other bushings from SuperPRO which should cover the rest of my underside bushings and give me that firm more responsive ride around the race track this year.


Nolathane # 46200
direct swap made with the shell


Image

User avatar
nico leone
Junior Member
Posts: 127
Joined: Sun Feb 09, 2014 11:12 pm
Location: Hamilton Ontario Canada

Post by nico leone » Fri Mar 28, 2014 10:21 am

I got my 2015 Subaru Impreza STi shift knob, looks good in red match my horn button now.

Image

User avatar
nico leone
Junior Member
Posts: 127
Joined: Sun Feb 09, 2014 11:12 pm
Location: Hamilton Ontario Canada

Post by nico leone » Tue Apr 01, 2014 12:01 pm

here is the drain back for the dip stick for the Mann Hummel Provent 200 set up I have made... this is for a friend of mine which has a built Subaru also, same design as my original one I made for my Leone.

ill also be making a easy adapter for the inlet on the Provent 200, so its easy to connect the block vent and valve covers all in one tube with out making back pressure free flowing for better movement of air.

used a stand grinder then cleaned up with a file and deburring tool.
Image

ill weld this up and paint it so it stays nice and clean rust free.
Image

Image


when building a subaru motor fuji bond or fixing the brakes RX2 grease and servicing the cv axles and cv boots you got the proper grease from subaru !

Image

User avatar
nico leone
Junior Member
Posts: 127
Joined: Sun Feb 09, 2014 11:12 pm
Location: Hamilton Ontario Canada

Post by nico leone » Wed Apr 02, 2014 10:11 am

well I finished the welding the dip sticks for the return line for the Provent 200. I also made a adapter piece because I have had a couple say the pipes inlet are to big and hose will not fit this and that...

the pipe I made is for the block vent and both valve covers, came out ok should do the trick and not block as much air as T ing the tubes up.. more air you can move the better.

Image


all the under side of a GL / XT / XT6 / Loyale sand blasted and powder coated to last a long time... Turbo cross member, XT6 arms front rear, XT6 20mm sway bar, XT6 5mt or 6mt cross member. I'm just missing the rear cross member which I need to find a spare to work with.

Image


Whiteline & Nolathane bushings in place now got to do new wheel bearings and there done.

Image

Image

User avatar
nico leone
Junior Member
Posts: 127
Joined: Sun Feb 09, 2014 11:12 pm
Location: Hamilton Ontario Canada

Post by nico leone » Fri Apr 04, 2014 9:03 am

with the help of Franz @ DieboldAutosport he pointed me in the direction of Karim @ Lachute Performance for this Aim Fuel level adapter for a Subaru.

the Aim dash needed a converter to give it proper signal on a factory fuel sending unit. The sending unit is for the OEM subaru Analog dash in the 1986 ~ 1994 Subaru GL or Loyale, my Oem unit was a digital dash so it need to be changed to the different Ohm unit.

Image

User avatar
nico leone
Junior Member
Posts: 127
Joined: Sun Feb 09, 2014 11:12 pm
Location: Hamilton Ontario Canada

Post by nico leone » Fri Apr 11, 2014 11:33 am

so I just got most of the SuperPro bushings in and new bolts nuts washers every where from Subaru oem :D


80's Subaru radius rod SuperPro # SPF2534K for 18mm bar, check your bar width if you decide to get these. this are made so much better then the whiteline ones that don't even fit in the socket.

Image


80's Subaru 4WD Differential Pinion Mount Bushing, press bushing out melt out middle add SuperPro # SPF3005K with lots of grease and your done... last year I used a newer whiteline bushing from a impreza this year ill use the proper one. New oem subaru bolts and nuts are on back order still.

Image


88 - 91 Subaru XT6 rear hubs 20MM sway bar, this was a tricky one had to cross reference Nolathane XT6/Vortex number to these proper bushings from SuperPro # SPF0361-20. Oem brackets bolts and nuts from Subaru

Image


some people didn't get to see my Before & After pics, I had to get the ball rolling so I just got another spare set of XT6 5x100 rear set up in and this is what they look like from the wrecker's

Image


STi 6mt Gear-linkage, Support Bar, Front Bush SuperPro # SPF2462K

Image


80s Subaru Rear suspension mounts oem Subaru with SuperPro # SPF2755SK for the shock absorber's to give less movement in the control arm. you only need 4, I'm working on my next project car.

Image

User avatar
nico leone
Junior Member
Posts: 127
Joined: Sun Feb 09, 2014 11:12 pm
Location: Hamilton Ontario Canada

Post by nico leone » Sat Apr 26, 2014 2:39 pm

80's Subaru oem rear cross member bushing, this one is going to be tricky to upgrade. ill have to come up with something even cut the bushing mount out and weld up something to a newer style. I have a couple idea's in my head, but ill need to think of a good way to stiff this up. one idea is getting it made solid out of aluminium... there is also one more bushing in the rear cross member, it hasn't come in yet once I get that one to play with ill know where to start.

Image


Image

User avatar
nico leone
Junior Member
Posts: 127
Joined: Sun Feb 09, 2014 11:12 pm
Location: Hamilton Ontario Canada

Post by nico leone » Sat Apr 26, 2014 2:41 pm

finally found one of these (really found 2 one for the spare build I got in the works). Manual steering rack OEM Subaru VGR ( variable gear ratio ) which means, less weight, less heat, less stress on the motor.

Image

VGR teeth change

Image


right from Japan antic vintage Subaru grill badges for my Leone and the keys also. I'd Like to thank Billy @JPNHunt for getting me this stuff !! great guy to deal with if anyone is wondering !!

Image


Image


I didn't think they would fit, lots of late night number crunching worked.... 225/45/16 DUNLOP DIREZZA ZⅡ + 16x8 et45 Braid custom made rally wheels just for the perfect fit.

Image

Image

Post Reply

Return to “Restorations and Project Build Ups.”