Brumby Lift kit first time - Part 1

Tips & Tricks to get the most out of your ride ...
Post Reply
User avatar
ashleyn
Junior Member
Posts: 91
Joined: Fri Oct 28, 2005 10:00 am
Location: Perth WA

Brumby Lift kit first time - Part 1

Post by ashleyn » Sun Jul 17, 2011 8:38 pm

So having gone through this for the first time, I promised to post my experience so that other newbies could benefit.

I bought the kit from Jeff @ Crossbred and on opening the box found the instructions consisted of a picture of the components. I went into instant meltdown and started posting various experts to see if someone would fit it for me. Well of course everyone is busy doing their own thing so after some weeks, I emailed Jeff and asked if there was a 'lift kit for dummies' guide. He then provided a pretty good step by step and I supplemented that with other posts on the subject and a few phone calls to Jeff along the way.
So here we go then.
1st up tools you will need are :
Socket set 12, 14, 17, 19mm, breaker bar.
Axle stands and a couple of jacks
Rattle Gun. This was a revelation to me and proved a lifesaver. For the first weekend I hired on then ended up buying a Ryobi cordless from Bunnings. What a beast of a tool that is, will undo anything.
Can of CRC or similar
Some rags
Pliers
First up identify the bolts to be undone and spray them. There are 12 at the back and 18 at the front all up.
Start at the back only cos it's easier, jack up the diff and put stands under the normal jack points.

Image

Lay out the components under the car so you know where everything goes.
Follow the general rule of remove one bolt and replace it with the longer one from the kit. Do that up a few turns, leaving at least 50mm then do the next one. Replace the four bolts on the torsion bar and two on the moustache bar (rear diff mount).
Undo the top of the shock absorber. Now carefully lower the jack and you will open up the 50mm gap you need to fit the spacers.
Image

Undo one bolt at a time, fit the spacer then replace the bolt and so on. The driver’s side moustache bar blocks’ bolts are offset as the block fouls on the fuel tank. You will have to bend up the lip of the fuel tank to clear the block. I used a chisel and a hammer, you will need to bend back approx 10mm.

Image

Rotate the shockie 180 degrees and fit the bracket.

Image

You may need to adjust the exhaust but I didn’t. Tighten all bolts to their recommended torque settings, remove the stands, lower the jack and that’s the rear done. All up, that took me about 5 hours.

Image

You will notice the brake lines are now very taught. See other thread on this, I plan to replace them all with new hoses to be on the safe side.
Image

User avatar
yarney
General Member
Posts: 1273
Joined: Thu Oct 06, 2005 10:00 am
Location: QLD

Brumby Lift kit first time-part 2

Post by yarney » Mon Jul 18, 2011 3:44 pm

Posted by ashleyn
So on to the front, same arrangement, jack under the engine crossmember, stands in place.
First undo the rod from the firewall to the engine (under the spare wheel).
Front struts proved a bit of a challenge the first time. Firstly, you are removing the suspension unit, not just the struts. That includes the spring, DO NOT attempt to separate them. Leave the top bolts (inside the engine bay) done up. Remove the clip that holds the brake line into the bracket on the inside of the unit. Grab the top of it with pliers and pull up, it just comes out. Now undo the hose from front caliper and pull it through the mount of the front strut. Temporarily re-attach so the fluid doesn’t leak. Undo the 2 bolts holding the strut body to the brake assembly. Now using special tool called “foot”, lean down on the brake assembly (wheel nuts) and the strut will slide out.

Image

Now undo the top 2 nuts and the whole unit just comes out. Put the front strut top blocks on the front struts, arrows facing in. Make sure the front strut tops with blocks attached go back in the same way they came out (ie don’t spin the struts around 180 degrees). Re-attach the top bolts but you won’t be able to replace the suspension unit just yet.
Undo the steering rod connector (very important).
Now replace all the bolts in the castor rod brackets and front cross member with the lift kit bolts. That way you can lower the engine cross member and gearbox down to the length of the new bolts.
The cross member bolts are fitted to a bracket that has a screw holding it in. I had to drill out the screw to remove the bracket. Then take each bolt out one at a time and install the block and bolt. Repeat for the six gearbox (castor rod brake) block and the engine cross member.

Image

Image

Now fit the brackets, replace the strut using the special tool as before. Undo and redo the brake lines, then bleed the brakes.

Image

Image

Fit the steering extension between the steering column and steering rack, as you tighten the bolts, that should close up so you can fit the locking bolt.
Tighten all bolts to their torque settings, remove the stands and lower the vehicle, all done.
As for the rear, the front brake hoses need to be extended. My air cond compressor was now scraping on one of the hoses so that just needed some adjustment and the gear shift might need some tweaking.

Image.

Finished job, looking sweet.

Image
[SIGPIC][/SIGPIC] !!!Subies will go anywhere

User avatar
Alex
Elder Member
Posts: 5405
Joined: Wed Nov 23, 2005 10:00 am
Location: Perth
Contact:

Post by Alex » Mon Jul 18, 2011 3:53 pm

good job. Dont forget to go around the car and re-tighten all the bolts again after afew hundred km.

alex
my07 Outback
my13 Hyundai i45(shhhh)
my02 Gen3 Liberty limited ed.

previously
L-series wagon, LSD, EJ20turbo, 29in tyres, 'wanky wagon'
2000 gen3 outback, lifted, otherwise stock.

User avatar
Subarubrumbyfan1991
Junior Member
Posts: 39
Joined: Sun Mar 20, 2011 6:53 pm
Location: qld

Post by Subarubrumbyfan1991 » Tue Dec 06, 2011 7:41 pm

wow thats helpful as, i plan on doing mine as soon as i get my hands on 14" rims and some decent rubber :)
My brumby :) 91 is amazing, first car and no doubt gonna be my last :D
[SIGPIC][/SIGPIC]
future plans include 2" lift
14" rims
a/t's
respray
race seats
roll bar
decent spotties
LED lighting inside
Webber carby
extractors with 2 1/2" straight through exhaust
few more ideas but dont want to bore everyone lol

User avatar
El_Freddo
Master Member
Posts: 12566
Joined: Tue Oct 04, 2005 10:00 am
Location: Bridgewater Vic
Contact:

Post by El_Freddo » Tue Dec 06, 2011 11:35 pm

Subarubrumbyfan1991 wrote:wow thats helpful as, i plan on doing mine as soon as i get my hands on 14" rims and some decent rubber :)
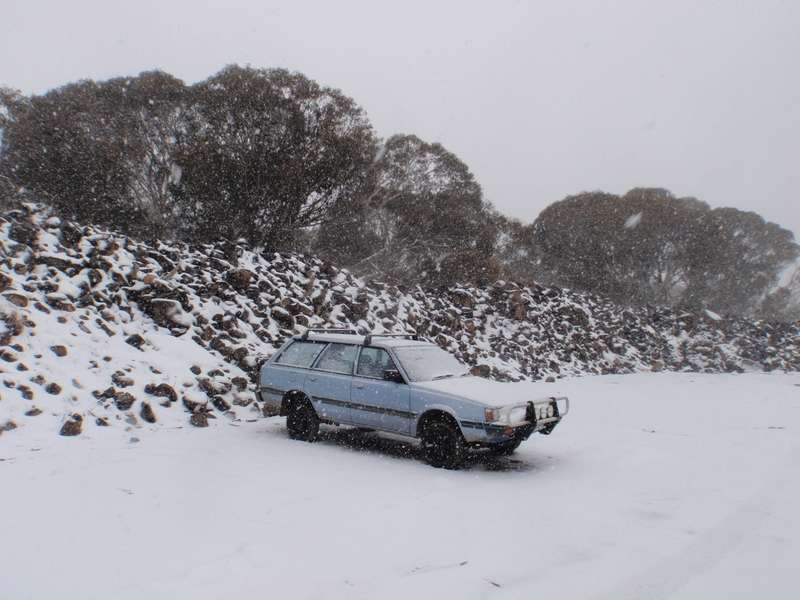
Why not put the lift in and then get the tyres you're after?? Here's Ruby Scoo with her stock sized snow tyres on:

Image

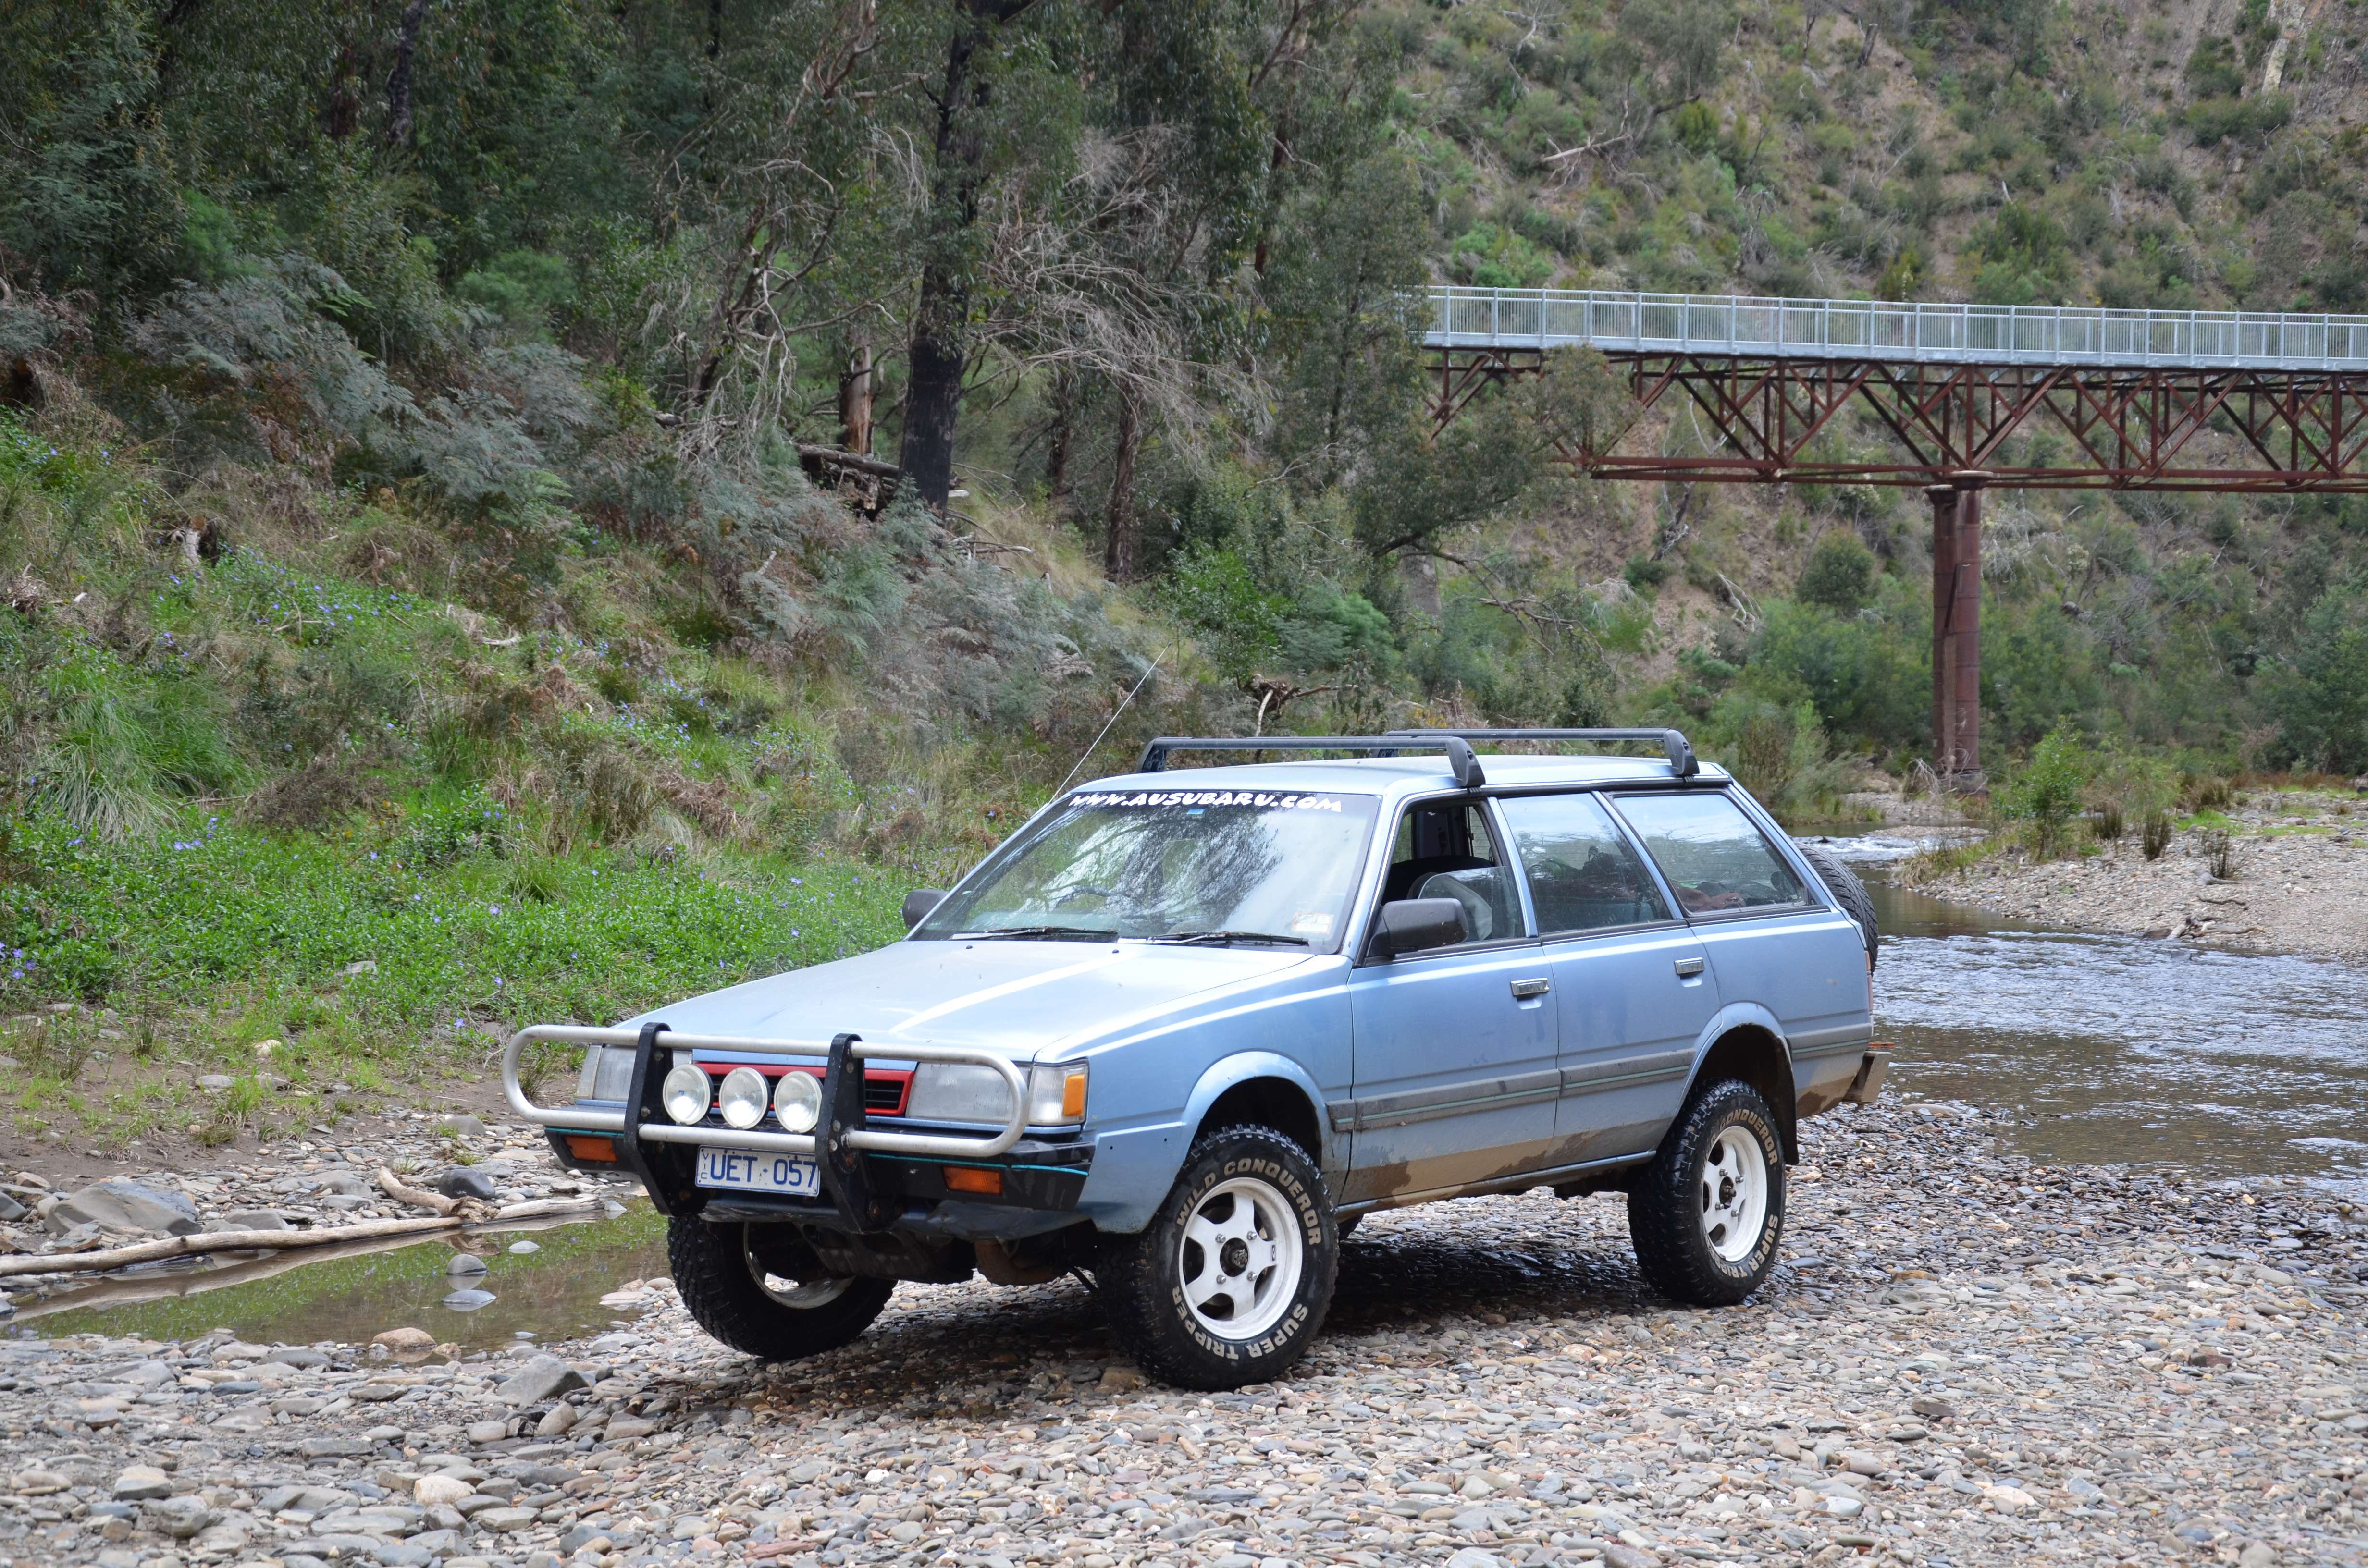
And her "big boots":

Image

You don't have to have big tyres just because you've got lift ;)

Sorry for the hijack Ashleyn :???:

Cheers

Bennie
"The lounge room is not a workshop..."
Image
El Freddo's Pics - El_Freddo's youtube

User avatar
Subarubrumbyfan1991
Junior Member
Posts: 39
Joined: Sun Mar 20, 2011 6:53 pm
Location: qld

Post by Subarubrumbyfan1991 » Thu Dec 08, 2011 4:54 pm

i think ill just put it in when i do some oil seals, ive got 3 busted seals, rear main, gear lever and oil pan seal, all went within 3 months. thanks
My brumby :) 91 is amazing, first car and no doubt gonna be my last :D
[SIGPIC][/SIGPIC]
future plans include 2" lift
14" rims
a/t's
respray
race seats
roll bar
decent spotties
LED lighting inside
Webber carby
extractors with 2 1/2" straight through exhaust
few more ideas but dont want to bore everyone lol

User avatar
Subarubrumbyfan1991
Junior Member
Posts: 39
Joined: Sun Mar 20, 2011 6:53 pm
Location: qld

Post by Subarubrumbyfan1991 » Thu Dec 08, 2011 4:55 pm

also thats one nice L series,
My brumby :) 91 is amazing, first car and no doubt gonna be my last :D
[SIGPIC][/SIGPIC]
future plans include 2" lift
14" rims
a/t's
respray
race seats
roll bar
decent spotties
LED lighting inside
Webber carby
extractors with 2 1/2" straight through exhaust
few more ideas but dont want to bore everyone lol

User avatar
TOONGA
Elder Member
Posts: 5338
Joined: Sat May 30, 2009 10:15 am
Location: Australind closer to where they divided by zero
Contact:

Re: Brumby Lift kit first time - Part 1

Post by TOONGA » Thu Nov 21, 2019 9:29 am

bumping so google can find this when people search for lift kits

TOONGA
Image
PJ Gone but not forgotten
JETCAR AKA the sandwedge Rusted in pieces

Post Reply

Return to “Suspension - Shocks, Springs and Upgrades”