Bantum's '85 Brumby ...

Collection of automotive design / construct projects by Bantum ...
User avatar
El_Freddo
Master Member
Posts: 12499
Joined: Tue Oct 04, 2005 10:00 am
Location: Bridgewater Vic
Contact:

Post by El_Freddo » Sat Dec 19, 2015 9:35 pm

That's what I've done with all my dash swaps - wound the clock to the current reading on the dash being replaced.

I used and air gun to whiz through the k's ;)

Cheers

Bennie
"The lounge room is not a workshop..."
Image
El Freddo's Pics - El_Freddo's youtube

User avatar
Bantum
General Member
Posts: 1923
Joined: Sun Jul 29, 2012 4:30 pm
Location: Northern Territory + QLD
Contact:

Side Stepped ...

Post by Bantum » Mon Jan 25, 2016 1:20 am

Yep will wind 'em back when I get round to it ... :)

In the mean time, got round to cleaning up the Running Boards ...

Image

Image

And test fitting :

Image

Image

Image

Seems to fit Ok, just need to straighten them a bit, find some new mounting hardware & install them ... :twisted:

Cheers, Bantum ...

User avatar
Tigger
Junior Member
Posts: 414
Joined: Wed Dec 28, 2005 10:00 am
Location: West Brisbane

Post by Tigger » Mon Jan 25, 2016 11:45 am

They look great!! :)
ImageImageImage
2012 Subaru Forester - 2.0D Premium ~ 2002 Subaru Forester - Limited (Lifted)

User avatar
El_Freddo
Master Member
Posts: 12499
Joined: Tue Oct 04, 2005 10:00 am
Location: Bridgewater Vic
Contact:

Post by El_Freddo » Mon Jan 25, 2016 1:12 pm

Yeah mate those running boards look awesome!

I was going to go for a set on a 45* angle but never got around to doing it...

Cheers

Bennie
"The lounge room is not a workshop..."
Image
El Freddo's Pics - El_Freddo's youtube

User avatar
Bantum
General Member
Posts: 1923
Joined: Sun Jul 29, 2012 4:30 pm
Location: Northern Territory + QLD
Contact:

Sewn Up ...

Post by Bantum » Mon May 02, 2016 4:59 am

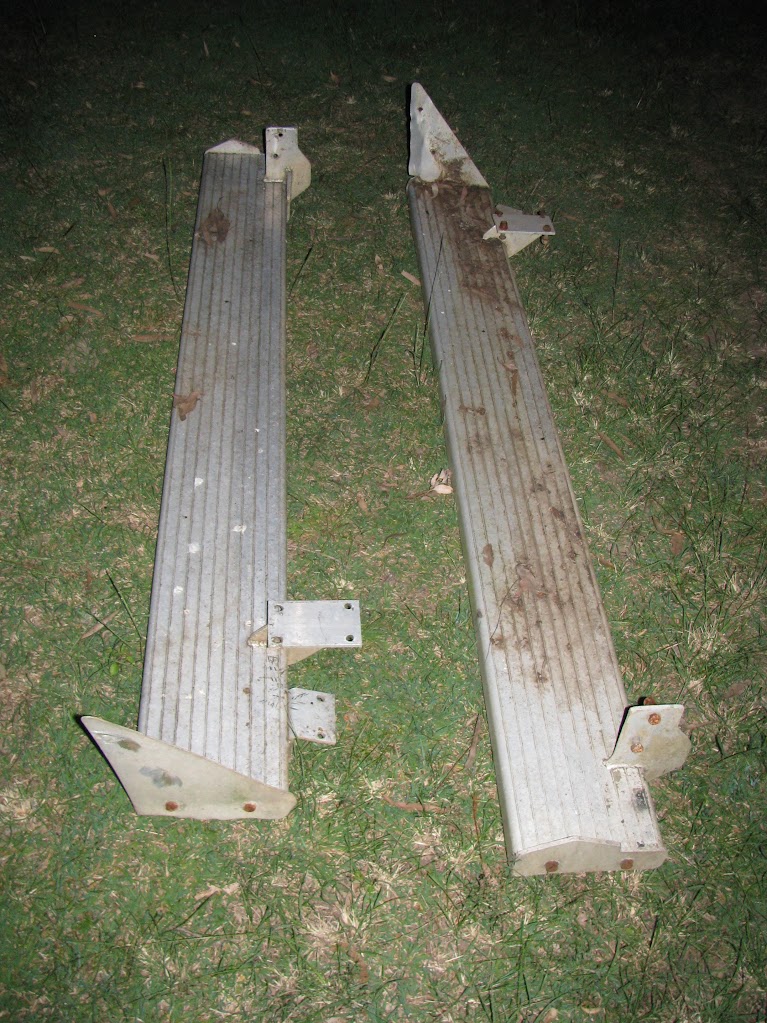
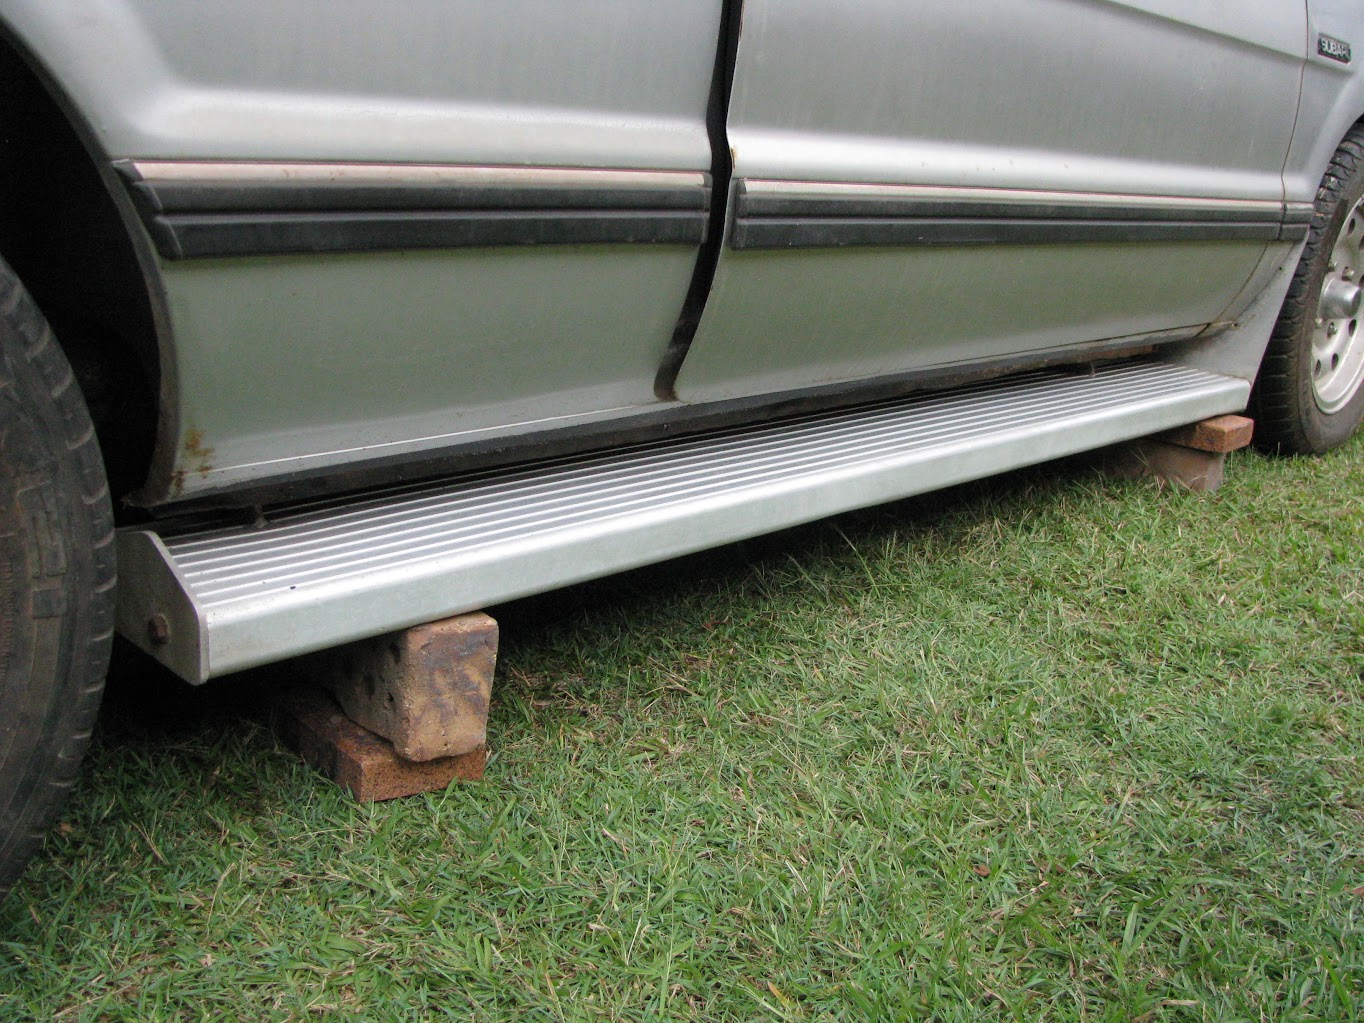
Will be a while before I get round to installing the dash / running boards ( as I still have to do the rust preventative thing ) - So have been looking at what else I can do in the meantime ... :/

Tried out my sewing skills :

Image

Back side :

Image

Will see how it turns out ... ;)

Image

Ciao, Bantum ...

User avatar
Bantum
General Member
Posts: 1923
Joined: Sun Jul 29, 2012 4:30 pm
Location: Northern Territory + QLD
Contact:

EL Wires ...

Post by Bantum » Tue Oct 04, 2016 1:39 am

Well I got some more bits to go with interior ...

Image

And goes somewhere here ...

Image

Test fitting ...

Image

Should look ok ...

Image

Note : item can be found here : EL = Electroluminescent Wire

Keep on trucking, Bantum ...

User avatar
Bantum
General Member
Posts: 1923
Joined: Sun Jul 29, 2012 4:30 pm
Location: Northern Territory + QLD
Contact:

Fender Washers ...

Post by Bantum » Tue Oct 04, 2016 3:23 am

Also got some bling to add somewhere :

Image

Not sure where they go yet ... :shock:

Image

PWJDM - seems to be a weird code for something ?

Ciao, Bantum ...

User avatar
Proton mouse
Junior Member
Posts: 378
Joined: Mon Nov 06, 2006 11:35 pm
Location: Diagonally parked in a parallel universe

Post by Proton mouse » Tue Oct 04, 2016 9:50 am

I like those 'bling' washers! Not sure about the "for off road use only" warning?? You'll be in big trouble if you drive on the road with them!! haha

User avatar
Bantum
General Member
Posts: 1923
Joined: Sun Jul 29, 2012 4:30 pm
Location: Northern Territory + QLD
Contact:

Post by Bantum » Wed Oct 05, 2016 3:30 am

Yes only saw that after I'd opened it, so can't really do much about that now ... :(

I'll not be using it for holding much weight, as I think they are covering themselves from claims if something goes pare shaped ... ;)

Ciao, Bantum ...

User avatar
Bantum
General Member
Posts: 1923
Joined: Sun Jul 29, 2012 4:30 pm
Location: Northern Territory + QLD
Contact:

Full Scale ...

Post by Bantum » Fri Dec 02, 2016 6:13 am

Got the drawing I had done earlier printed out @ 1:1 ...

Image

Checked to see how good it measured up :

Image

& laid out some vinyl to make sure it all fits :

Image

Found a few errors that will need tweaking when I get round to it ... :/

Hope to do some more over the Christmas break ...

Ciao, Bantum ...

User avatar
Bantum
General Member
Posts: 1923
Joined: Sun Jul 29, 2012 4:30 pm
Location: Northern Territory + QLD
Contact:

Telltale ...

Post by Bantum » Fri Dec 02, 2016 6:28 am

Also got round to getting this laser cut :

Image

Fitted the LEDs to go with it :

Image

& found some green plastic :

Image

Have to get round to painting the Tell-tale back in Black now ... :rolleyes:

Ciao, Bantum ...

User avatar
El_Freddo
Master Member
Posts: 12499
Joined: Tue Oct 04, 2005 10:00 am
Location: Bridgewater Vic
Contact:

Post by El_Freddo » Fri Dec 02, 2016 4:11 pm

Top work mate!

Laser cutting - I wouldn't even know where to start looking for that service!

I'm keen to see how these door cards turn out ;)

Cheers

Bennie
"The lounge room is not a workshop..."
Image
El Freddo's Pics - El_Freddo's youtube

User avatar
Silverbullet
Senior Member
Posts: 2865
Joined: Mon Aug 23, 2010 6:20 pm
Location: Adelaide

Post by Silverbullet » Fri Dec 02, 2016 5:53 pm

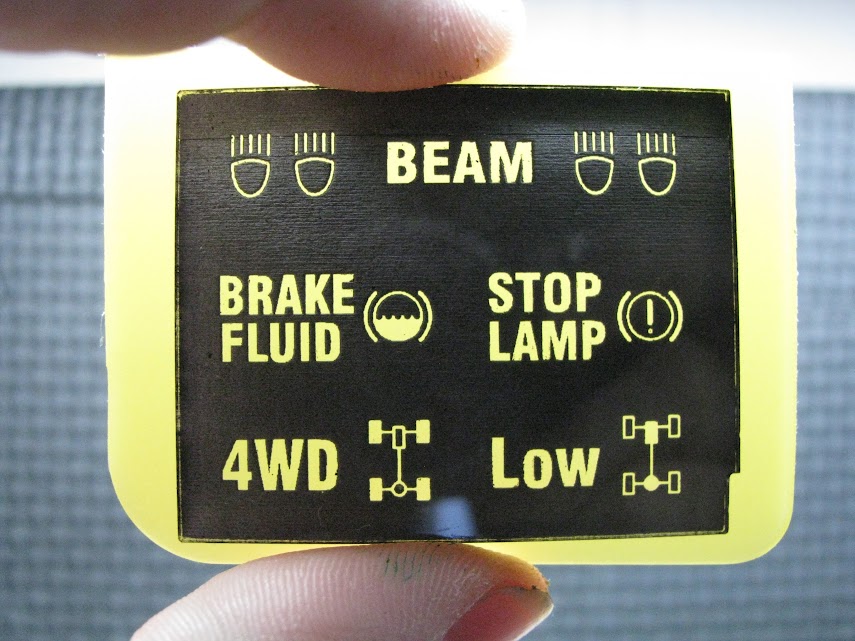
Bantum wrote:Also got round to getting this laser cut :

Image

Well that's one way to get a low range light! Very nice work, going above and beyond :cool:

BUT! there's an error! The factory low range light says "Lo" not "Low" !!!
Actually yours looks better, with the wheel diagrams as well.

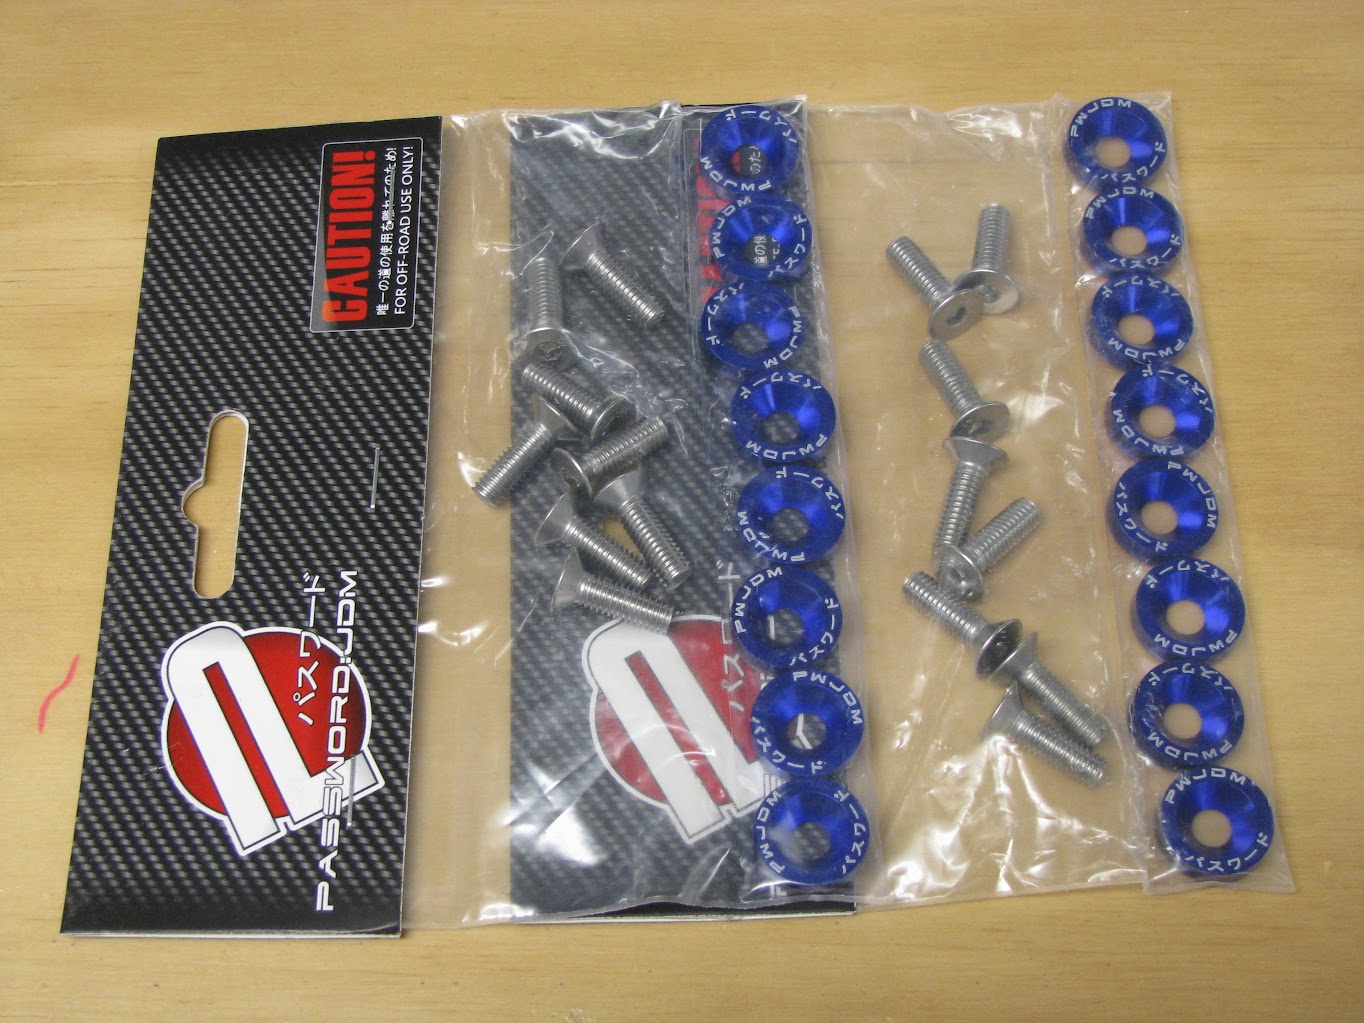
And those door cards, I can tell those are going to be seriously nice :o Would you mind terribly if I copied them for my wagon? :oops: I'll pay royalties honest!!
Will it ever end!?
-EA81 TWIN CARB!!!!
-L series 5 speed
-Custom paint job
-2" lift
-Full custom re-wire
-L series front end
Image

User avatar
Bantum
General Member
Posts: 1923
Joined: Sun Jul 29, 2012 4:30 pm
Location: Northern Territory + QLD
Contact:

Post by Bantum » Fri Dec 02, 2016 11:01 pm

Yeah, my thoughts were when I did the first draft ( which was same as the original ) that it didn't 'look right' + something was missing, so ended up making it slightly different with few tweaks that I wanted & made it look as if it came from factory ... :cool:

P.S - Added a few extra details to the headlight as well ( just in case you missed it ) ... ;)

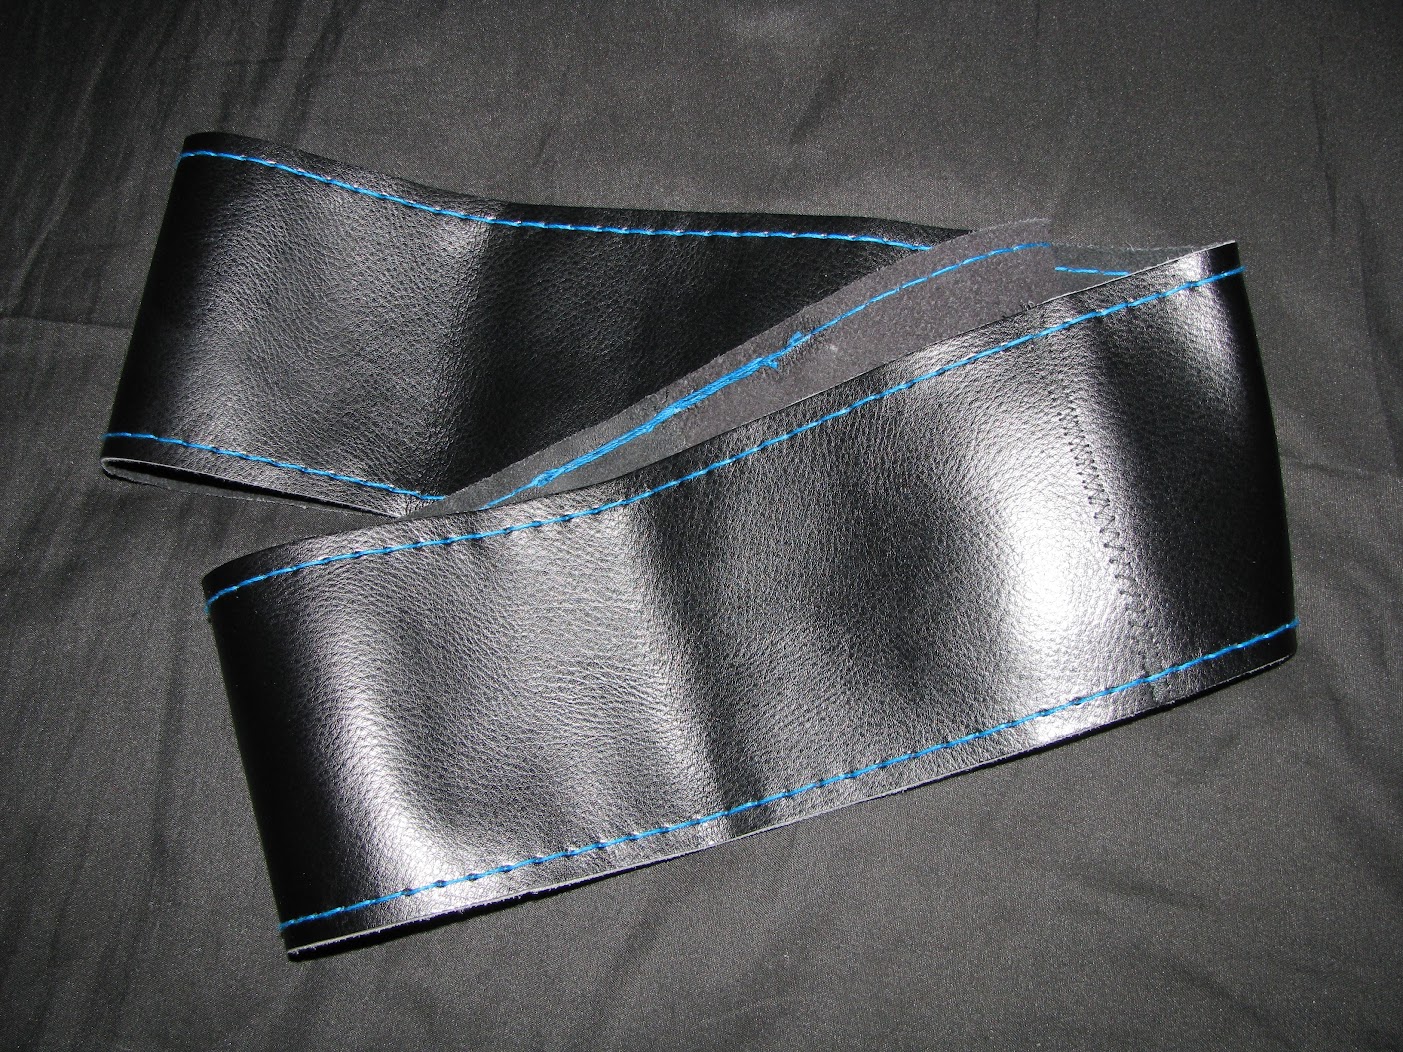
Painted the back in black :

Image

& Peeled the cover to reveal :

Image

I'll have to see how it turns out & post some more pictures when I get round to installing it ... :)

Cheers, Bantum ...

User avatar
Bantum
General Member
Posts: 1923
Joined: Sun Jul 29, 2012 4:30 pm
Location: Northern Territory + QLD
Contact:

Covered ...

Post by Bantum » Wed Jan 11, 2017 6:37 am

Over the Christmas period I finally got round to start fixing the Steering Wheel Cover :

Image

Image

Image

Image

All have to do now is to finish hand stitching it ... :/
( read 'it takes forever' )

Cheers, Bantum ...

User avatar
Bantum
General Member
Posts: 1923
Joined: Sun Jul 29, 2012 4:30 pm
Location: Northern Territory + QLD
Contact:

Score ...

Post by Bantum » Wed Jan 11, 2017 7:11 am

Found some spare doors :

Image

Innards look ok :

Image

Image

All I have to do now is clean them up & swap them over ... :)

( read it may take a while )

Cheers, Bantum ...

User avatar
Proton mouse
Junior Member
Posts: 378
Joined: Mon Nov 06, 2006 11:35 pm
Location: Diagonally parked in a parallel universe

Post by Proton mouse » Wed Jan 11, 2017 12:13 pm

Excellent score, GLF5 power window doors none the less!!

User avatar
El_Freddo
Master Member
Posts: 12499
Joined: Tue Oct 04, 2005 10:00 am
Location: Bridgewater Vic
Contact:

Post by El_Freddo » Wed Jan 11, 2017 4:28 pm

I love this:

First recent post: "hand stitching takes forever"
Most recent post straight after the first recent post: "found some spare doors".

So I guess the hand stitching of the steering wheel is done then??

Cheers

Bennie
"The lounge room is not a workshop..."
Image
El Freddo's Pics - El_Freddo's youtube

User avatar
Bantum
General Member
Posts: 1923
Joined: Sun Jul 29, 2012 4:30 pm
Location: Northern Territory + QLD
Contact:

Winning ...

Post by Bantum » Sat Jan 14, 2017 6:12 am

Ha - Nah Bennie, I still need to do the fitting to the actual wheel ( there's been a hold up on the rubber underlay which needs fixing ) which might take a while ... :/

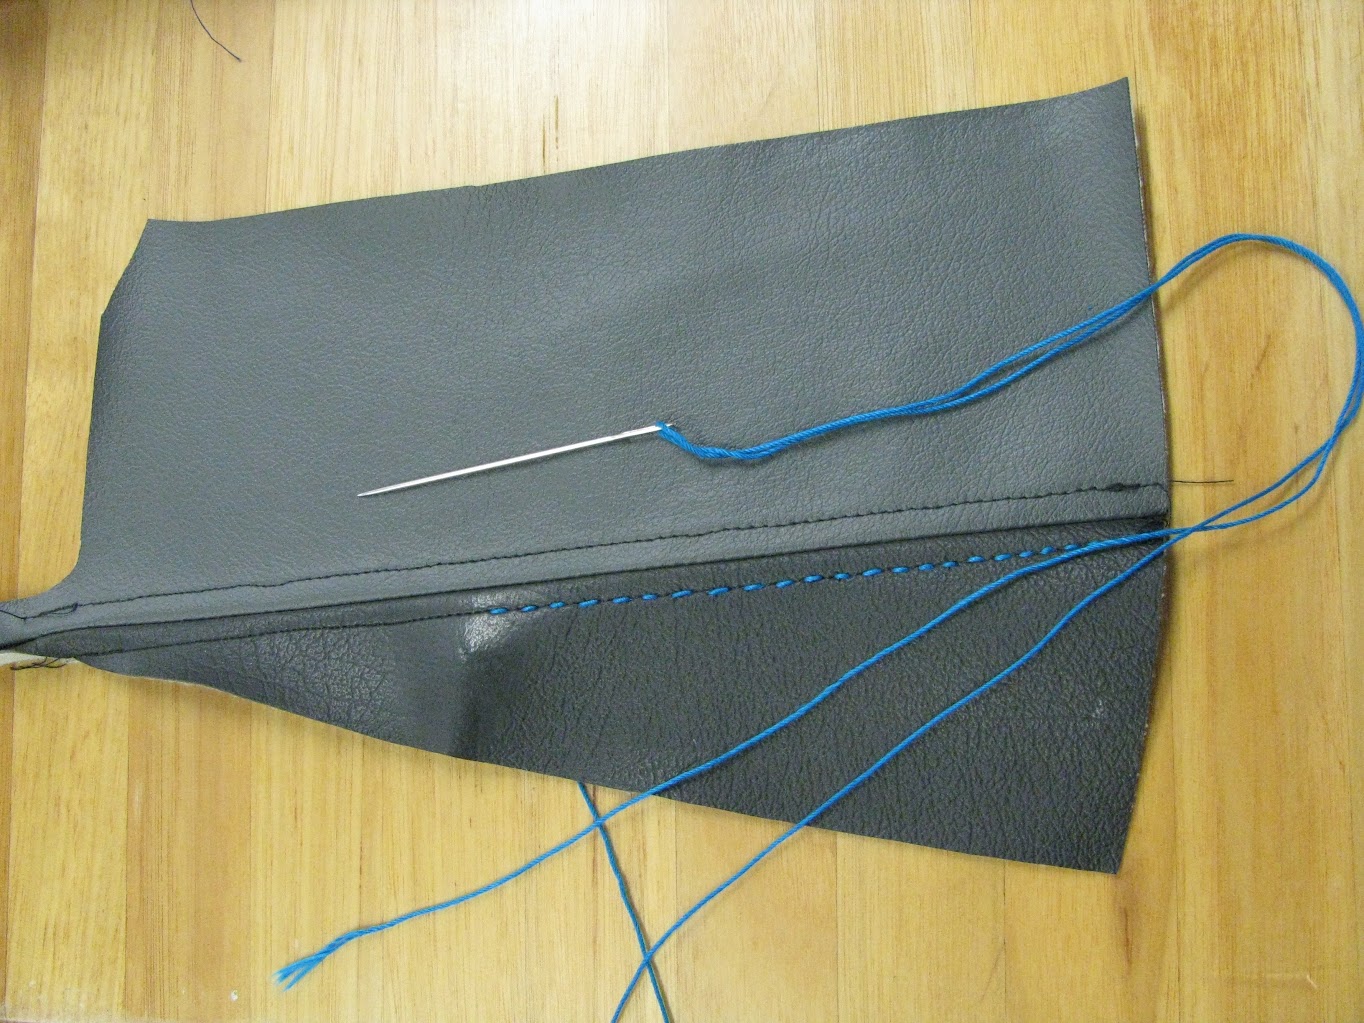
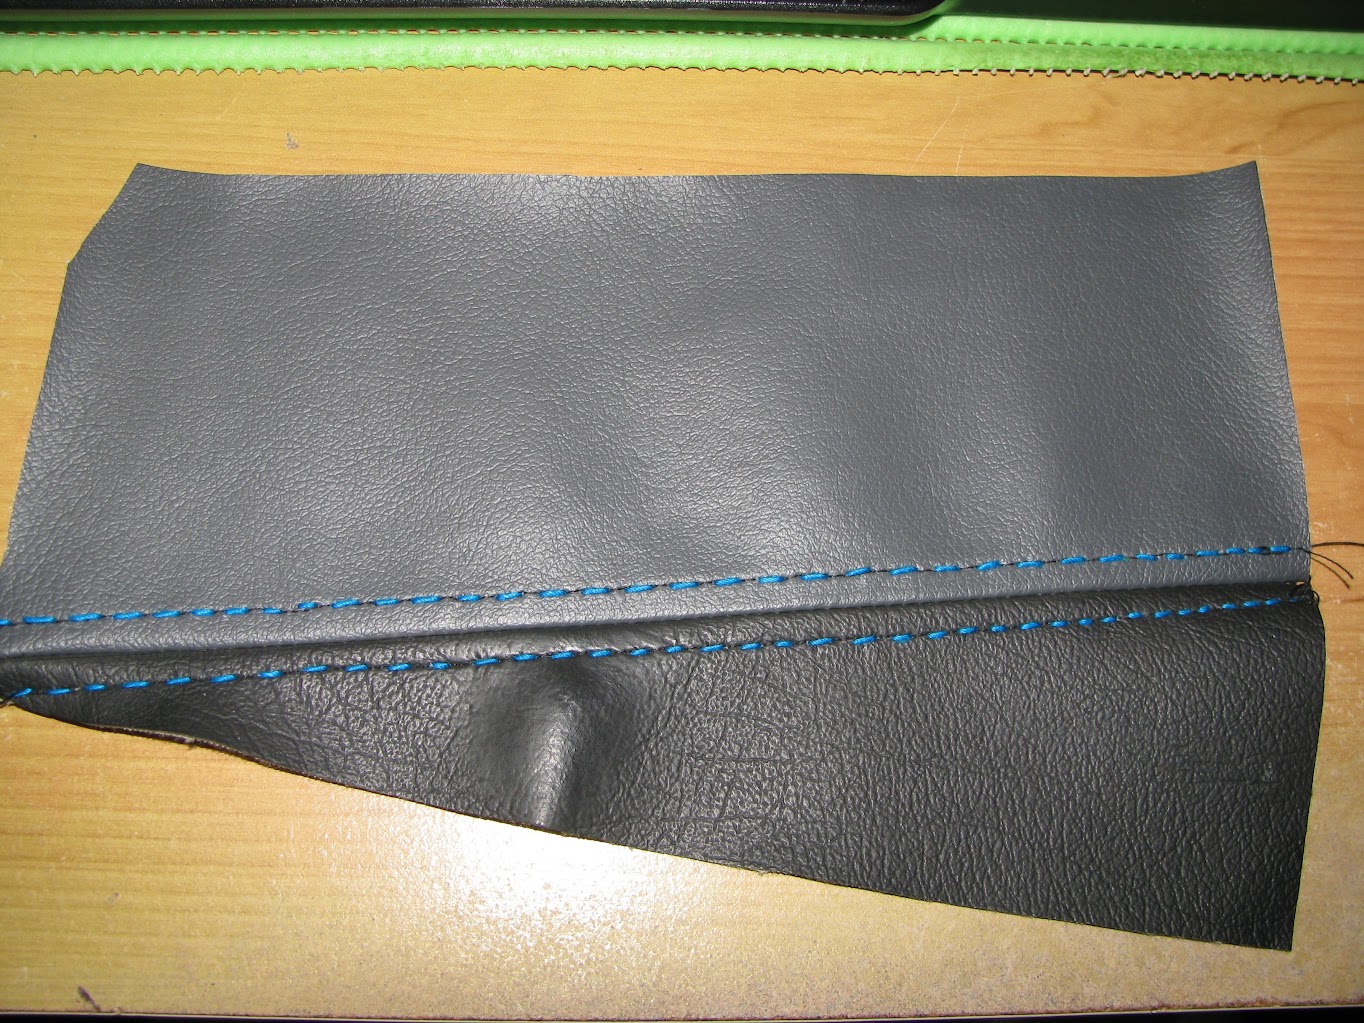
P.S. - added a few more shots of the process though ... :)

Yeah the doors were a total 'wow' find moment ... (I wasn't even looking for them ) So yeah as soon as I saw 'em, said 'yep I'll have those' ... :win:

Will post some more updates when I get round to it ... ;)

Cheers, bantum ...

User avatar
Bantum
General Member
Posts: 1923
Joined: Sun Jul 29, 2012 4:30 pm
Location: Northern Territory + QLD
Contact:

Sidetracked ...

Post by Bantum » Sat Jul 29, 2017 4:20 am

Sorry to report - Its been very slow in the 'working on this' department - As I've been sidetracked by health issues ( compressed disc L5 ) & will attempt to do some updates when I can ... :(

Have done some work on the gearbox - will post some updates on that later.

Also just went back through the thread & updated as many of the links as I could ... FU PB ... :/

Ciao, Bantum ...

Post Reply

Return to “Bantum’s Works”