Page 4 of 8
Posted: Fri Jan 09, 2009 10:36 am
by T'subaru
El_Freddo wrote:
Thanks mark, I've got the I wants too

Cheers
Bennie
I would recommend you put the first few k's on it so you know for sure its in top form for your gf's mum

Posted: Fri Jan 09, 2009 4:05 pm
by El_Freddo
subuaroodude wrote:I would recommend you put the first few k's on it so you know for sure its in top form for your gf's mum
Yeah, would have loved to do that... It got a drive around in the wee hours of xmas day then a 90km drive to benders. Unfortunately I had to give it back, otherwise it'd still be in my driveway

Its real smooth to drive now with the PS and the fresh clutch plate, its just missing the 5th gear...
Cheers
Bennie
Posted: Thu Jan 29, 2009 11:33 pm
by El_Freddo
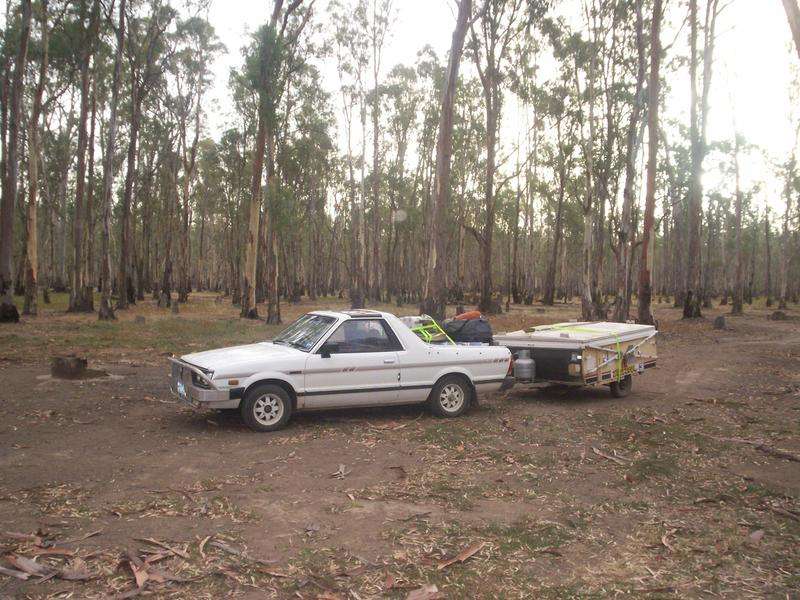
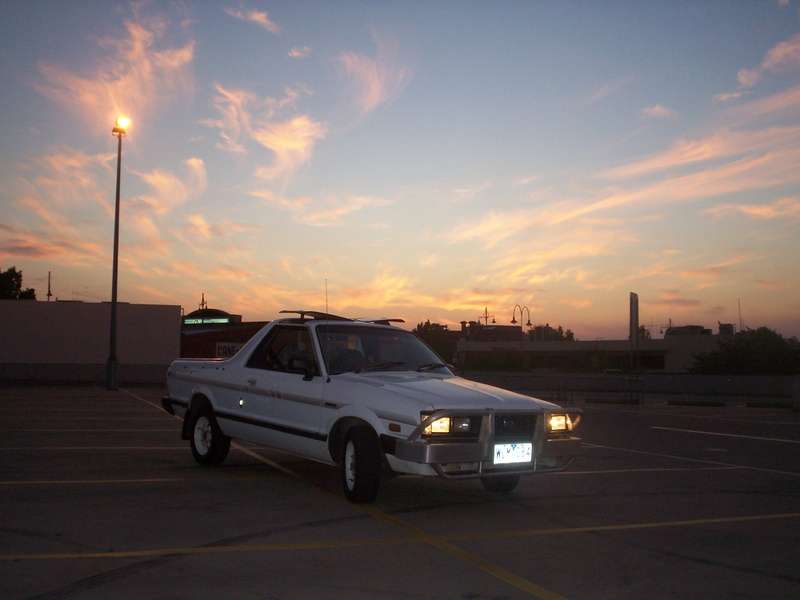
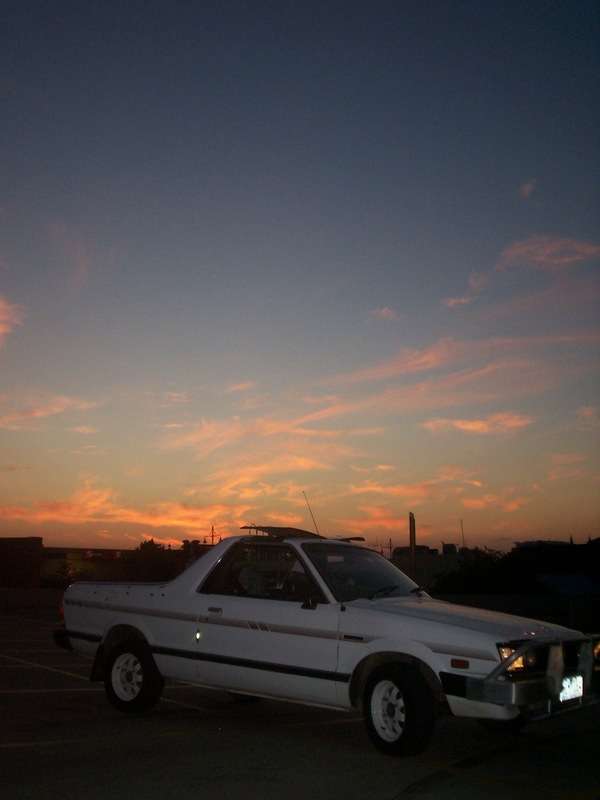
Latest on Sunnie:
The Oz day weekend saw Sunnie play pack mule - He passed with flying colours even though at the time only one thermo was working (AC wasn't wired in for the second thermo to work) and it was very close to a 40 degree day if it wasn't already, the temp gauge stayed on the half way mark, a little high but it didn't go further and the radiator kept its coolant.
Here's our arrival at the Murray:
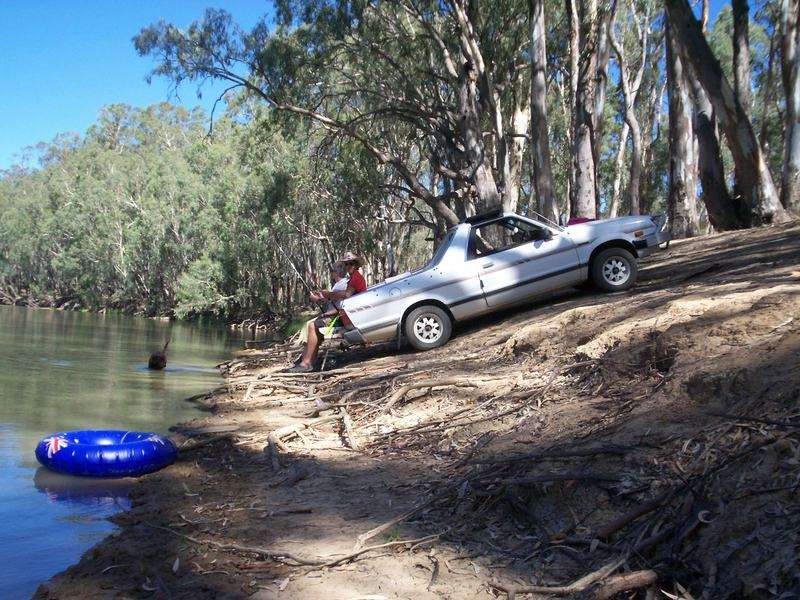
I got bored after we'd set up the camp - So I tackled the AC wiring to get the second thermo fan to work inline with the standard fan, I gave it a test and it worked a treat, the AC did not have to be on for the two thermos to turn on when the temp sensor kicked them in

And one of the odd jobs Sunnie scored over the weekend - the other one was being a mobile wash facility:
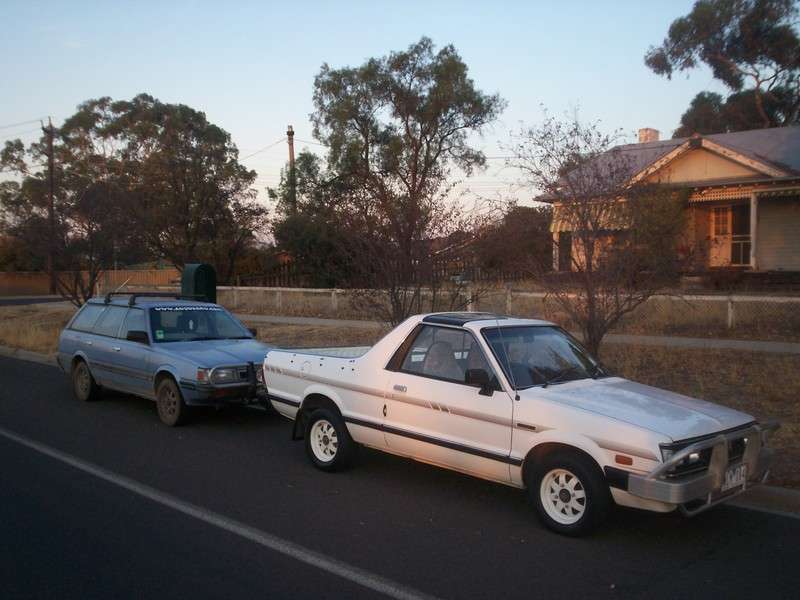
On the way home it was hotter than the trip up, the two thermos kept Sunnie cooler than the trip up so I was pretty happy with that. We used about 1/3 a tank of fuel (by the guage) on the way up and a bit more than a quater of a tank on the way home. I thought that was reasonable for the load carried...
Next to look at will be the door switches as these are pretty random in their operation.
Cheers
Bennie
Photo overkill :D
Posted: Sun Feb 22, 2009 8:57 pm
by El_Freddo
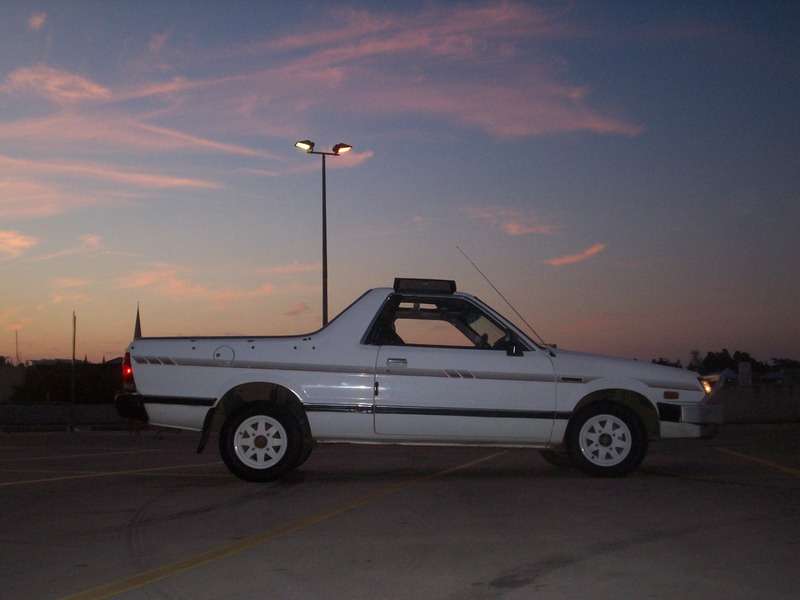
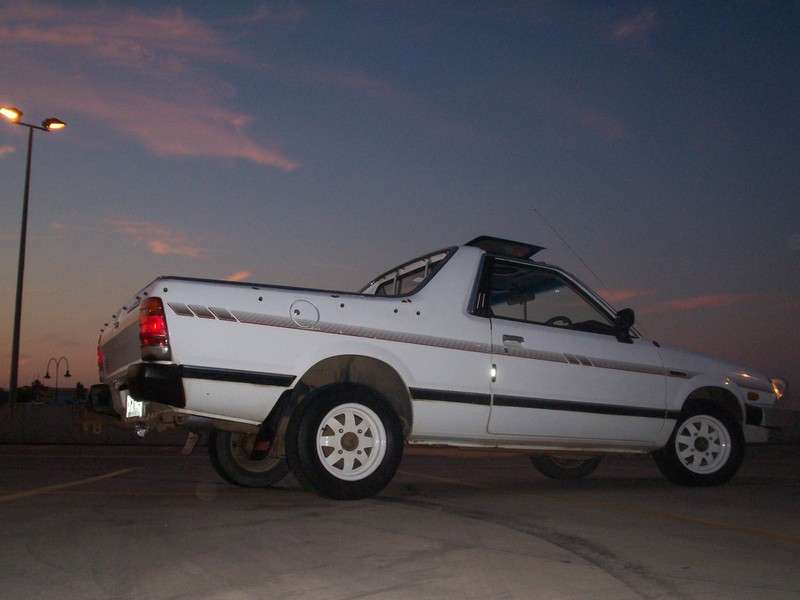
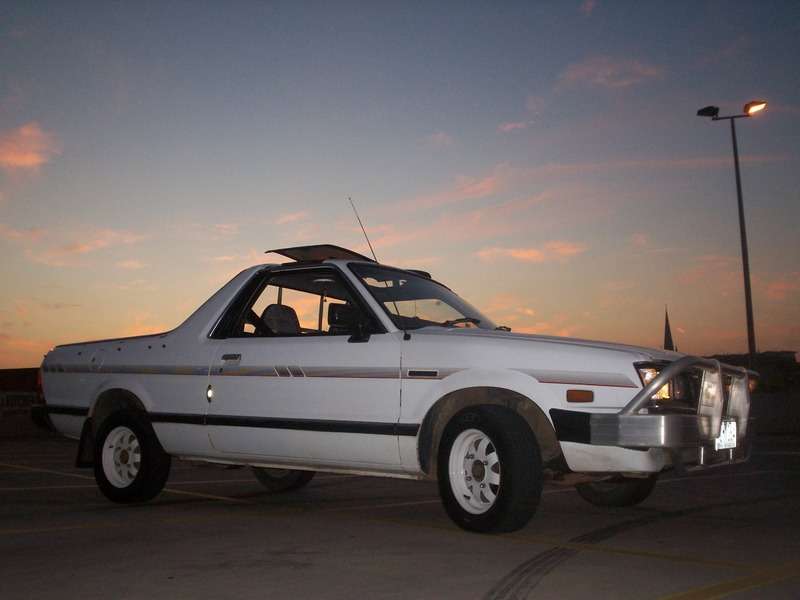
Some new pics, taken this arvo/evening...
Sunnie after a wash last saturday - he's looking shit hot inside and out after his first proper wash by Gail, Ruby Scoo's the exact opposite in the background:
Then after waiting in the shopping centre car park I got bored without the headunit's face:
I'm yet to get the door interior light switches sorted - that said I've just got hold of an MY touring wagon so these shouldn't be too hard to sort out, just need the time to do it... AND to get me a targa brumby too
*dreams EJ, PS, AC, electric everything except digi dashboard, lift etc*
Also, I've got all the gear for a 5 speed conversion except the gearbox, dunno when I'll get a box or get the conversion in.
Cheers
Bennie
Posted: Sat Feb 28, 2009 11:26 pm
by El_Freddo
An update - about the "build" of Sunnie:
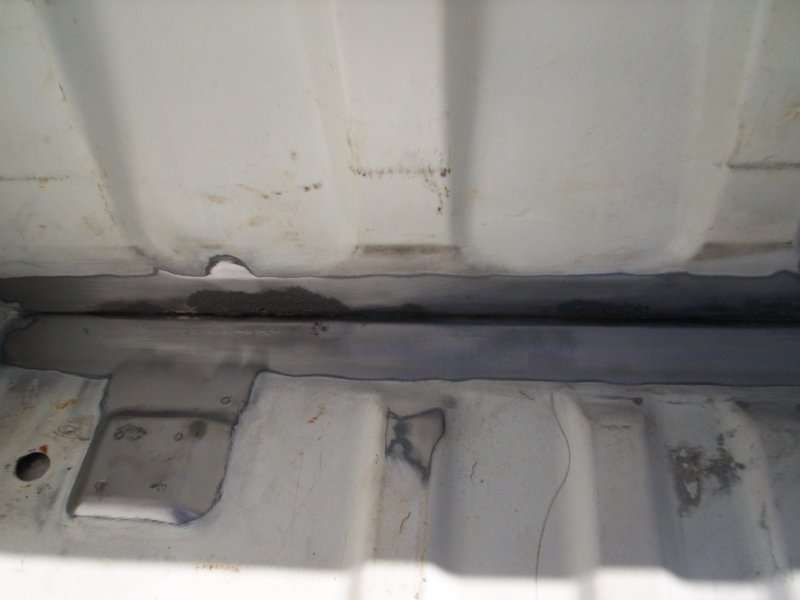
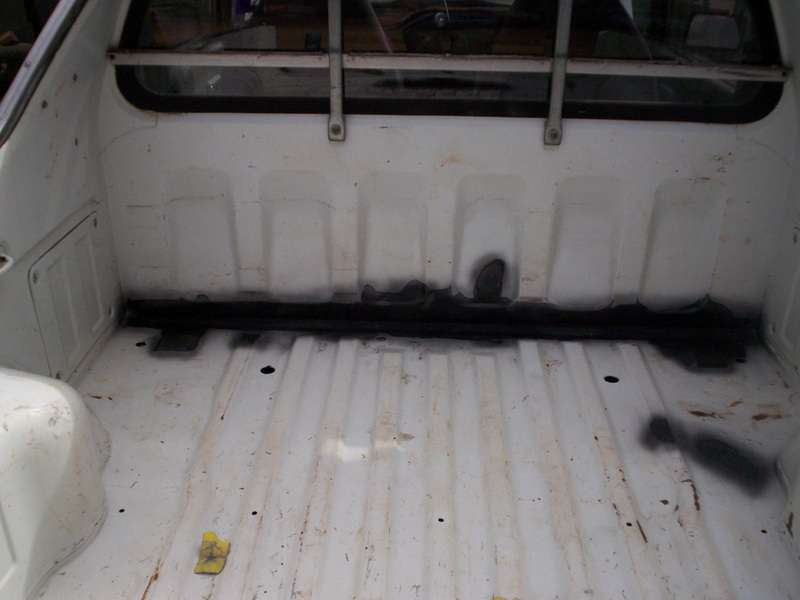
Today I decided it was a good day to tackle the rust in the tray/cab wall + a few other areas in the tray (yes, I got carried away). I originally got the brumby for the weekend to replace a busted CV boot, but this has been put on the backburner til sunday, which is actually now (the wee hours)...
So, here's how it all looked before starting with me praying for no holes:
Passenger side:
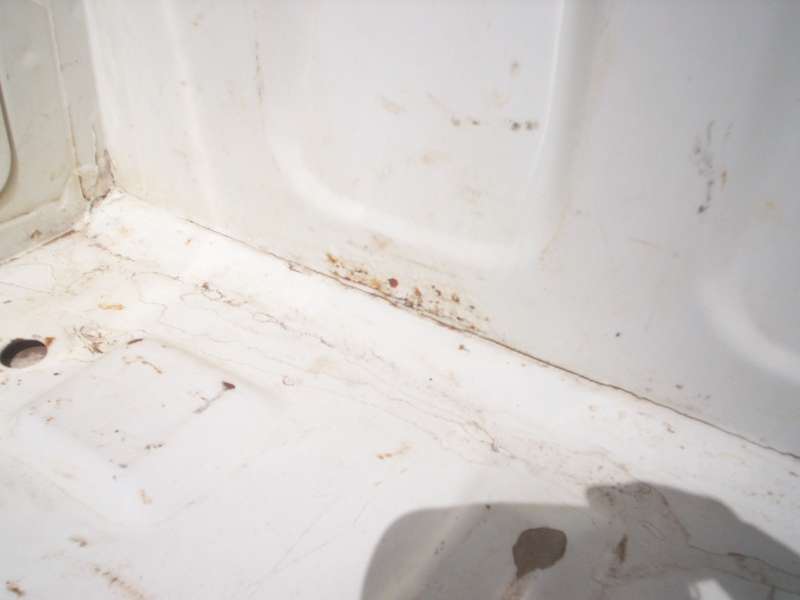
Centre:

Driver's side:

Rear of tray:

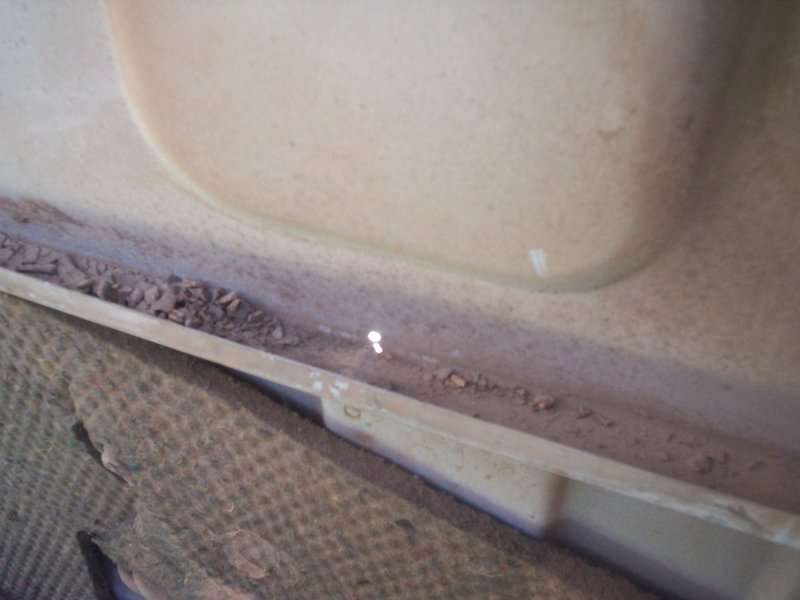
This is the scrub down to bare metal - I used a $4 wire wheel on a drill:
Passenger's side:

Driver's side:

And the one hole that's there, this is looking from in the cab - check out the dirt on that sill!:
Posted: Sun Mar 01, 2009 12:05 am
by El_Freddo
And pretty much before spraying the rust converter, driver's side:
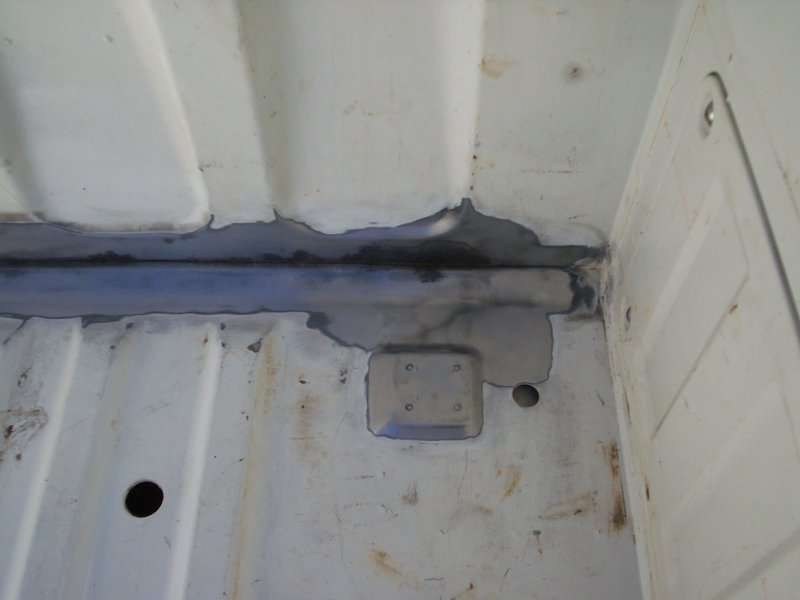
Passenger's side:
Unfortunatly I didn't get any pics of the rust converter just after it went on as I was in a rush for some lunch at 4pm...
It was amazing how much dust is behind panels - namely the back panel of the cab in this case, everything was covered!
Later today I hope to have the CV boots sorted, I'm doing both boots on the driver's CV shaft. I'm also hoping to get the interior light door swithes sorted and find a better earth for the light, its a little dicky at the moment. I'm in the process of changing the tailgate badge, wait out for pics of this too. If I find the time the rear brakes will get some adjustment and possibly the L series 'self adjusting' brakes fitted. I'd like to ultimately get a set of rear discs for it but I think my chances of this happening are buckley's to none.
I've got my work cut out for me later today (since it is technically sunday now...)
Cheers
Bennie
Posted: Sun Mar 01, 2009 7:57 am
by AlpineRaven
Fair enough looks good there, you will need to inspect other side of the joints - how are they? I have to do my CVs as well argh!
Cheers
AP
Posted: Sun Mar 01, 2009 10:29 pm
by El_Freddo
Here's a few pics to follow up on yesterday, I had a very late morning so the work started late too.
Here's the cleared area from yesterday under rust converter:
It got a couple of coats of galvaniser so its all grey now. Later we'll get some colour made up to get it back to the white, in the mean time I'll smooth it out with some bog and spray it to seal before we get the final colour (or I win tatts and send it up to the subi boys
)
I also replaced a CV boot, I was going to do the two of them but the outter was in pretty good nic, it'll be the one that's toast next week for what ever reason... Here's a pic of the cv ball cage and then the cv Inner Cup:
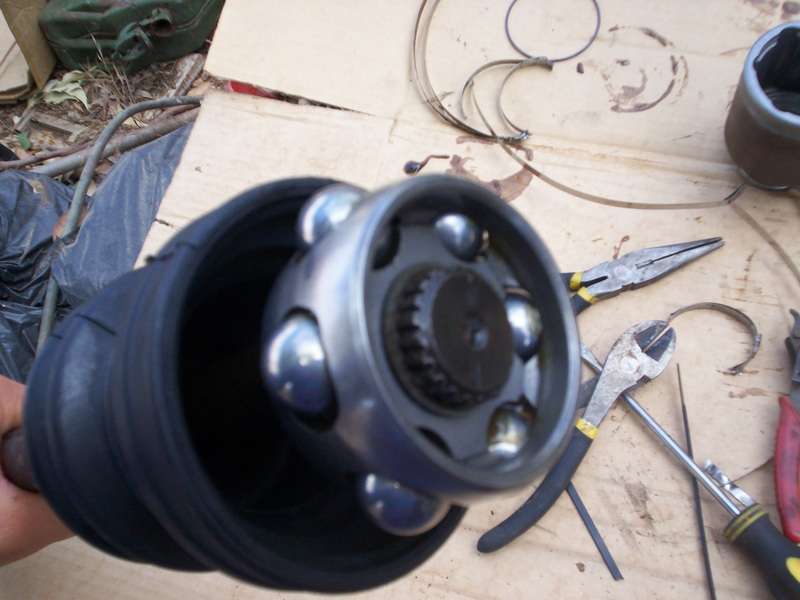
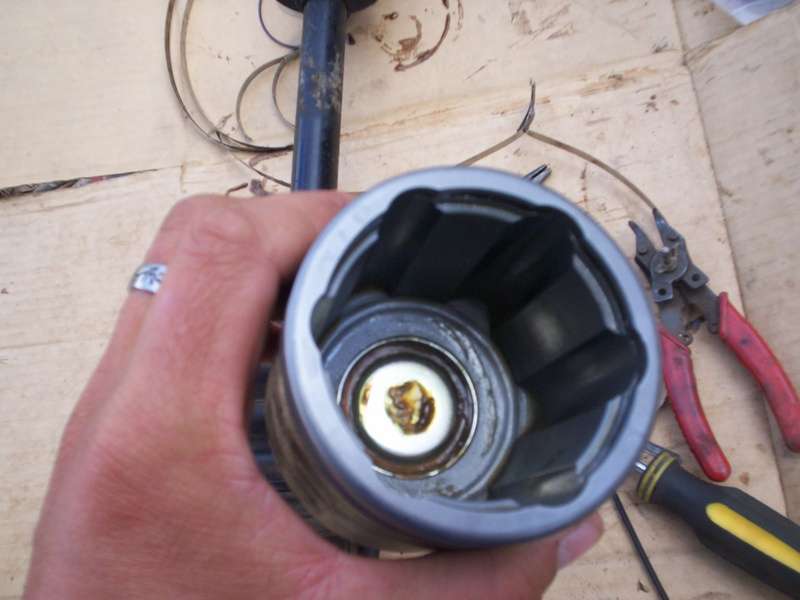
All parts were in really good condition and I reckon the boot only started leaking when I found it, there's plenty more grease sprayed around the engine bay now its down from benders - there was still plenty of grease in the boot too
The interior light got a new earth sorted (its an aftermarket flurecent unit) so it works when we want it too now AND I replaced the interior light door switches so the light now works when a door is open

The next task I took on board was replacing the little clipped on panel that fits to the inside of the rear bumperettes - Gail knocked a post ages ago that was shorter than the height of the tailgate and popped this panel off, she's still upset about it but was smart enough to have a look and pick up the panel. The frame has moved a little bit so it doesn't clip back on at all. While trying to get it off the brumby I snapped two bolts beside the little access panel - I'm also having trouble getting these out so it might end up being drilled out completely with a nut and bolt job to hold it all together. While I had the access panel off I vacuumed out heaps of dirt (after I scooped most of it out by hand) and did the other side too.
Then I found the rear left brakes with some suspicious oil on the backing plate. Once the hub was off it was pretty clear that the slave cylinder was leaking. I'm toying with the idea of fitting the L's self adjusting rear drums to it as I've got my old ones from Ruby Scoo that are still in pretty good nic and it would save me buying a new slave...
So that's about it for now, its time for work tomorrow so Sunnie goes on the back burner til after work
I also swapped the badge on the tailgate, its not set yet, I hope to have pics up tomorrow of the original badge, the badge taped up to let the silicone set and the final badge that was fitted. The AC power wire was fitted properly rather than being jammed in the battery terminal.
That's about it for now.
Cheers
Bennie
Posted: Tue Aug 04, 2009 10:21 am
by guyph_01
Great work mate... Sunnie looks real nice.
As you may know me mate just bought a little brumby too:P
haha so we both got two similar projects goin...
Like you said in this post, i you ever come to WA with them give us a buz and we could go for some fun in the cars:)
Cheerz
Guy
Posted: Fri Sep 18, 2009 1:07 pm
by Thalass
I might have a brumby, too, soon. My dad has more or less said he'll sell me his when the time comes to start my project, and he's in NSW so I'll have to fly over there and road trip it back to Perth. I'm definitely going to have to try and get a hold of one of those sports dash setups. I wonder if there's a HID conversion kit for sealed beam lamps like these old subis have?
Anyway, what's the latest with Sunnie?
Posted: Thu Sep 24, 2009 5:03 pm
by El_Freddo
Not much happening with sunnie - he's been happily running around in benders for some time now. We got him a new battery last week as he wasn't starting on cold mornings. He still needs new floor lining, a new fan belt and an earth sorted on the interior light...
I'll get around to that at some stage I guess.
Cheers
Bennie
Posted: Wed Jan 06, 2010 4:38 pm
by El_Freddo
Last weekend I installed the last piece of the AC system - the condensor. It was successfully gassed today with one cool and happy Gail behind the wheel now
Hopefully I get to check it out tomorrow night, I'll be keen to see how much the AC compressor sucks out of the little EA81.
Cheers
Bennie
Posted: Wed Jan 06, 2010 4:40 pm
by El_Freddo
Also, we had a tonnue cover made up for him - since then we've got a set of sports bars that need to be installed. I'll get pics when I can

Cheers
Bennie
Posted: Wed Jan 06, 2010 5:04 pm
by GOD
El_Freddo wrote:Last weekend I installed the last piece of the AC system - the condensor. It was successfully gassed today with one cool and happy Gail behind the wheel now
Hopefully I get to check it out tomorrow night, I'll be keen to see how much the AC compressor sucks out of the little EA81.
Cheers
Bennie
Good work Bennie. Did you need to replace any seals, O rings, etc, or was it all reusable?
Dane.
Posted: Wed Jan 06, 2010 9:46 pm
by AlpineRaven
nice!
How much did it cost you to gas up?
Is it R12 or R132 system?
Cheers
Posted: Wed Jan 06, 2010 9:47 pm
by El_Freddo
GOD wrote:Good work Bennie. Did you need to replace any seals, O rings, etc, or was it all reusable?
Dane.
Thanks Dane, I'm stoked that its all come together so easily...
I didn't change anything that came from the donor vehicle - I thought some of the O rings would've needed changing even though all looked ok. I don't think any of the components were changed for the gas - I presume the brumby used the old prohibited AC gas and would need some part of the system changed over to be compatible with the new Ozone safe gas, but I haven't heard of anything being swapped but will be looking when I get to see it...
Cheers
Bennie
Posted: Wed Jan 06, 2010 9:48 pm
by El_Freddo
AP, cost about $130, dunno about the gas type yet, I'll find out though...
Cheers
Bennie
Posted: Wed Jan 06, 2010 9:51 pm
by phantomD
I'd also be interested to know what refrigerant was used. I have heard that the new refrigerant can cause old compressors to chuck in the towel because R134A does not circulate oil as well as the R12 did.
Posted: Wed Jan 06, 2010 10:44 pm
by AlpineRaven
phantomD wrote:I'd also be interested to know what refrigerant was used. I have heard that the new refrigerant can cause old compressors to chuck in the towel because R134A does not circulate oil as well as the R12 did.
That is why I'm talking about this, - just out of curiosity...
Cheers
AP
Posted: Wed Jan 06, 2010 11:22 pm
by AndrewT
Yeah you cannot put R134A gas in an R12 system. Until recent years it's been an expensive excercise to "convert" to R134A (new componets etc). However now-a-days it's no problem at all to re-gas an R12 system.
My Legacy is an R12 system and I recently had it regassed. I paid $40 extra over the normal re-gas price for special "bridging gas". It's an ozone friendly gas that is specially designed to work in old R12 systems.