Otherwise I'd probably already have one in bits :P
Hey do you know what sort of fuel economy you're getting out of it at the moment? (it's pretty much the only unmodified brumby on these forums :P)
Moderator: El_Freddo


I haven't looked at exact fuel consumption figures yet, but if its not below 9L/100 its very near 10L/100km - driven nicely. The car isn't reved hard as we don't know what revs the engine is doing - the drivetrain is very "agricultural" than that of my L series. The two cars are worlds apart:Thalass wrote:Hey do you know what sort of fuel economy you're getting out of it at the moment? (it's pretty much the only unmodified brumby on these forums :P)
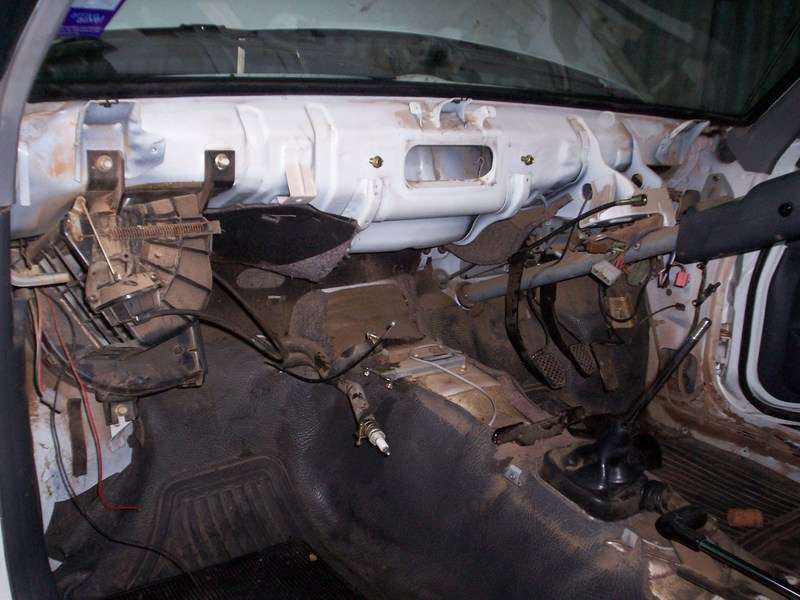
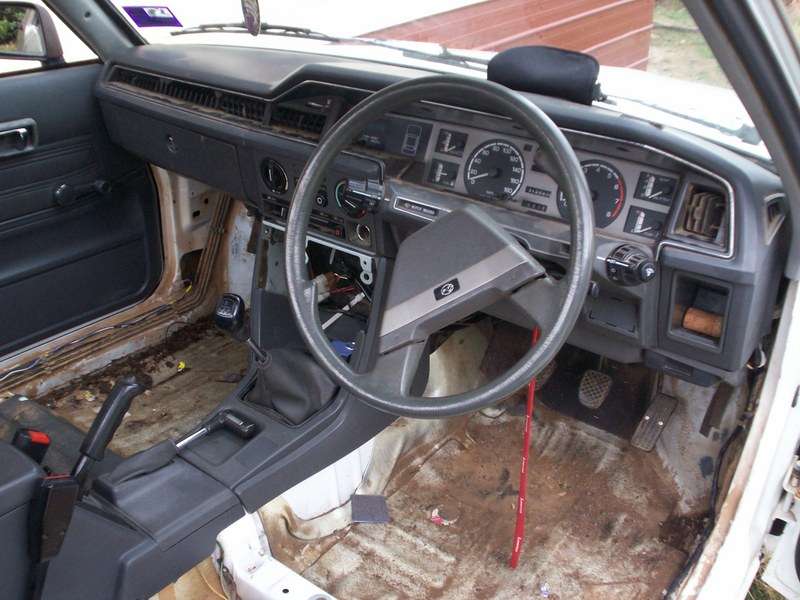
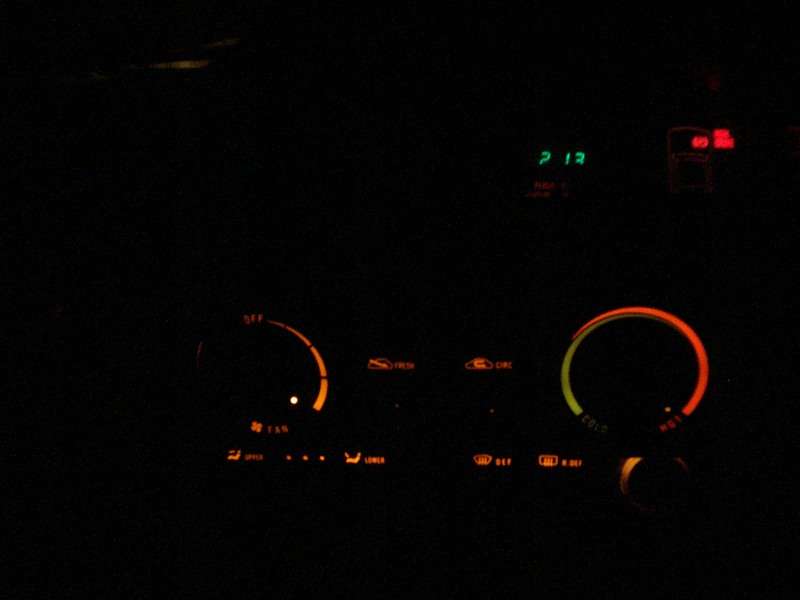
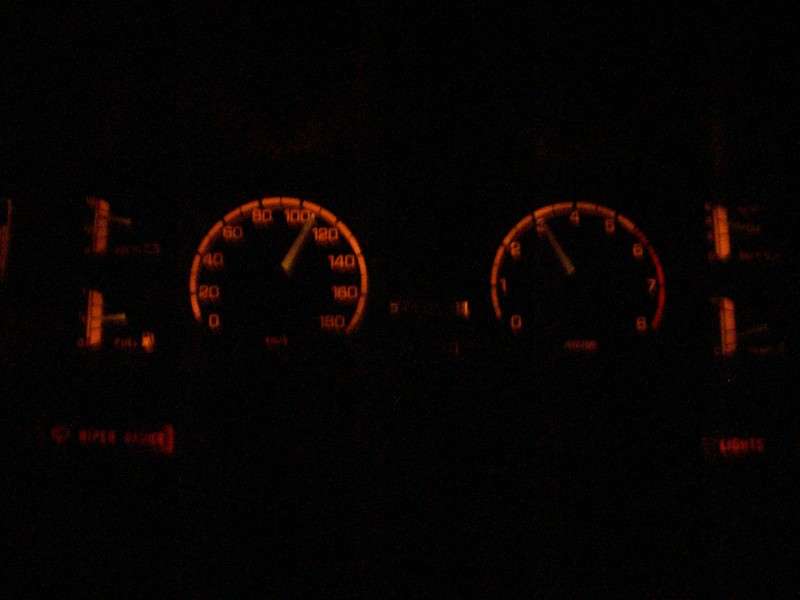
Okay, dash is in and all working with exception of the 4wd status. I've got the above quote posted here as all you need for this dashboard swap is the entire dashboard and the wiring behind it. If you've already got the correct dashboard to mount the instrument cluster in (eg a digi dash) all you need is the instrument cluster and wiring behind it.El_Freddo wrote:If you find one of these dashboards grab all the wiring behind it, that should be all you need except the pressure sender as mentioned. You can run another wire for this into your existing loom so long as you have 5 pins in your blue plug from the loom to the engine - it doesn't matter if the engine loom doesn't have it as you can add it.


Thanks mate, that means a lot to come from you! Sunnie has a bit of handywork from up your way, so I guess you could say that its sorta related...rtcb65 wrote:It almost looks like it might of come out of our shed..lol. Na. Just joking.. Very nice work . Well done. And i like the write up about the dash. Alot of info i needed. Thanks.. The dash swap is the next thing i am doing to mine. . Nice work..
Thanks, it is a good feeling when it all comes together as you want it. But very frustrating and tests your character when things go pear shaped. Its all going well now.LEALAROO wrote:Looks like things are working out well for your project. makes you feel good when a dream comes together doesn't it.


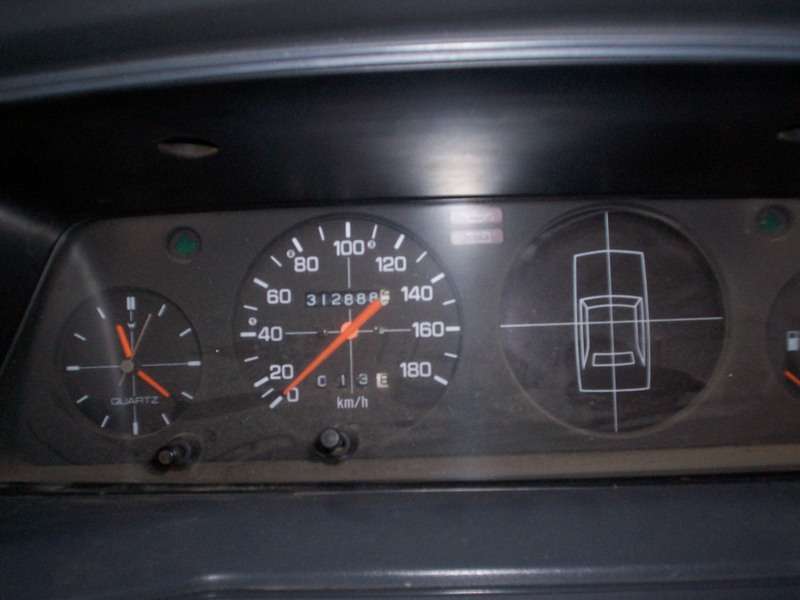
preno wrote:hey bennie, just a quick question... did you remove the tacho dash from the leone urself? if so was it very hard/time consuming? ill be attempting to remove one in the morning an hoping to get it done before work. any little tricks i have to watch out for?
very nice brumby there, i love the mods. been giving me ideas, hence the dash:D
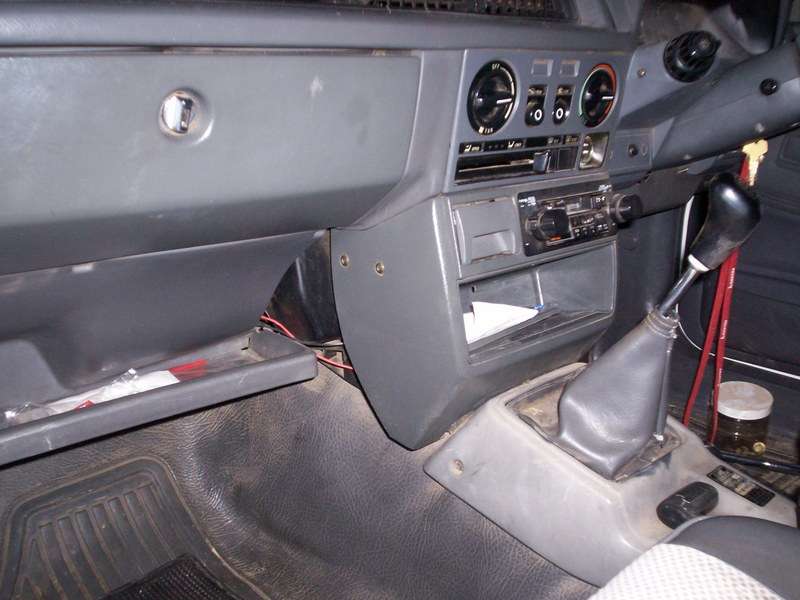
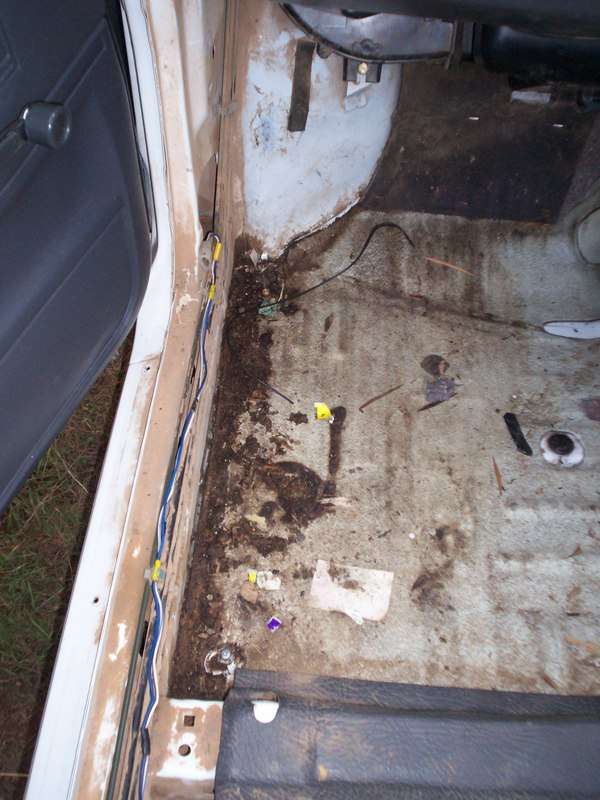
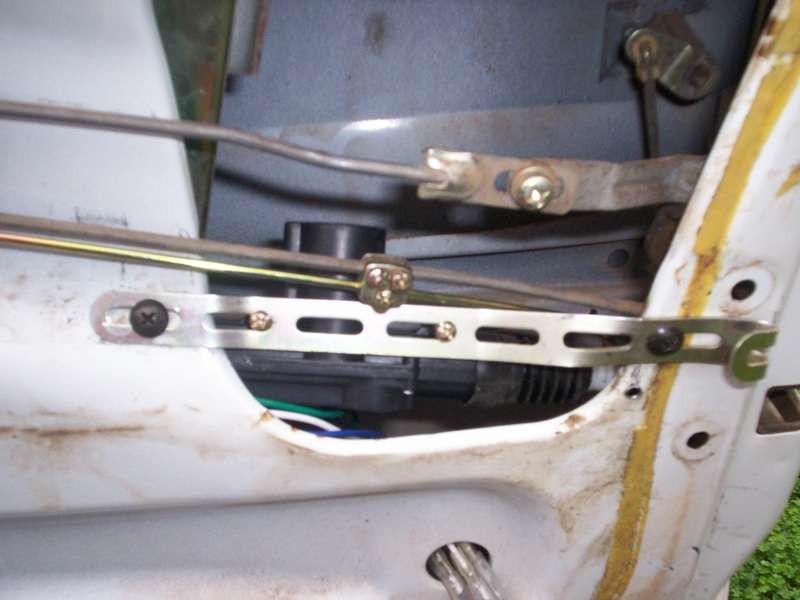
good spot for the central locking, took me a while to figure out a decent place to mount mine. i ended up mounting the actuator vertical connecting to the key lock with about a 2" spacer between the actuator and door. works pretty well.
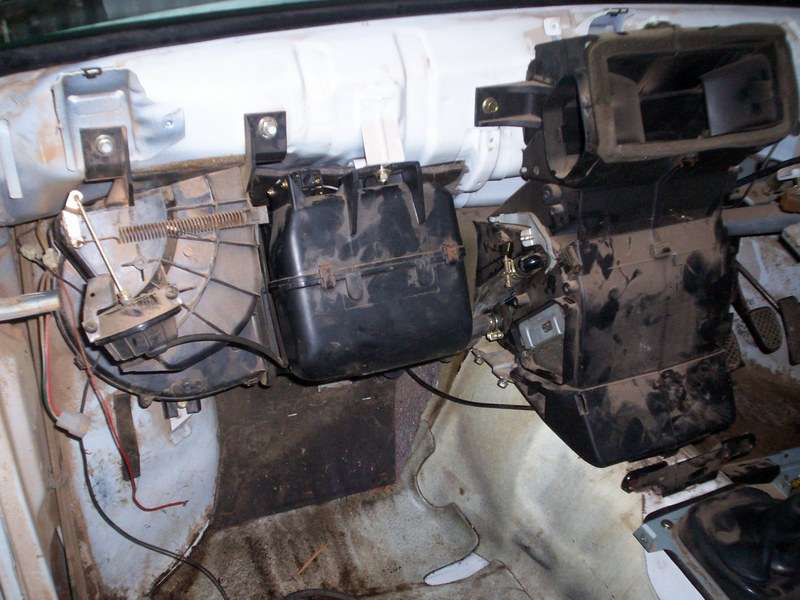
also with the whole dash, should it basically just plug into mine if i grab all the wiring behind it?
cheers
matt


