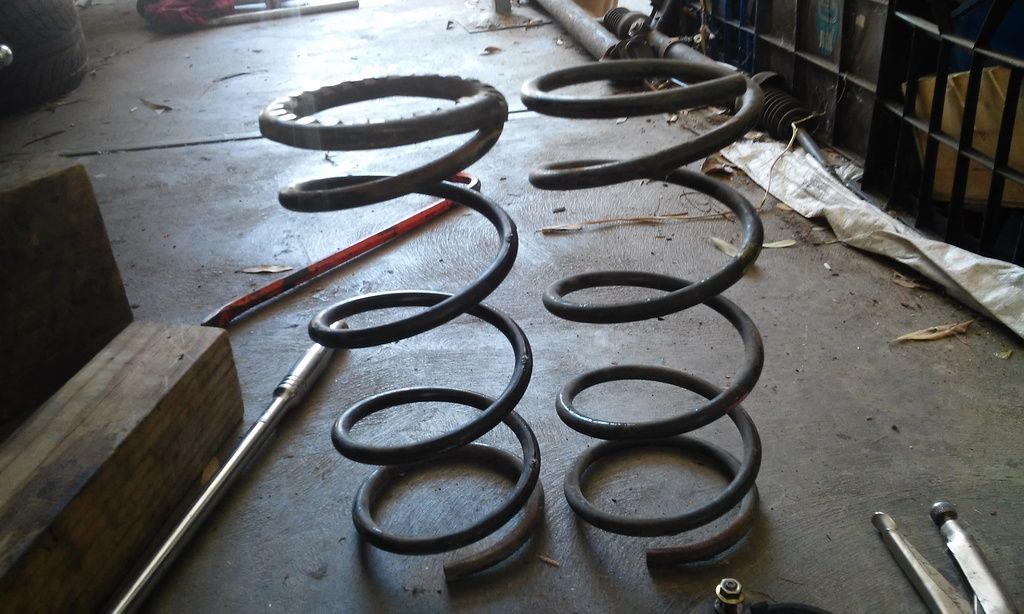
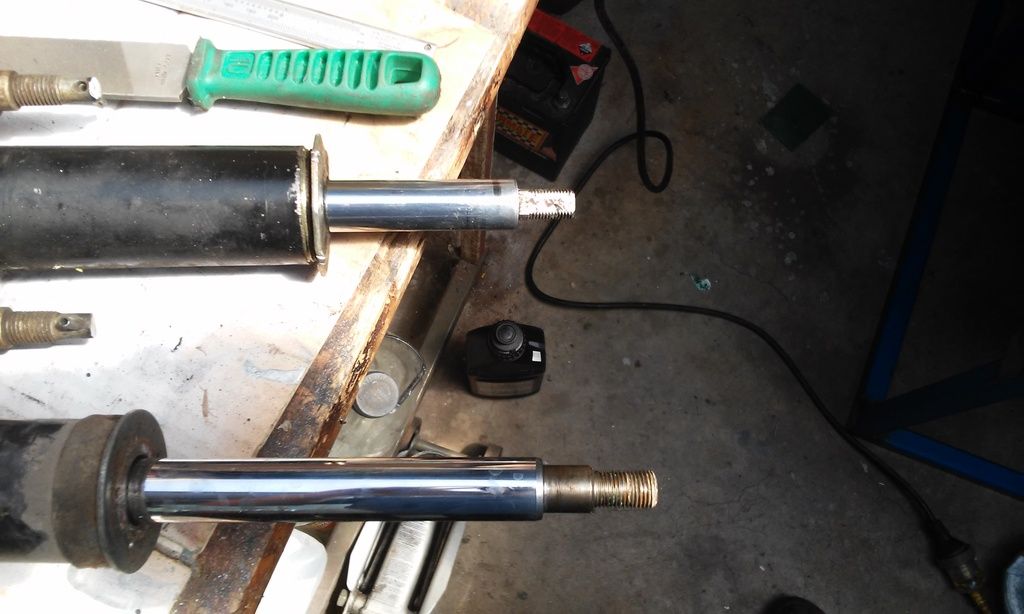
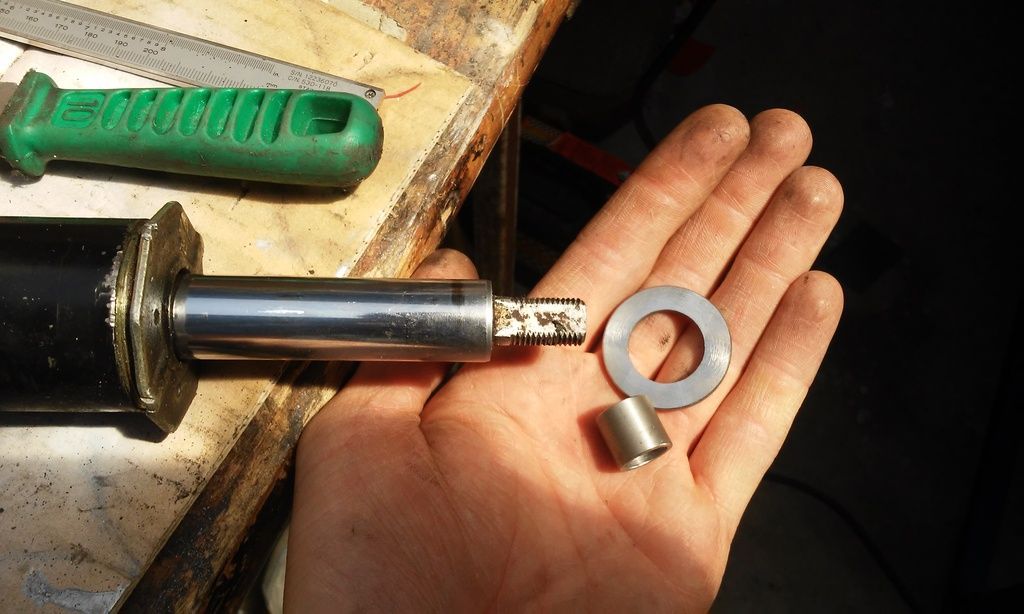
Got home just now and I'm so excited to announce the custom chromoly adjustable radius rods are in!
Pics and documentation to follow


http://www2.pajeroclub.com.au/forum/sho ... 004&page=8That buggy looks like the ones that Oriental 4WD at Gepps Cross make. Can't wait for the Peake Trip
Yep, thats the ones. Although they are called rising sun car service. The business has Recently been sold but Steve is still making the buggy's from different premises.

brumbyrunner wrote:And just to clarify the real 4WD thing, Subarus are an unreal 4WD.
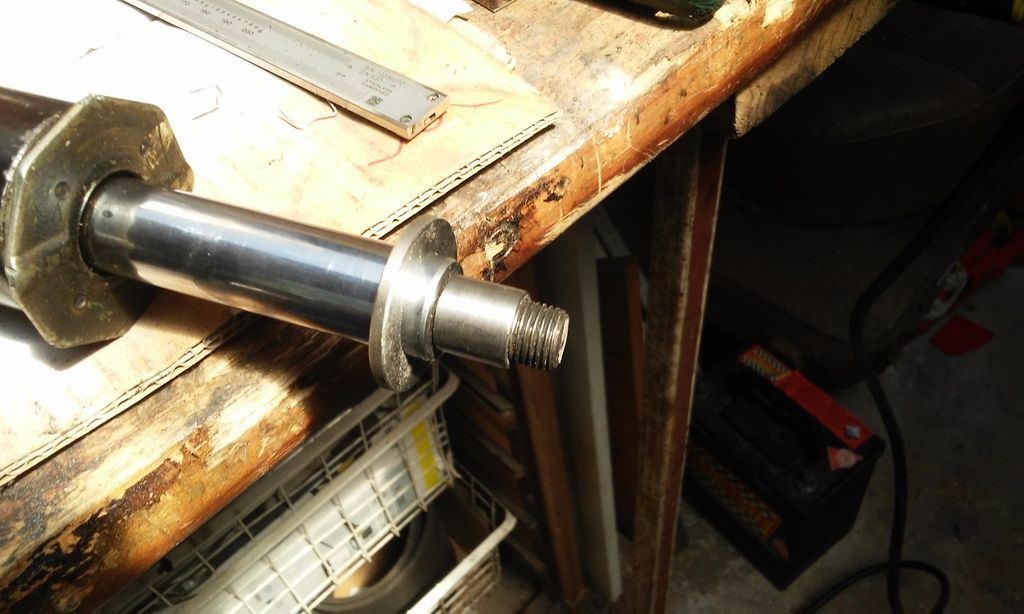
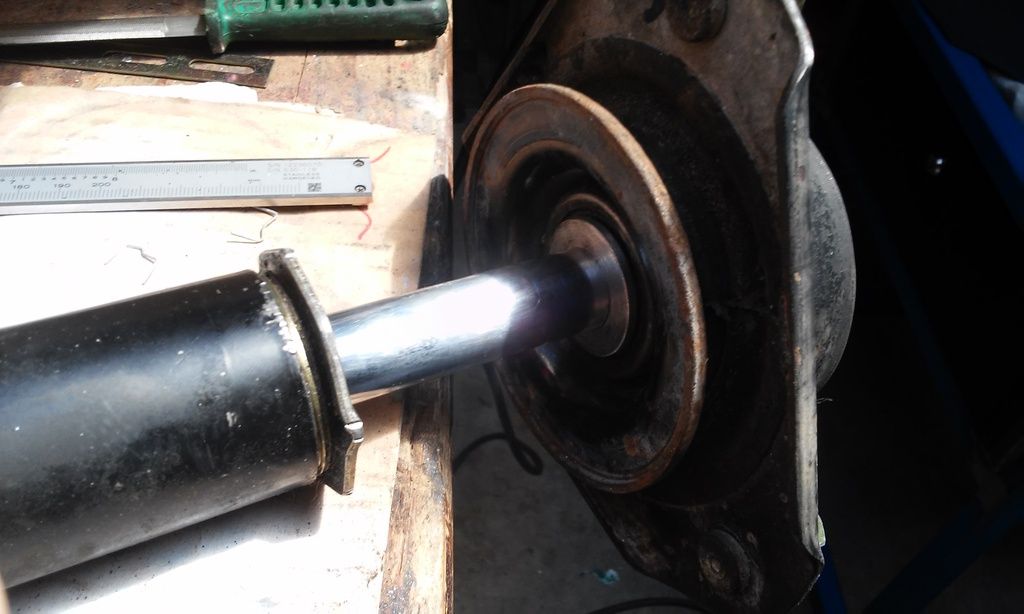
Wonder if he could be tracked down, so I can pick his brains about his patented long travel strutsThe business has Recently been sold but Steve is still making the buggy's from different premises.

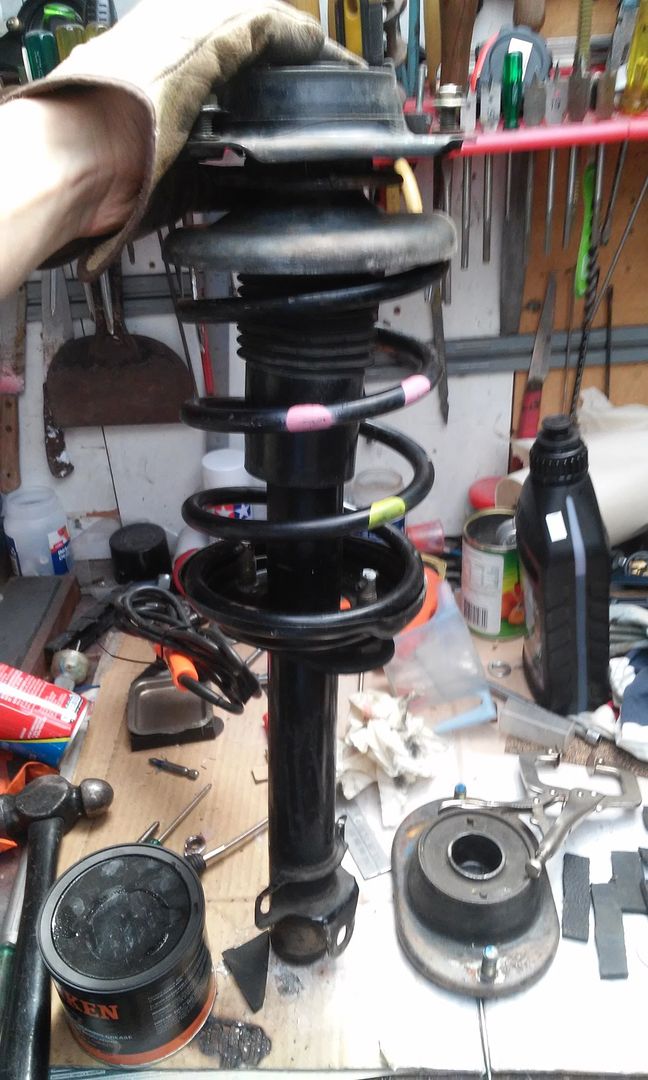
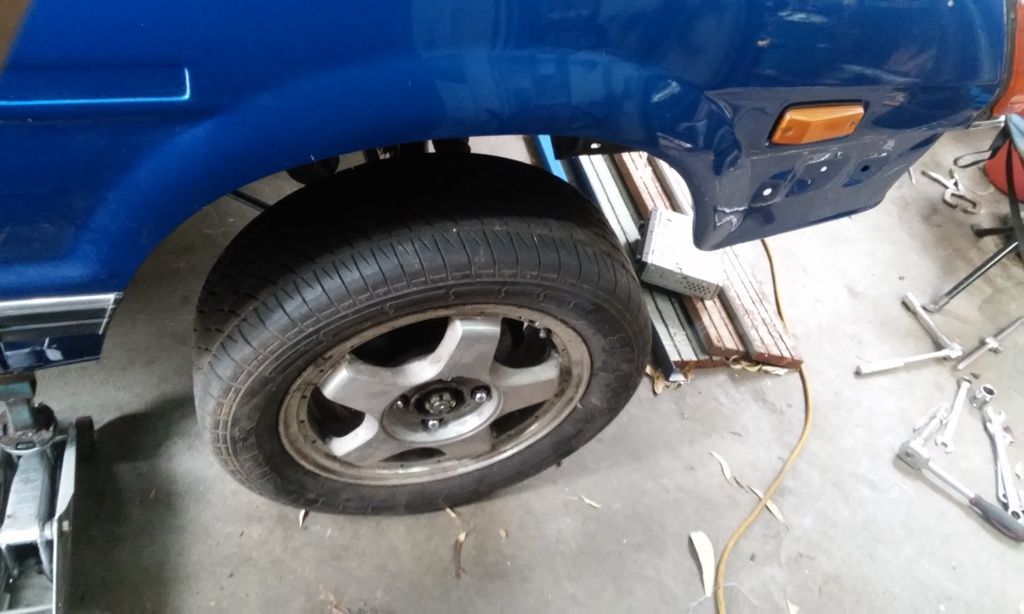
Yes, and yessteptoe wrote:and did you fit the top mount with the three holes in facing correct way ? Not that it is the cause of the camber. Surely all this work neds be done with engine and gearbox in to get correct stance ?