So first of all, gave up on the sound system upgrade. Just couldn't be stuffed in the end.
Had a re look at the exhaust. I have been mucking around with the exhaust for ages so in the end decided to run with a 2.5 inch zorst with cat and 2 hot dogs to 2.5 pipe end. It's very oversized for a brumby but it's what I had lying around and it sounds good.
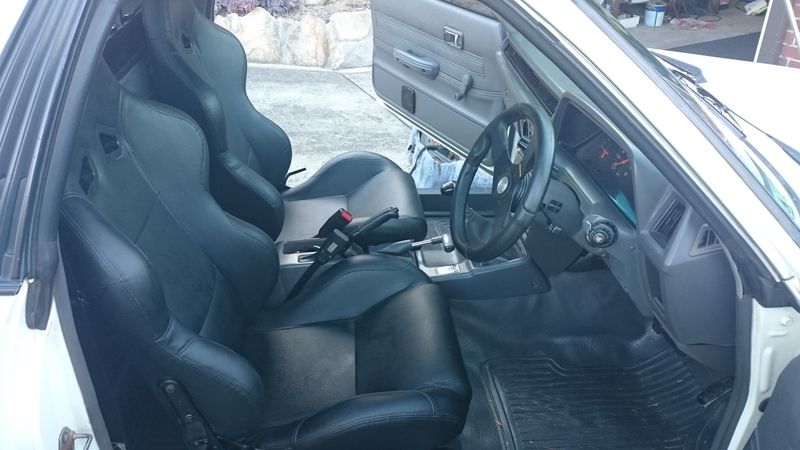
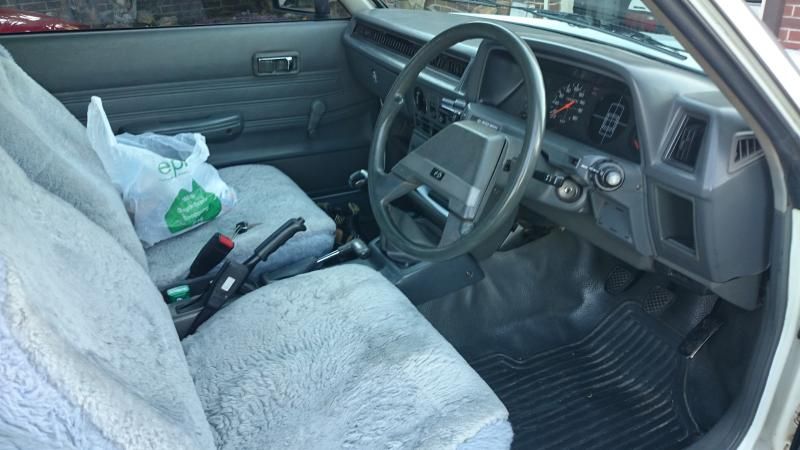
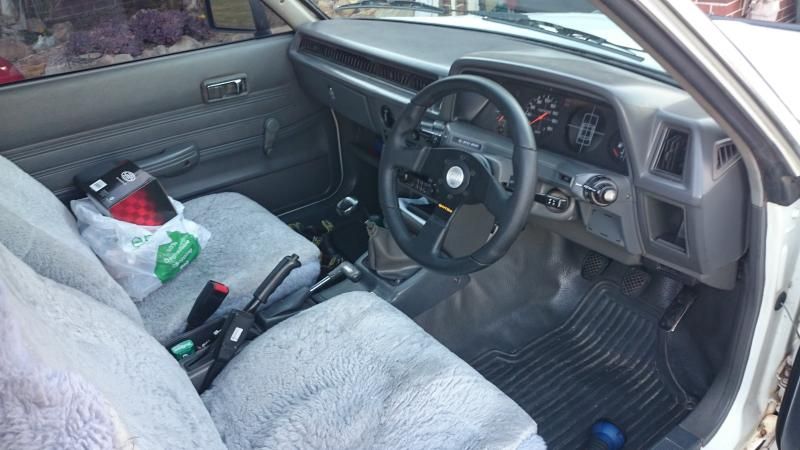
Bought a steering wheel off ebay for 20bucks and chucked it on. Makes a difference. Must be 50kws extra at least. More comfy too.
Before
After
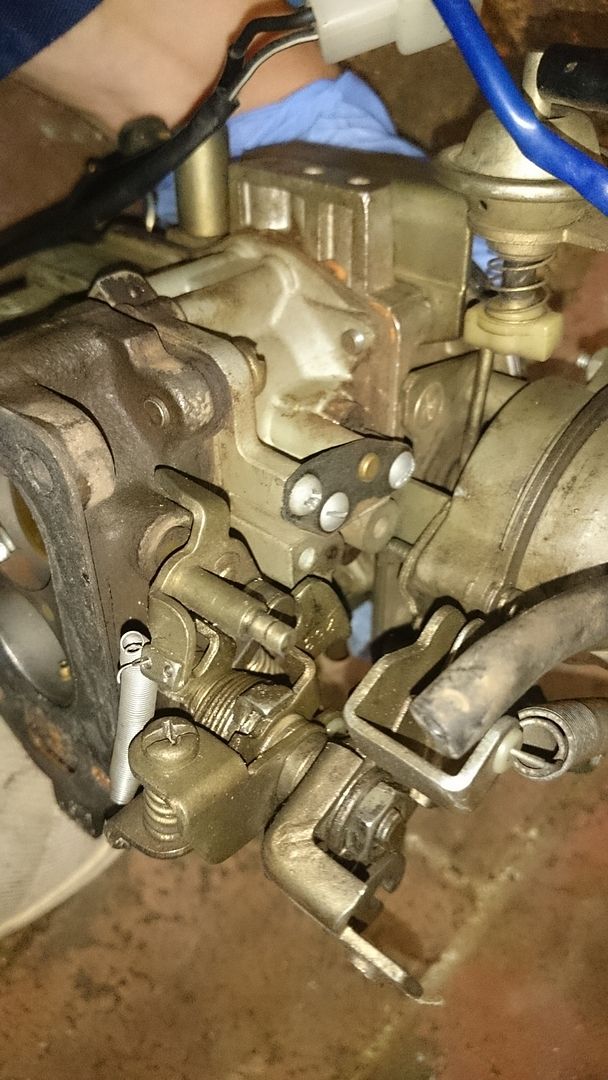
After reading the words of sage fisterbottom, I removed my Weber 32/36 and reinstalled the Hitachi but not before some work on the carby. Mostly this involved removal of the emission control parts and general clean ups of jets and passageways.
I also managed to rustle up from the shed an Hitachi carby from an old hilux model so went ahead and replaced whatever jets I could onto the stock carby.
Getting started (thanks for the manual willy)

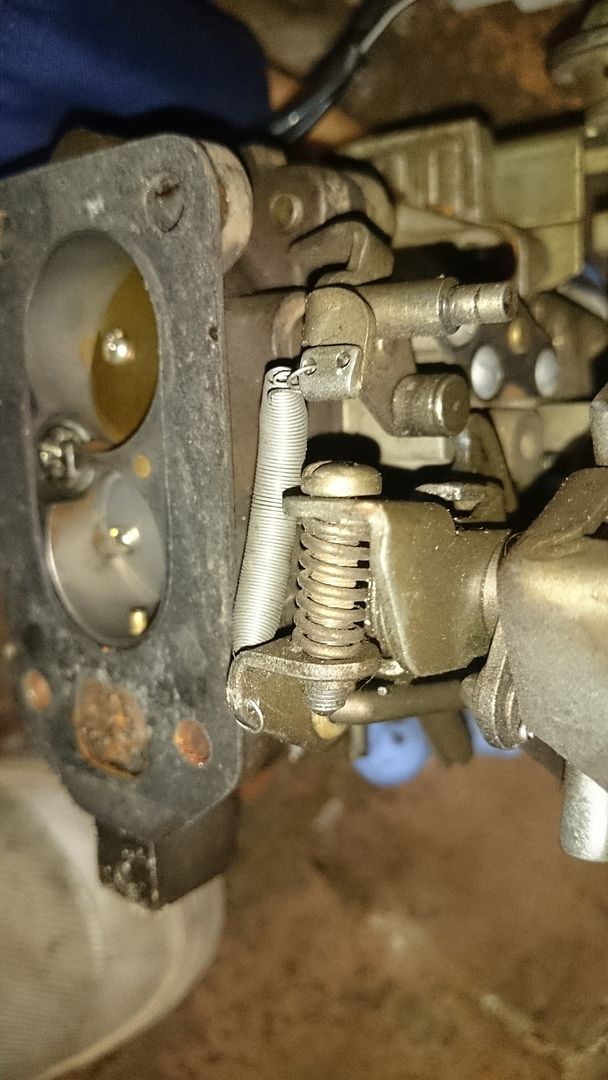
I also linked the secondary throttle to the primary throttle directly, without the vacuum system. To allow the secondary throttle to close after you lift your foot off, I just drilled a small hole in one of the primary throttle assembly linkages and used a small spring.
I have heaps more pics of the carby dismantled and secondary throttle setup if anyone needs.
So Weber and Hitachi back to back? The weber under full power, high rpm, made good noises and was probably about the same speed but otherwise compared to the Hitachi (with the upgrades) that's where the benefits end. The Hitachi is now much faster in the normal RPM range and seems to pull loads much better. It also has an automatic choke system from the factory. I also believe (opinion) that the adapter for the Weber interrupts the airflow in a negative way. The Hitachi also burns less fuel.
Once I finished I put the stock air filter back on (because stealth...) It noticeably runs worse with the stock filter though after the upgrades so I modded the rear of the intake to allow better flow.
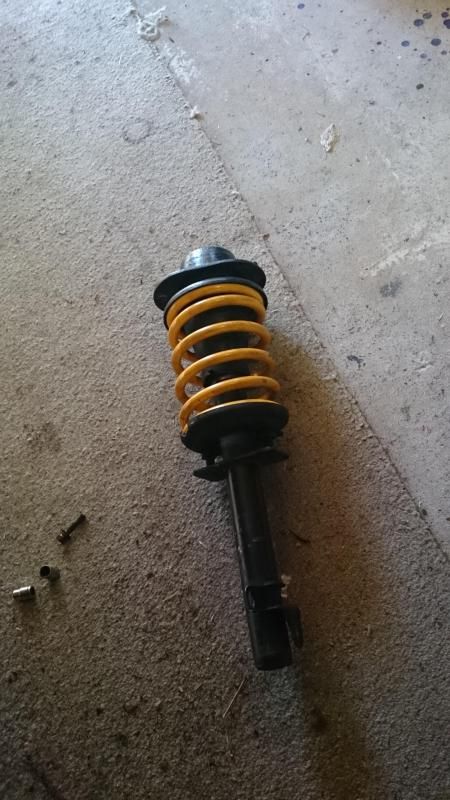
Managed to score some cheap King springs so put them on. Its not hard to do as the struts come out very easy on brumbys.
Here's a pic of the strut removed. It requires 6 bolts in total to remove plus the brake clip.
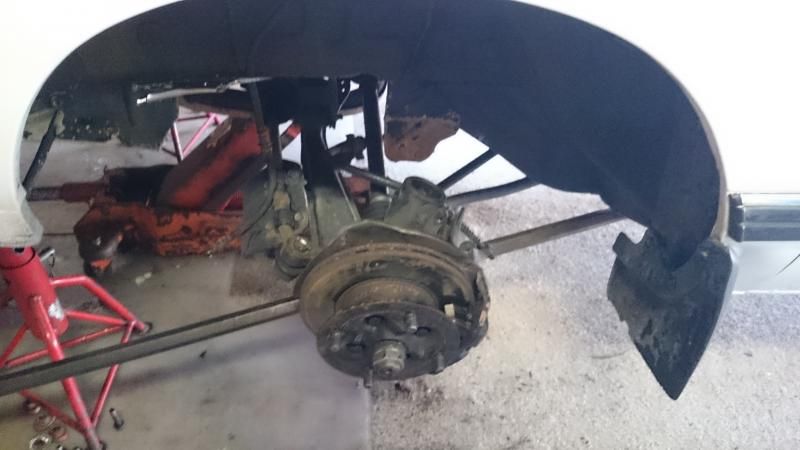
the new springs. mmmm yellow
That's it for now. It's in the shop getting an alignment at the moment.
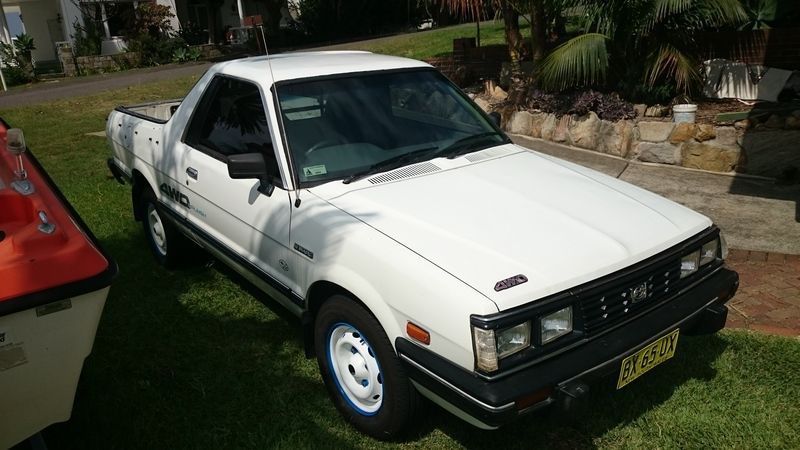
Question: If you could put any stickers onto the brumby what would you put? I always liked the brat down the panel after the window on the yank versions. Wonder if there is any 'brumby' versions?