Page 1 of 2
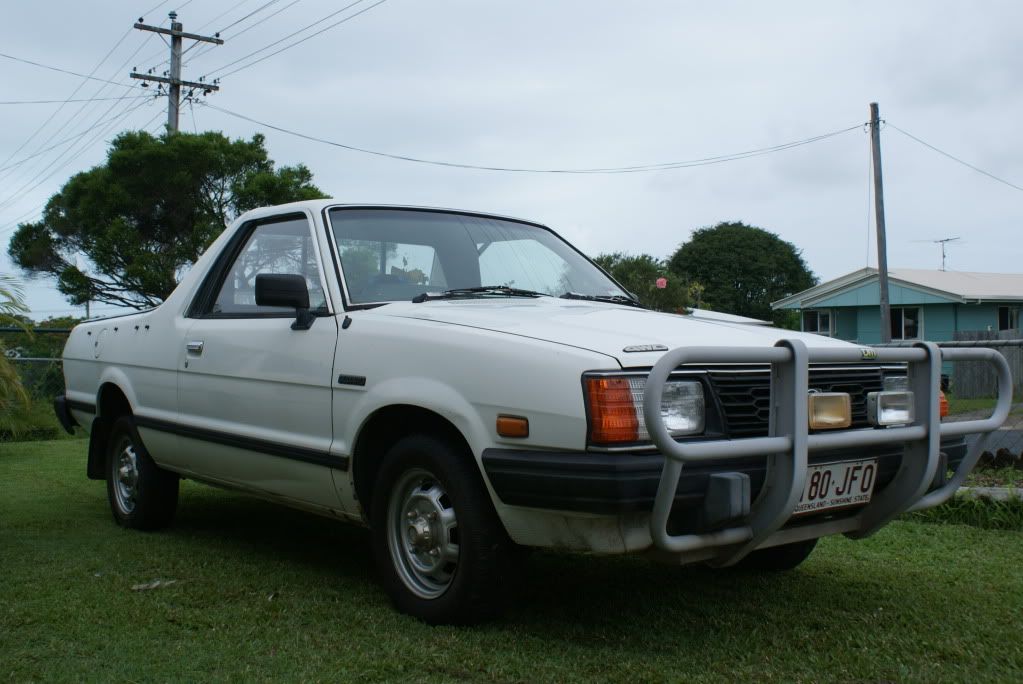
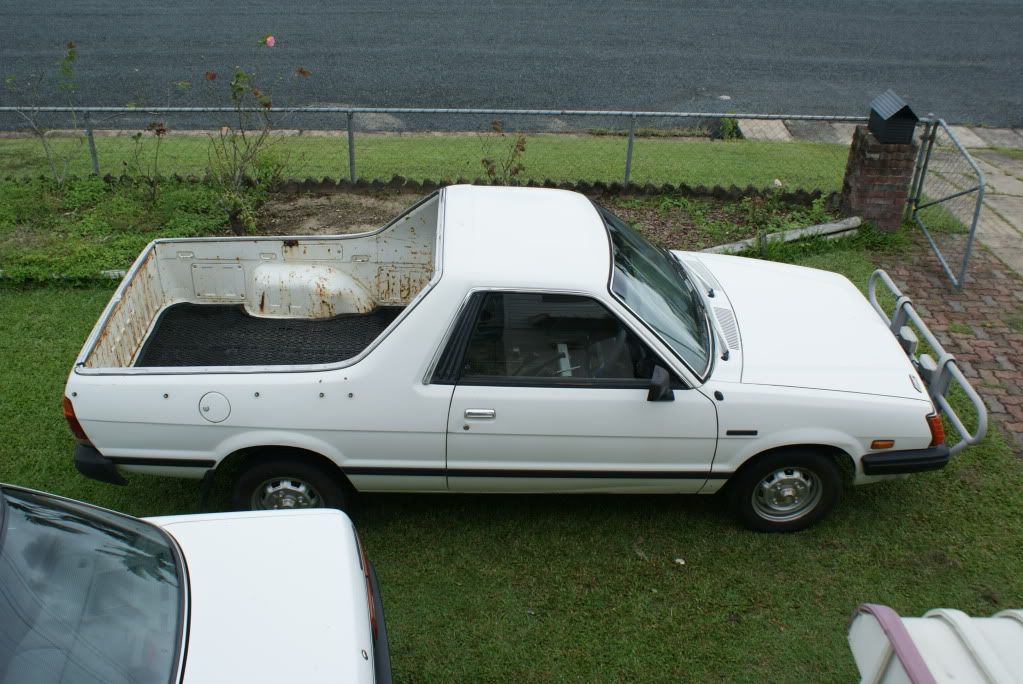
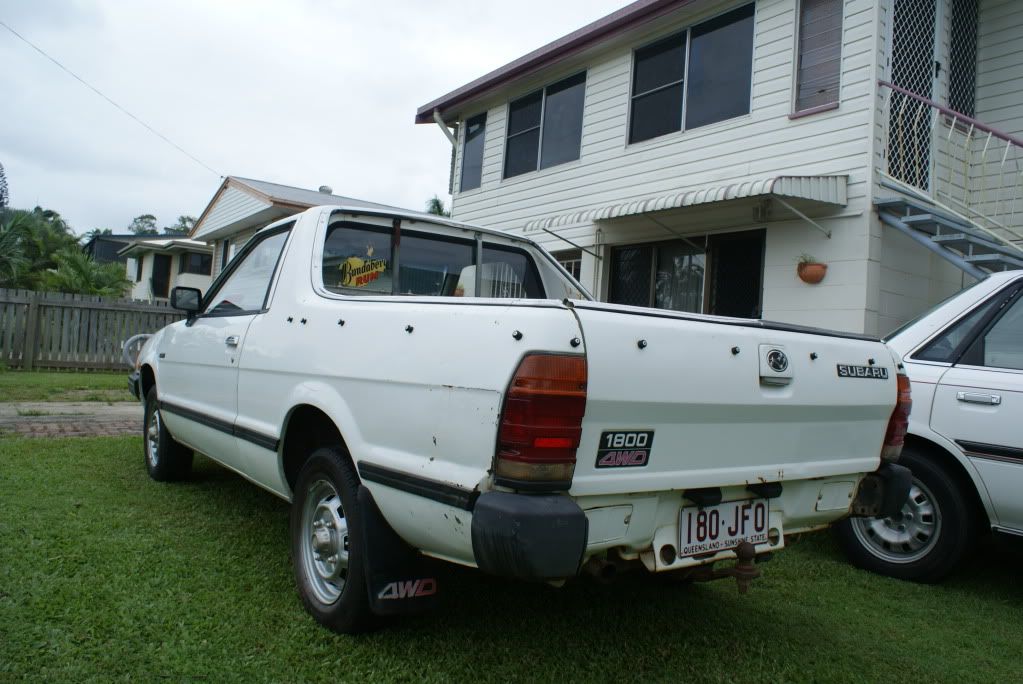
My '87 Brumby
Posted: Sun Feb 06, 2011 3:14 pm
by David D
Hi Everyone
These are a few pics of my Brumby. I'm currently attacking the rust and replacing it with metal. The worst area is the windscreen corners and the back of the cab. My main plan is to finish the welding, get a respray (still deciding on a colour), and get it on the road! Once it's up and running I'll be able to sort out what needs doing next.
I'll try to keep posting the progress as it comes along, slowly...
David
Posted: Sun Feb 06, 2011 5:12 pm
by Johnny T
Nice looking brumby m8, should be fun little project, do u have any other plans for it like new engine and rims?
Posted: Tue Feb 08, 2011 8:02 am
by David D
Cheers mate, no major plans at the moment. I'd like to keep the original engine but might be tempted with a set of different rims. Still happy with the standard ones for now.
David
Posted: Tue Feb 08, 2011 8:03 am
by David D
Cheers mate, no major plans at the moment. I'd like to keep the original engine but might be tempted with a set of different rims. Still happy with the standard ones for now. Would like some new seats but I'm not sure what to go for. I gather there'll be work involved no matter which ones I get.
David
Posted: Tue Feb 08, 2011 8:33 am
by 1111giles
David D wrote:Cheers mate, no major plans at the moment. I'd like to keep the original engine but might be tempted with a set of different rims. Still happy with the standard ones for now. Would like some new seats but I'm not sure what to go for. I gather there'll be work involved no matter which ones I get.
David
Hi David - I have Foz seats in mine very comfy and if you get the light grey ones they look period too:mrgreen:
Gotta say your truck looks like an excellent proposition ! Look forward to seeing your progress !
Posted: Sun Mar 06, 2011 7:45 pm
by David D
Hi Everyone
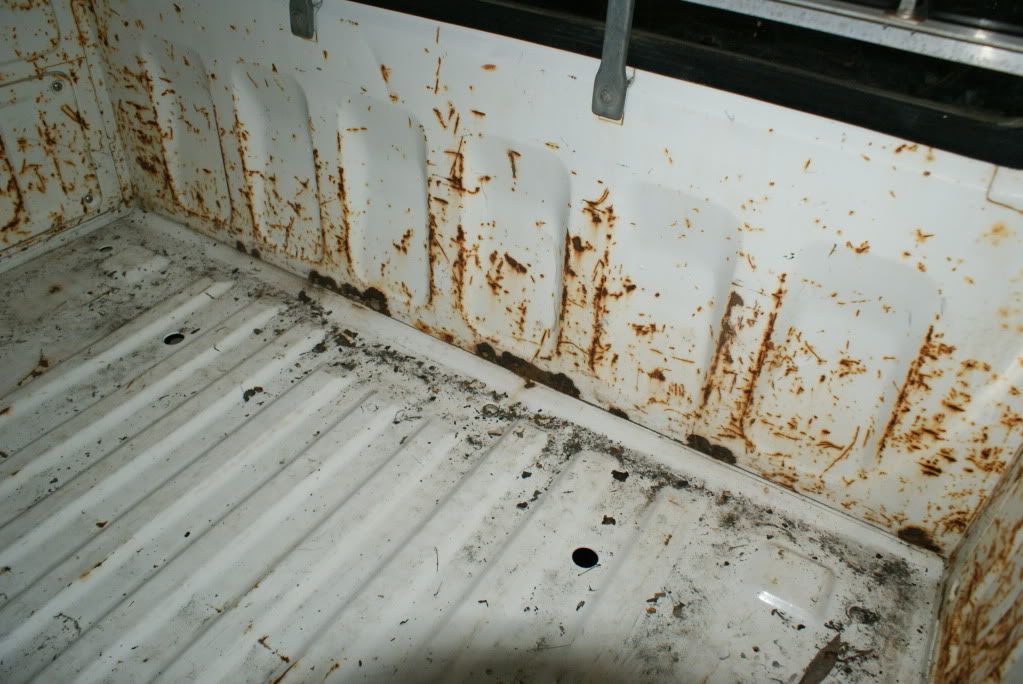
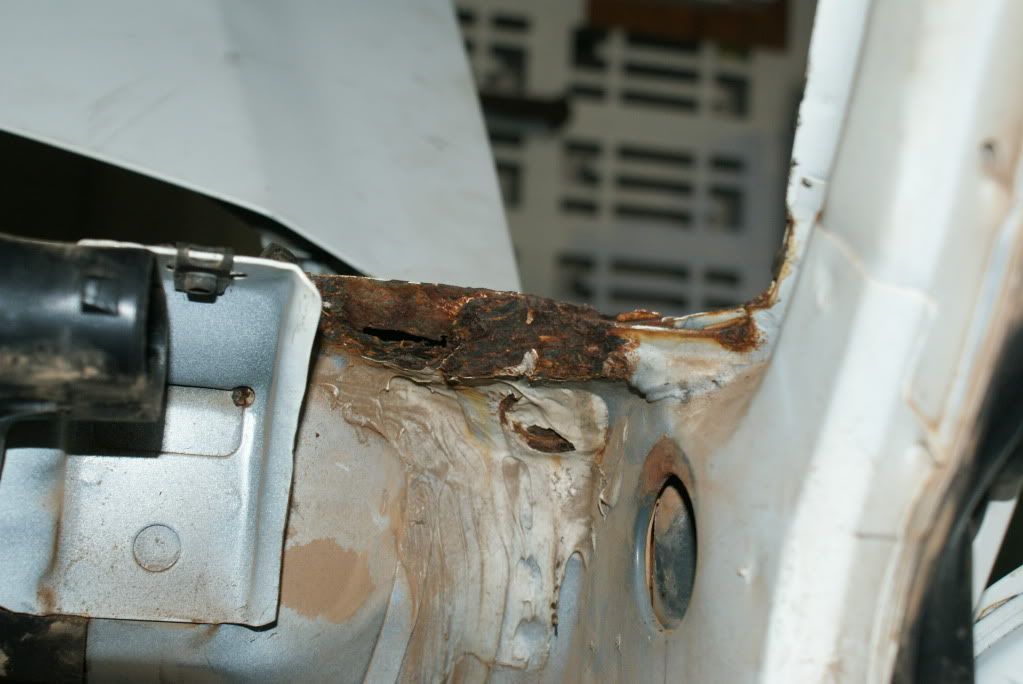
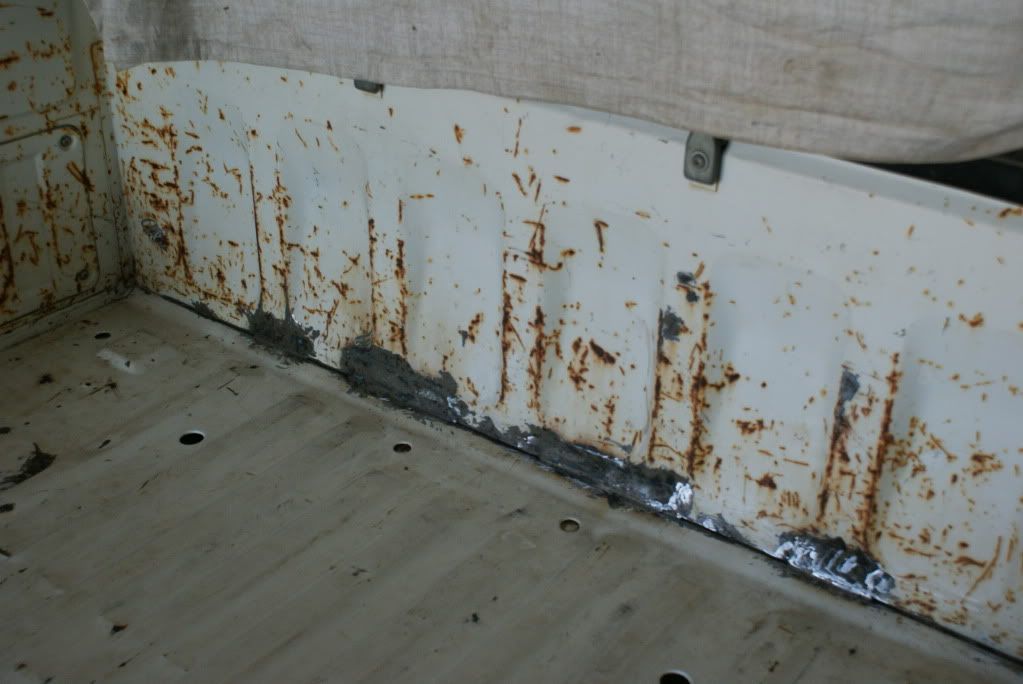
Just thought I'd share some pics of my rust with you.
Back of cab / front of tray
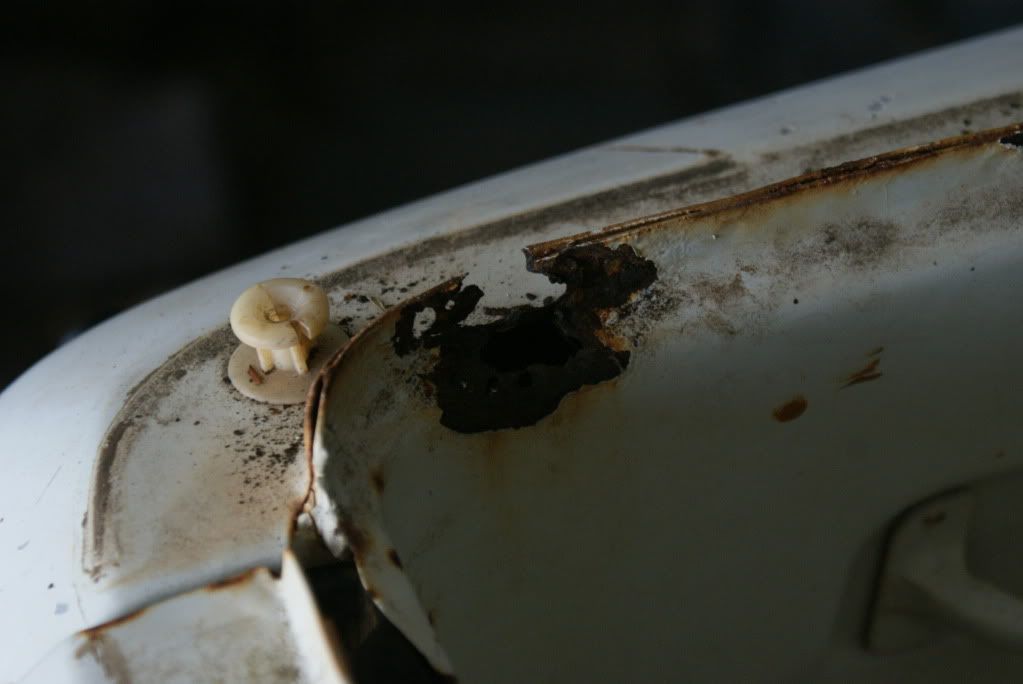
Windscreen corner
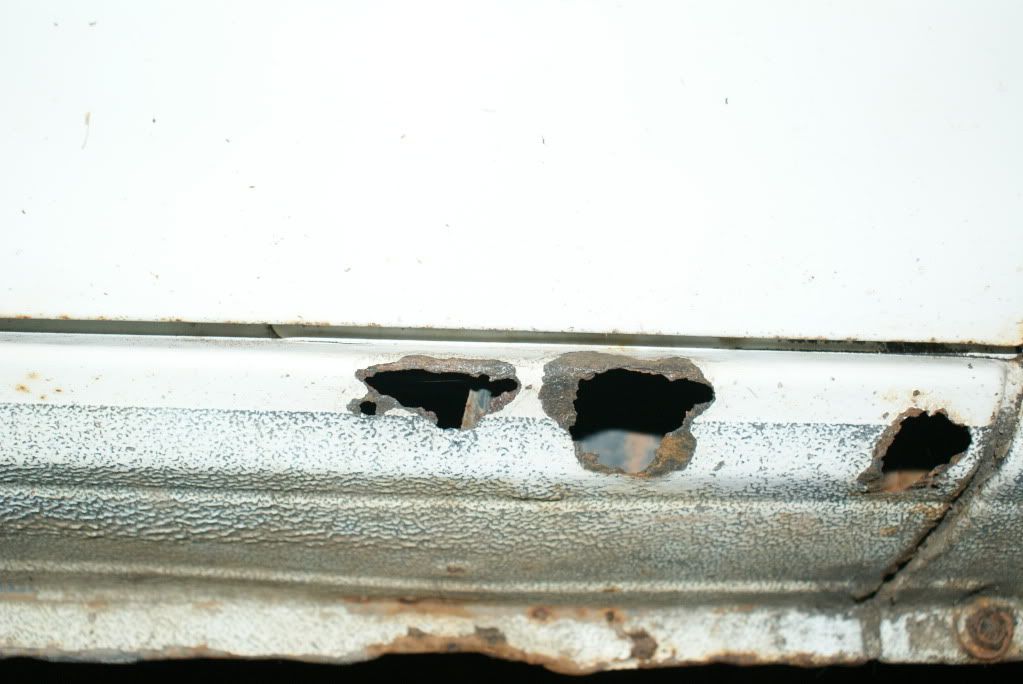
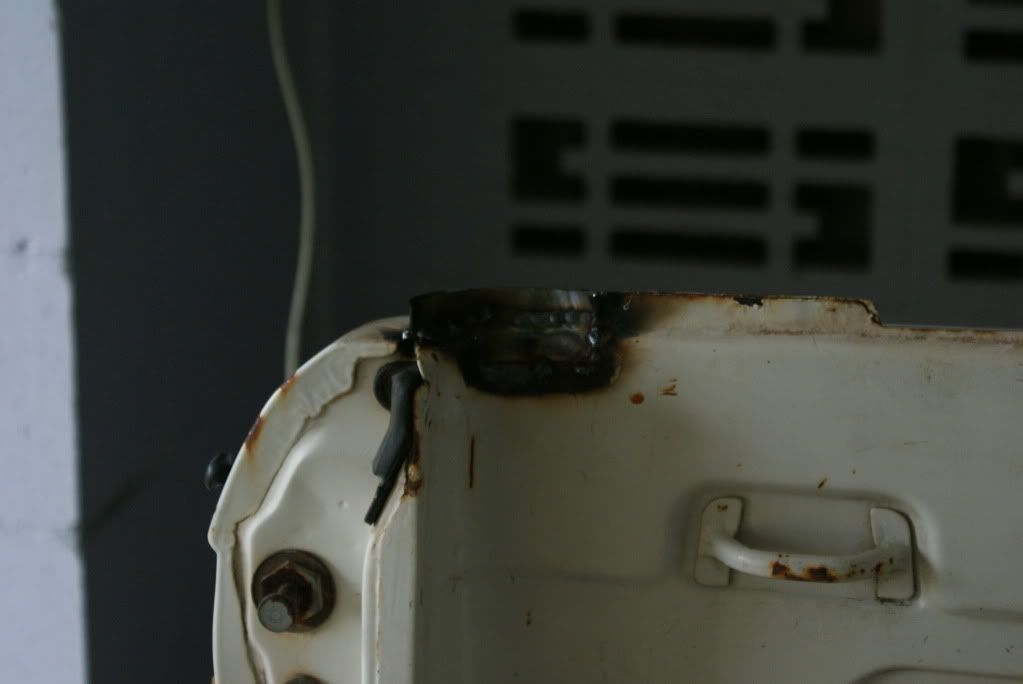
Hole in the sill
Most of the welding is done now, I'm just slow at getting pics up. Will post some more eventually......!
Cheers
David
Posted: Fri Apr 01, 2011 7:01 pm
by David D
Hey guys
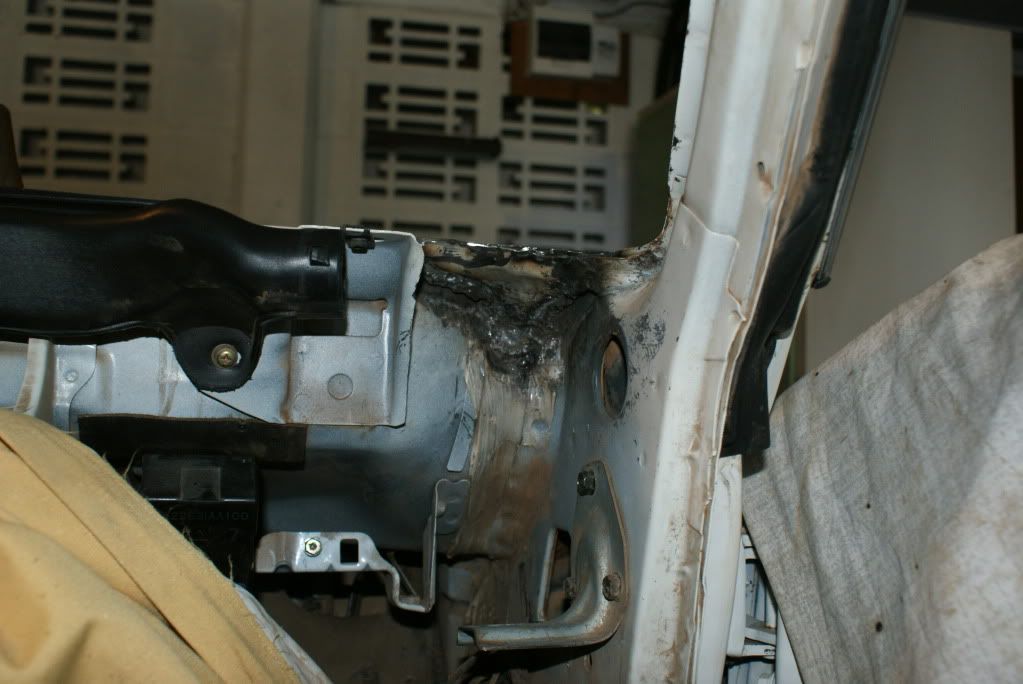
Here's a few pics of the new metal that's gone in so far...
This is inside under the windscreen. Very tricky to get good access but I did the best I could. I figure messy welding is better than rust!
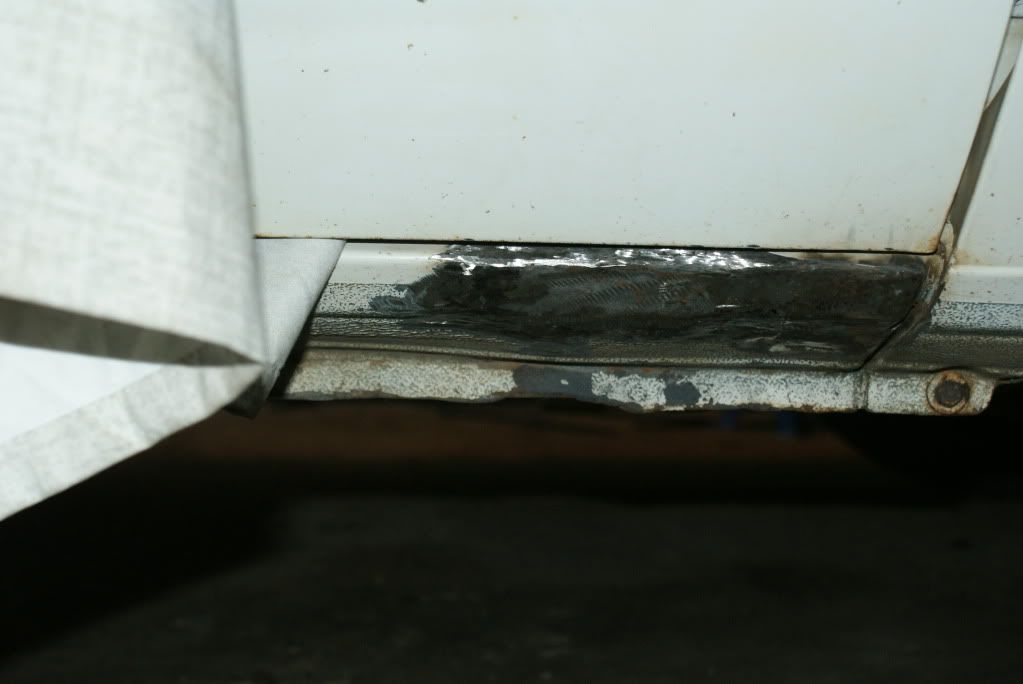
This is the RH sill welded up.
Back of the cab. In hindsight, I could have cut along the whole width and put a new strip of metal all along but at least it's done now.
Still working away at it.
David
Posted: Fri Apr 01, 2011 7:11 pm
by olddog642
Keep plugging away sit is looking good and you'll soon have it on the road.
Got a name for it yet or is it still just Bugger. (what have I got myself into)
Soobies are good Soobies are better Soobies for ever
Hylton:twisted:
Posted: Fri Apr 01, 2011 7:17 pm
by David D
Me again
Found this underneath the trim around the tray.
Sorted now.
The worst rust is definitely around the firewall / under windscreen / back of engine bay area - so many places to trap water. I've cut out and welded as much as I could and treated the rest. It's hard 'cos I never intended this to be a full resto but I also don't wanna cut corners and bog it.
I have stripped a fair bit in preparation for paint and I have started rubbing back a few spots of surface rust. All was going well until I sanded a tiny spot of rust on the LH sill and a hole appeared. Next thing you know, the welder is out again lol. This sill looked fine and only had a few minor spots of what looked like surface rust but I've had to cut out 2 patches as big as the one on the other side. Looks like there had been water trapped inside as the inside of where I cut out is rusted but the outside looks OK - the tiny drain holes must have blocked.
Other than body work, I've put some new bushes in the shifter and done the 'nut and bolt' mod (thanks for the tips on the forum everyone). There's a new inner CV boot, a new rear exhaust section, a rear wheel cylinder and a lower ball joint all in place too.
Still a bit to do but getting there
David
Posted: Fri Apr 01, 2011 7:42 pm
by David D
Thanks Hylton
No name for the ute yet but I do use the word bugger a lot lol.
Still excited about getting it up and running but there are some days when I think 'how is it in so many pieces when I brought it home as a whole car?!!!'
Just gotta keep at it.
David
Posted: Fri Apr 01, 2011 7:51 pm
by 1111giles
Good work going on over there David !:mrgreen: Keep it up and you will have a truck to be very proud of.
Look forward to seeing more pic's and dont forget to post them up on MVBRUMBYBRAT forum too !
When you have done all the work and painted it can I suggest that you treat the cavities and any where else you can tolerate it - with LANOTEC rust preventive. It shuts out water keeps out oxygen and doesnt crack off in time stays flexible. Highly recommended.
Scooby's slarted all over in the stuff !:mrgreen:
Words of further encouragement!
Posted: Fri Apr 01, 2011 7:57 pm
by FujiFan
I take my hat of to you David for going the distance and avoiding the bog fix.
Locally a chap put complete 94' WRX driveline in a brumby that started similar to your example. In the end to sell it with a decaying body and some minor mech issues. One quick rust bucket. I decided not to buy it based on what would be required to "restore" the body/shell to a sound standard. For me mechanincs are the easy part. What your doing is hard yakka.
Good onya:)
J
Posted: Sat Apr 02, 2011 8:59 pm
by David D
Thanks for the encouragement guys. I was thinking about what I could use in the cavities so I will definitely get some of that Lanotec. I reckon this car has been use around someone's farm for a couple of years - you wouldn't believe the amount of dirt and dust I've cleaned out of... everywhere! Definitely need something inside all those small spaces.
Cheers
David
Posted: Mon Jun 20, 2011 9:21 pm
by David D
Hi everybody
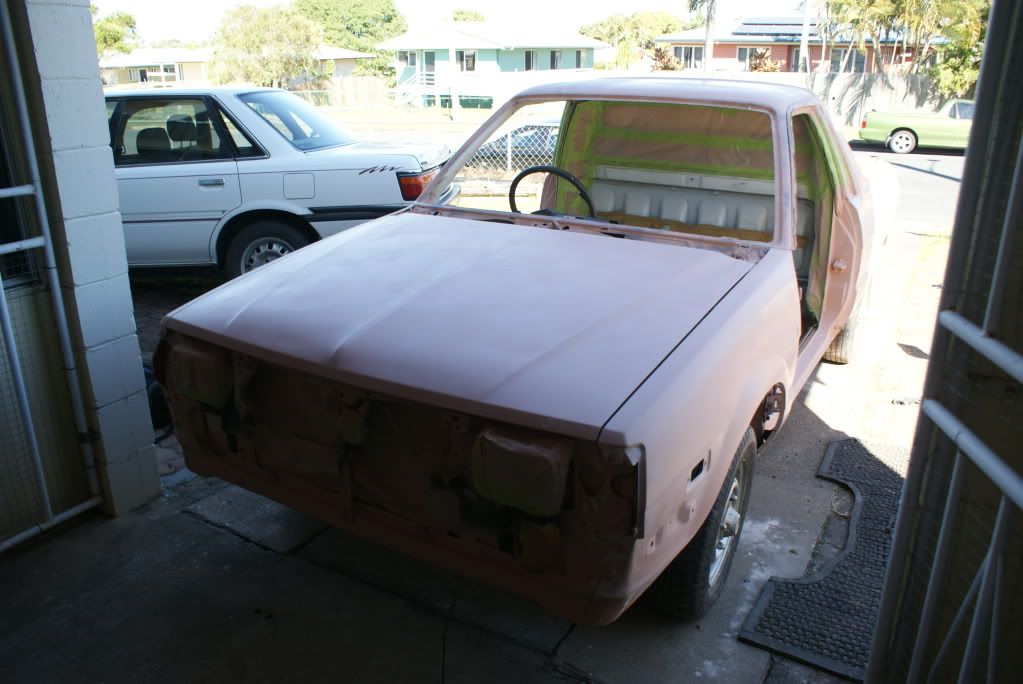
Been a while since I posted an update but I have made some progress. After much bogging, sanding, bogging, sanding etc, I finally got the Brumby ready for paint. I was thinking of having a go myself but a mate from work kindly stepped in. He used to be a panel beater so knows how to handle a spray gun. Here's a couple of pics in primer:
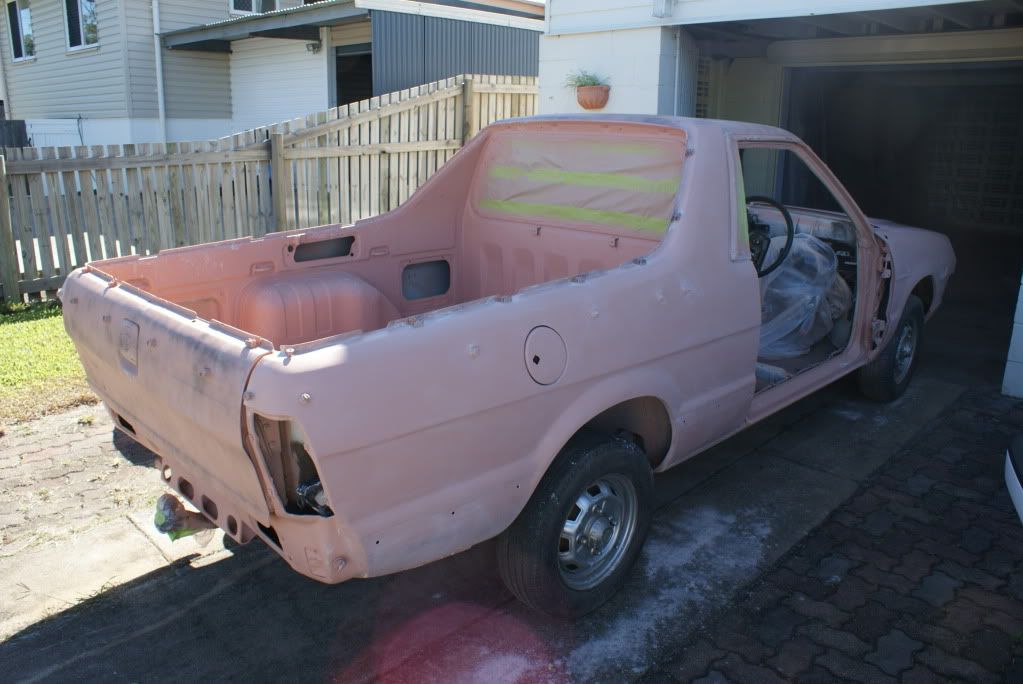
It's painted now apart from the tray (which I think I'll have a go at) and I'm starting to reassemble. Got the dash in today but will need to take it out again tomorrow! I put new foam where the old stuff had disintegrated in the air vents but it wasn't thick enough so I will need to double (or triple) layer it tomorrow. I just realised this at the end of the day so I decided to leave it for next time.
I'll try to remember to get some pics of the paint tomorrow.
Cheers
David
Posted: Tue Jun 21, 2011 6:09 pm
by dobo
looking very good, can't wait to see the final outcome!
is it staying white?
Posted: Tue Jun 21, 2011 8:06 pm
by David D
Well, here it is painted. As you can see, I decided on red.
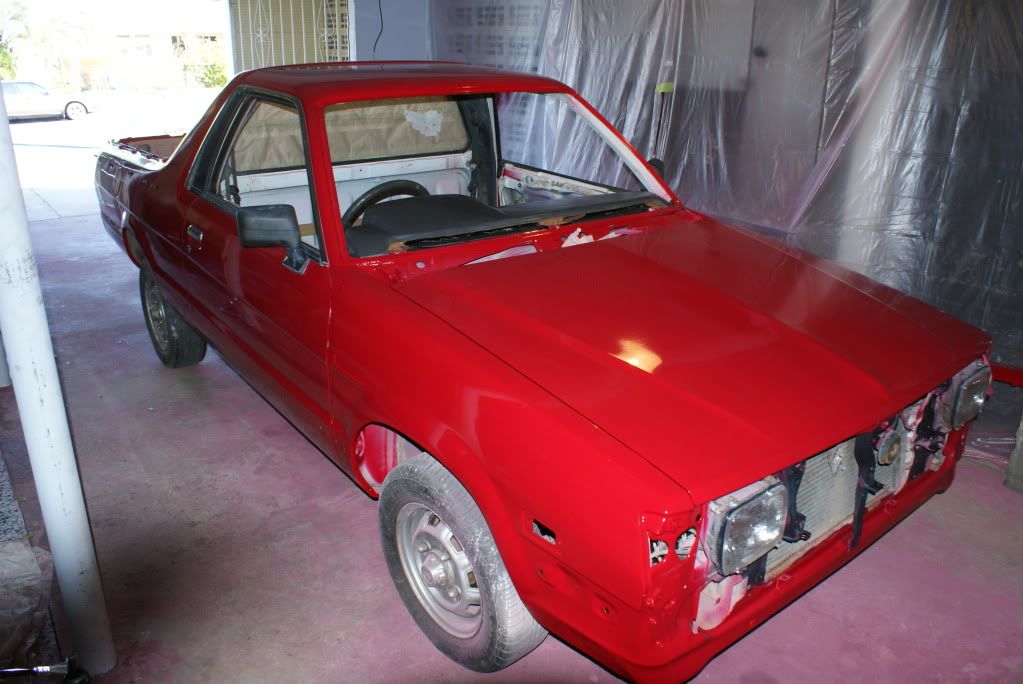
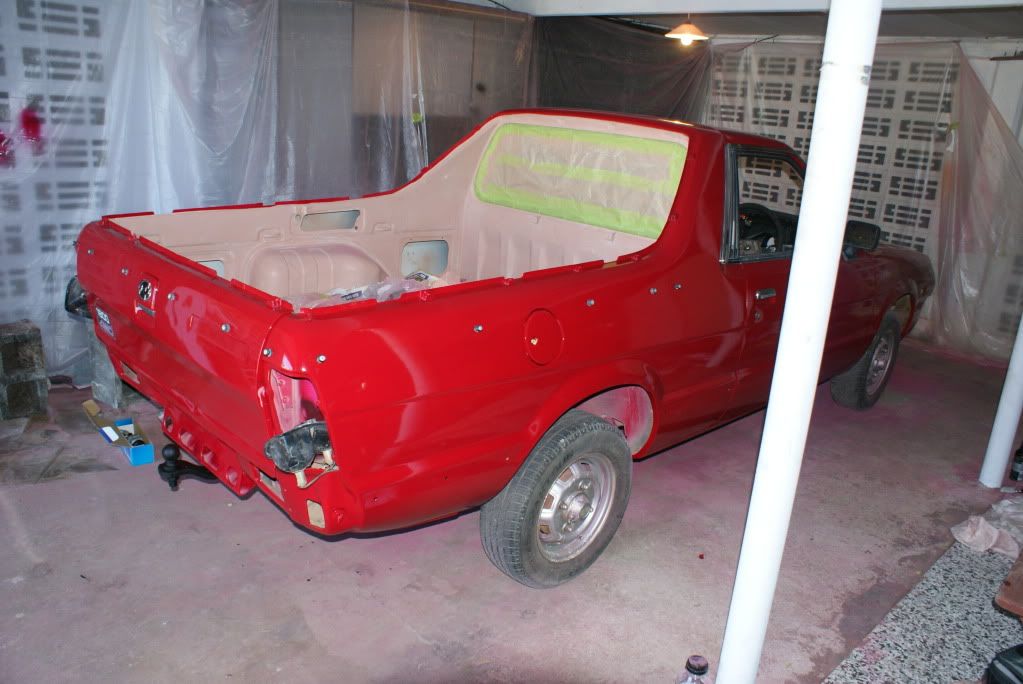
Got the dash all connected up and lights, blowers, wipers etc seem to work. Only problem is, I can't get it started! There was a bit of a 'knack' to starting it when I got it - you had to turn the key really hard. I'm thinking the ignition switch may be buggered. Fun and games....
David
Posted: Thu Jun 23, 2011 12:00 am
by El_Freddo
Nice colour! Got some gold rims to set it off??
David D wrote:There was a bit of a 'knack' to starting it when I got it - you had to turn the key really hard. I'm thinking the ignition switch may be buggered. Fun and games....
Could be - I know my sister's L had a problem with its ignition - you had to "hit" the right spot when turning the key to the start position to get the starter circuit and the power to the coil to operate at the same time - otherwise you would only get the starter motor turning the engine over without power to the coil. Very frustrating to chase until we got it worked out!
Cheers
Bennie
Posted: Thu Jun 23, 2011 9:42 am
by dobo
Its gonna go so much faster now that its red!

Posted: Thu Jun 23, 2011 2:10 pm
by David D
Funny you should say that, Bennie. I have actually been toying with the idea of some sunraysia style rims sprayed gold. Must prioritise tho - get it up and running first.
cheers
David
Posted: Thu Jun 23, 2011 2:21 pm
by El_Freddo
dobo wrote:Its gonna go so much faster now that its red!
By 10% if I'm correct

David D wrote:Funny you should say that, Bennie. I have actually been toying with the idea of some sunraysia style rims sprayed gold.
Yeah mate, awesome look - cherry red set off with some gold rims, STi style

Cheers
Bennie