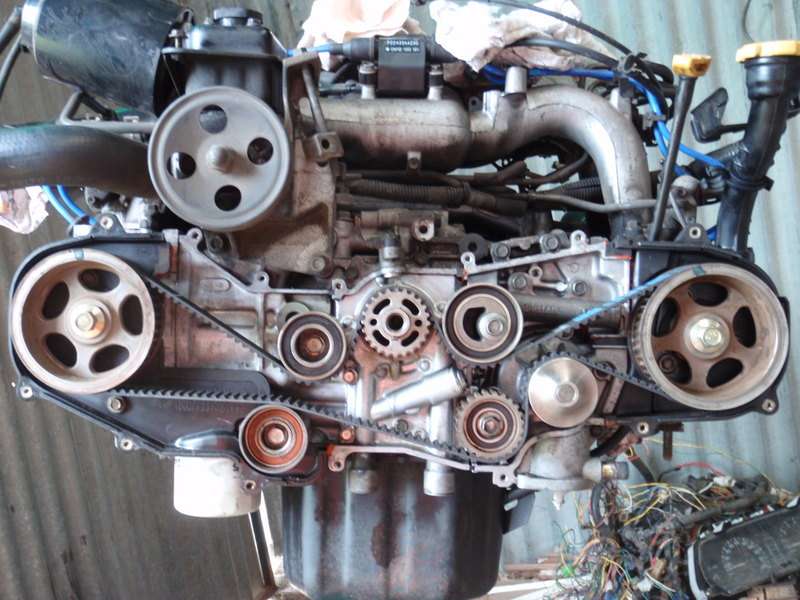
Since then I have given it a general service and checkup, I've installed an aftermarket temp gauge, fitted a custom twin-core radiator, V8 transmission cooler, and custom mounted thermo fans.
So far I have taken this upto Cervantes and Jurien bay for a play in the dunes up there, and it had no problem going everywhere my mates turbo diesel hilux went (I even had higher tyre pressures) on the 13" wheels. The awd auto gearbox surprised me as I thought it would slip heaps and use fwd too much but it was perfect.
Previous MY wagons (blue one was d/r and yellow was s/r with hilux wheels)
The touring wagon (aka the giant turd)
Up at cervantes (bikes are wrf250 and ttr250)
Custom temp gauge setup