its definately gonan look the goods when your done though
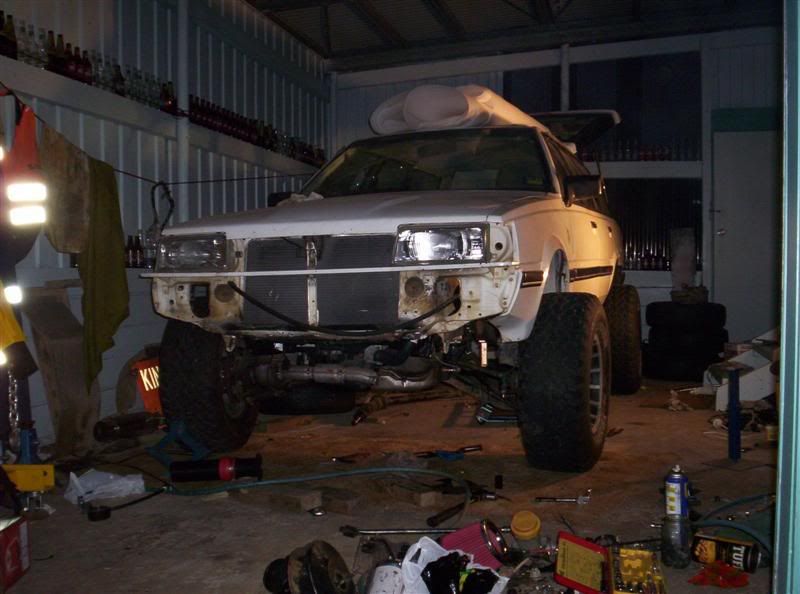
My proect build. Started this weekend.
-
vincentvega

- Senior Member
- Posts: 2446
- Joined: Tue Oct 04, 2005 10:00 am
- Location: Brisvegas
- Contact:
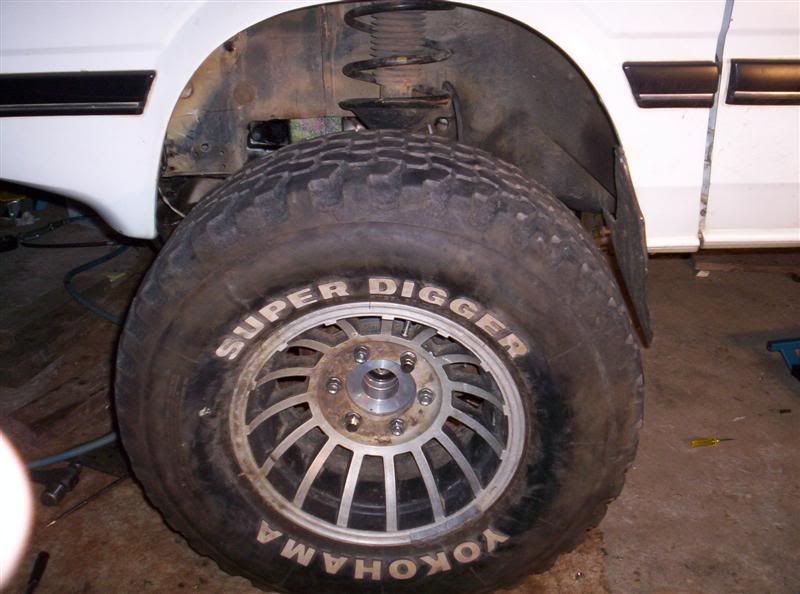
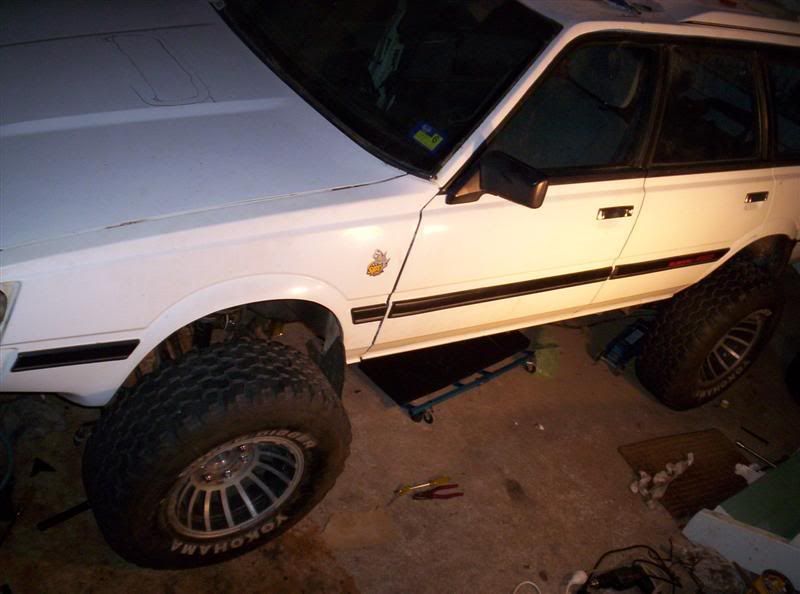
surely that 6" lift is going to need some bracing? 30+" simex + bucketloads of torque out of the TT auto and i can see those radius rod mounts lasting about 5 minutes
its definately gonan look the goods when your done though
its definately gonan look the goods when your done though
brumbyrunner wrote:And just to clarify the real 4WD thing, Subarus are an unreal 4WD.
-
L-Raiser

- Junior Member
- Posts: 246
- Joined: Thu Feb 01, 2007 9:32 pm
- Location: Perth, West Oz
- Contact:
Bash Plate!
.....WOW...That 6" lift really leaves your exhaust system exposed and vulnerable. Gunna need a wopper of a custom bash plate I guess....Fatz wrote:
Teehee

Great work though....and THANKS for all the info and PICS...
Keep the pics comin....
Best regards,
Karen
[SIGPIC][/SIGPIC]


-
Chris_Rogers
- General Member
- Posts: 1155
- Joined: Sat Dec 31, 2005 10:00 am
- Location: Brisbane
- Contact:

-
Chris_Rogers
- General Member
- Posts: 1155
- Joined: Sat Dec 31, 2005 10:00 am
- Location: Brisbane
- Contact:

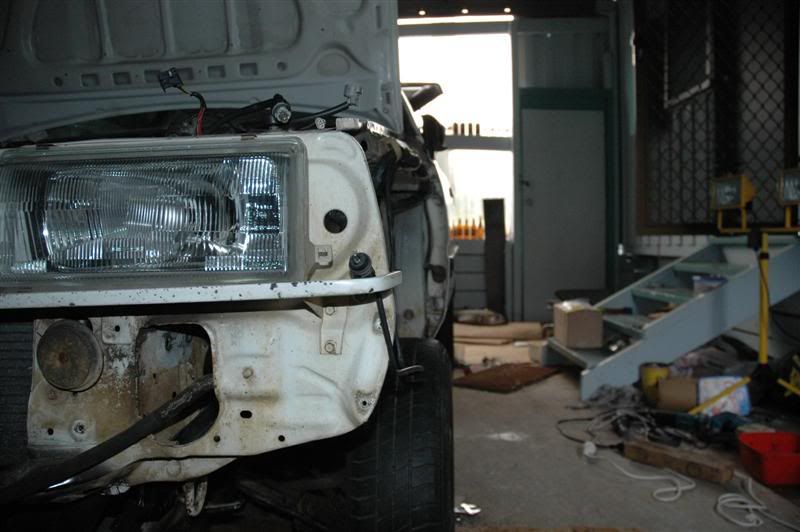
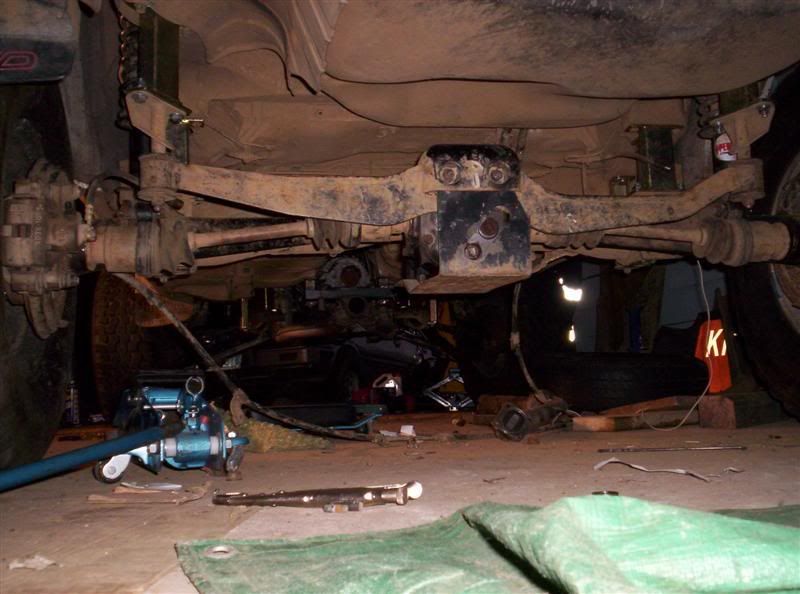
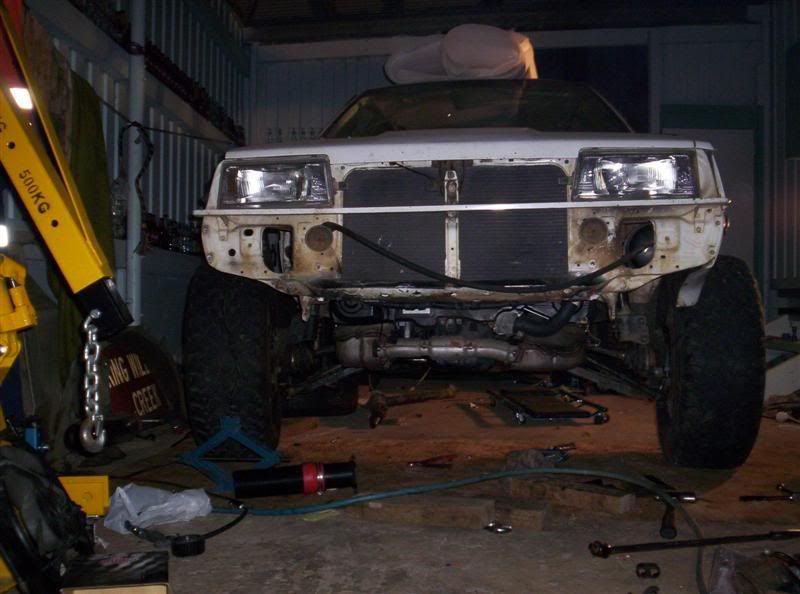
what we ended up doing for the lower support was
cut the top peice of sheet metal out of it to sit the rad on the bottom section
to do this,
make a vertical cut right against the vertical face for the length of the radiator support
make a horizontal cut right against the lower edge for the length of the radiator support
cut the 2 ends right against the chassis rails and remove the top section of the lower radiator support
you should now have a long L shaped peice of sheet metal
you can now flip it over and weld it back in for reinforcing
drill 2 holes for the lower radiator spikes and cut down and drill the top mounts from the EJ radiator
if you cant picture this hassle adam for some better pics!

-
Chris_Rogers
- General Member
- Posts: 1155
- Joined: Sat Dec 31, 2005 10:00 am
- Location: Brisbane
- Contact:
-
Chris_Rogers
- General Member
- Posts: 1155
- Joined: Sat Dec 31, 2005 10:00 am
- Location: Brisbane
- Contact:
-
Chris_Rogers
- General Member
- Posts: 1155
- Joined: Sat Dec 31, 2005 10:00 am
- Location: Brisbane
- Contact:

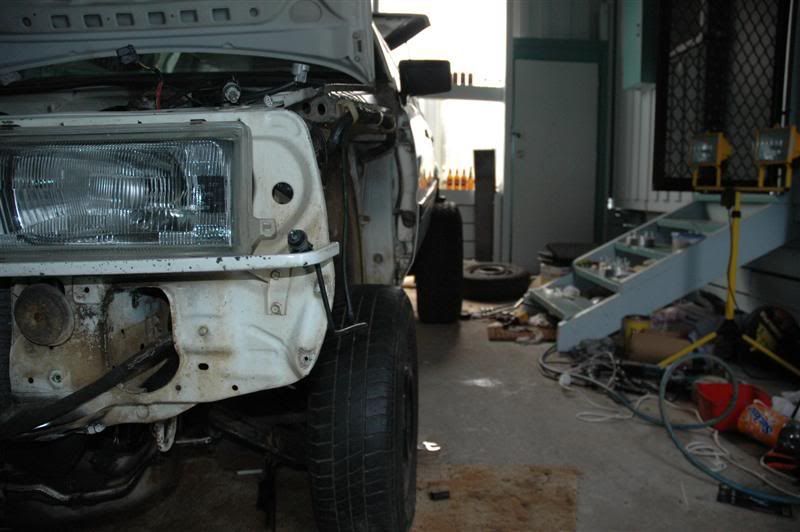
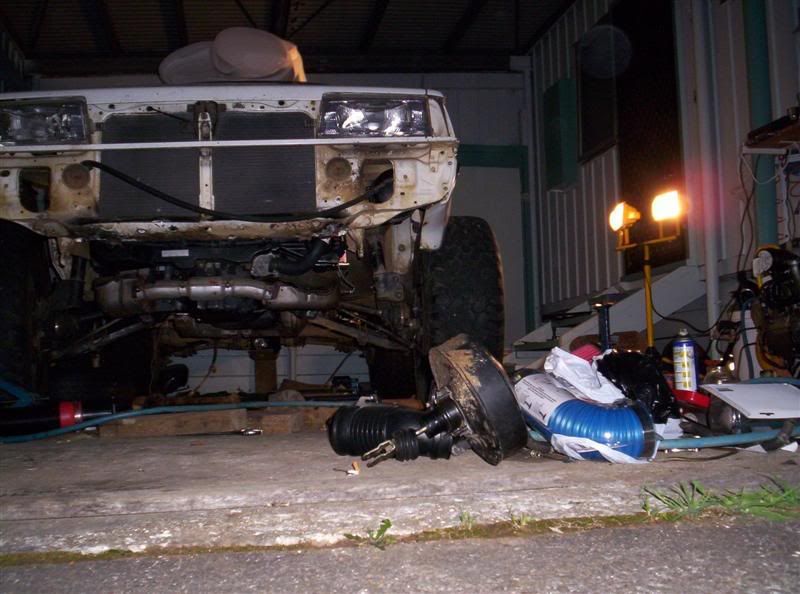
There was not enough clearence for the factory radiator fans to fit behind the radiator, intention was to put them in front. Might be able to slip something slimline in behind though.
Evaporator mounts are on the body either side of the radiator aren't they, and in behind the standard top mounts?
We didn't touch the side mounts and while the old mounts aren't being used at the top, there is no reason why they couldn't be used just for the evaporator.
The lip on the upper radiator support was also folded in a little, you will see what has to be done when you drop the lib radiator in.
Also don't use a stick welder...
'97 Outback - almost back to grandma spec operating condition.
"A day is never more than what you make of it."
"A day is never more than what you make of it."
-
Chris_Rogers
- General Member
- Posts: 1155
- Joined: Sat Dec 31, 2005 10:00 am
- Location: Brisbane
- Contact:

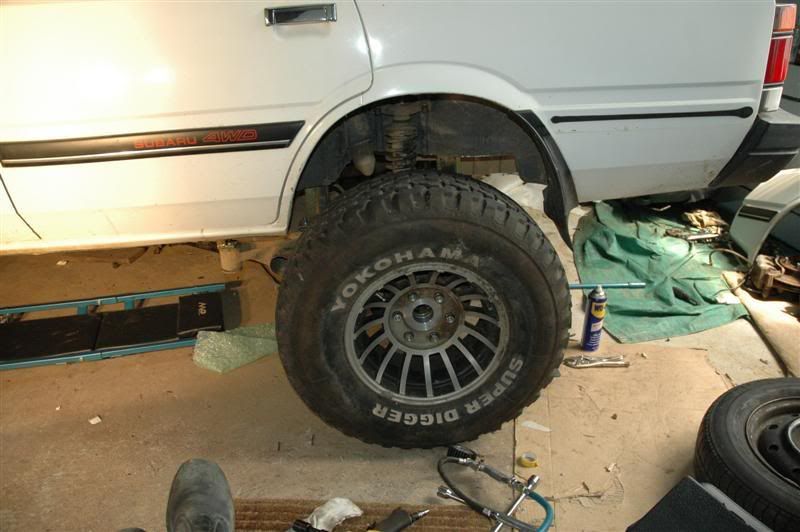
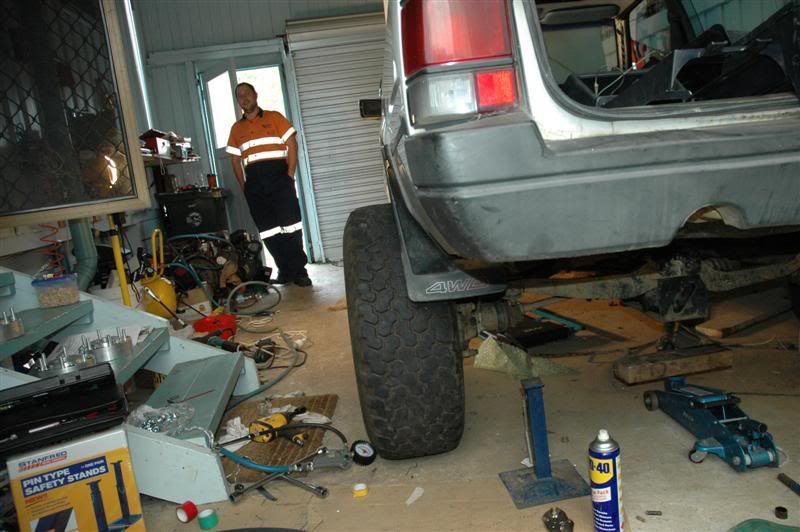
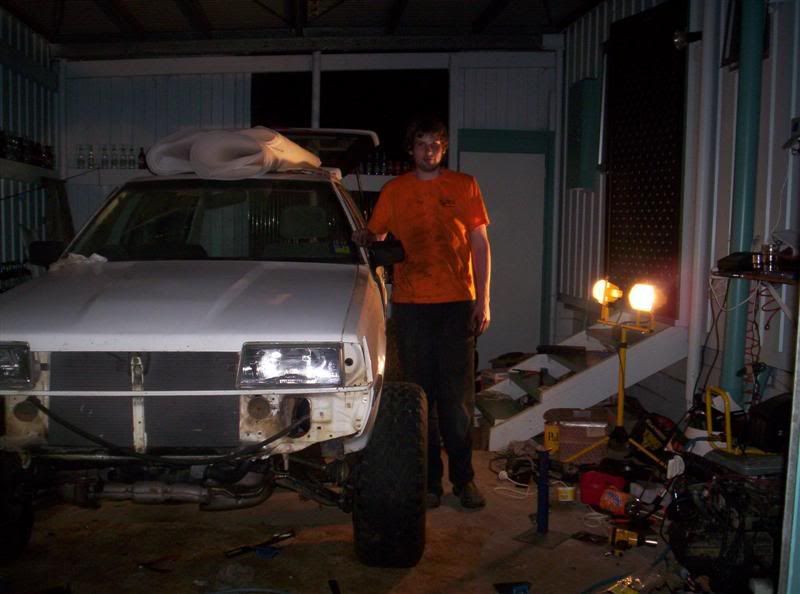
Ok guys.
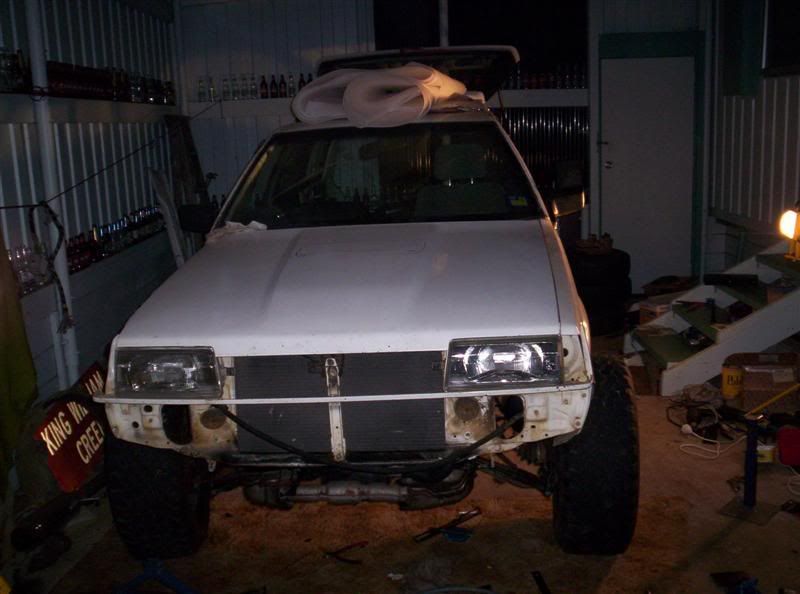
Small update, and a couple of pics. I will be uploading more tonight when i get all 4 wheels on.
I just got my new prezzies in the mail, so i thought at lunch time id had a looky and put one one.
Have a look, and a laugh, i certainly did.
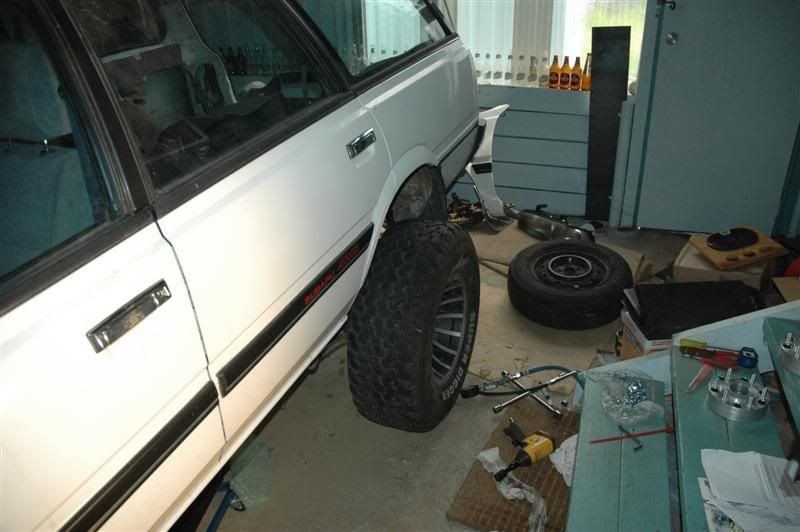
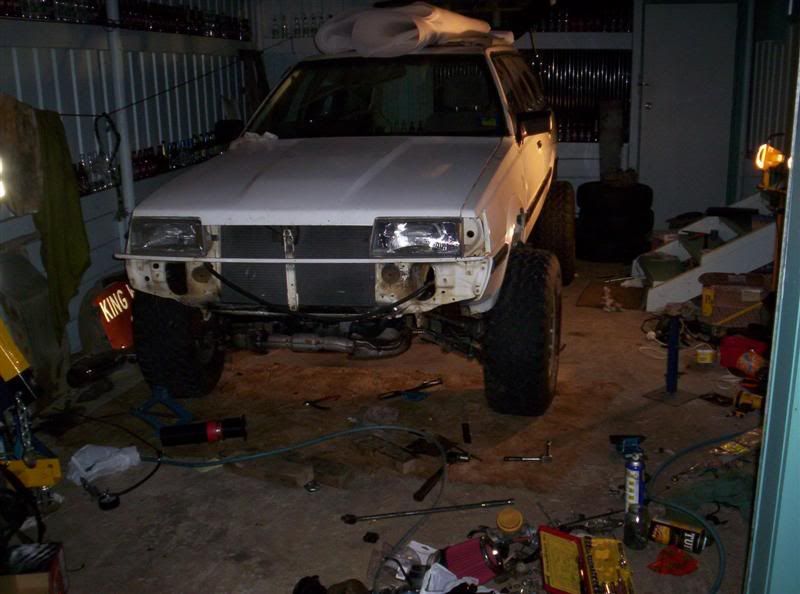
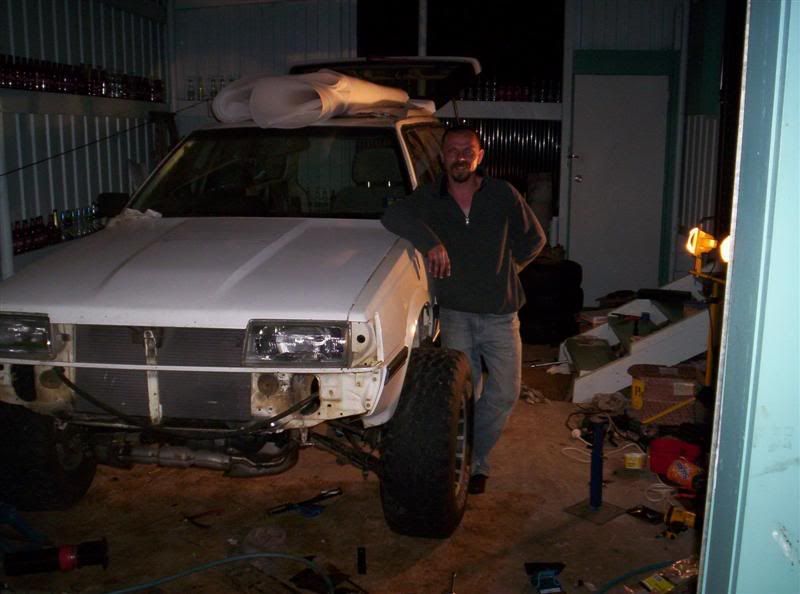
Floor seal just behind tyre sits at 27cm and the roof sits at 71cm, or bout 5"10. Pretty bloody big.
Small update, and a couple of pics. I will be uploading more tonight when i get all 4 wheels on.
I just got my new prezzies in the mail, so i thought at lunch time id had a looky and put one one.
Have a look, and a laugh, i certainly did.
Floor seal just behind tyre sits at 27cm and the roof sits at 71cm, or bout 5"10. Pretty bloody big.


-
Chris_Rogers
- General Member
- Posts: 1155
- Joined: Sat Dec 31, 2005 10:00 am
- Location: Brisbane
- Contact:
-
Chris_Rogers
- General Member
- Posts: 1155
- Joined: Sat Dec 31, 2005 10:00 am
- Location: Brisbane
- Contact:
reuse the bonnet you have from the half cut. do a graft. that will solve your vent problems.
as a thought - put two more cosworth style vents in there as well. mine gets quite warm under there. bit more cooling won't hurt. if you need small trans coolers tell me and I'll get them for you. that made a difference to mine. coolers are hot to touch so thats one lot of heat thats NOT in the radiator. if you have room 2 oil coolers off the turbos. (so 4 total) that will make it run quite well.
I second the wheel bearing comment.