Venom: H6 Gen2 Liberty GX
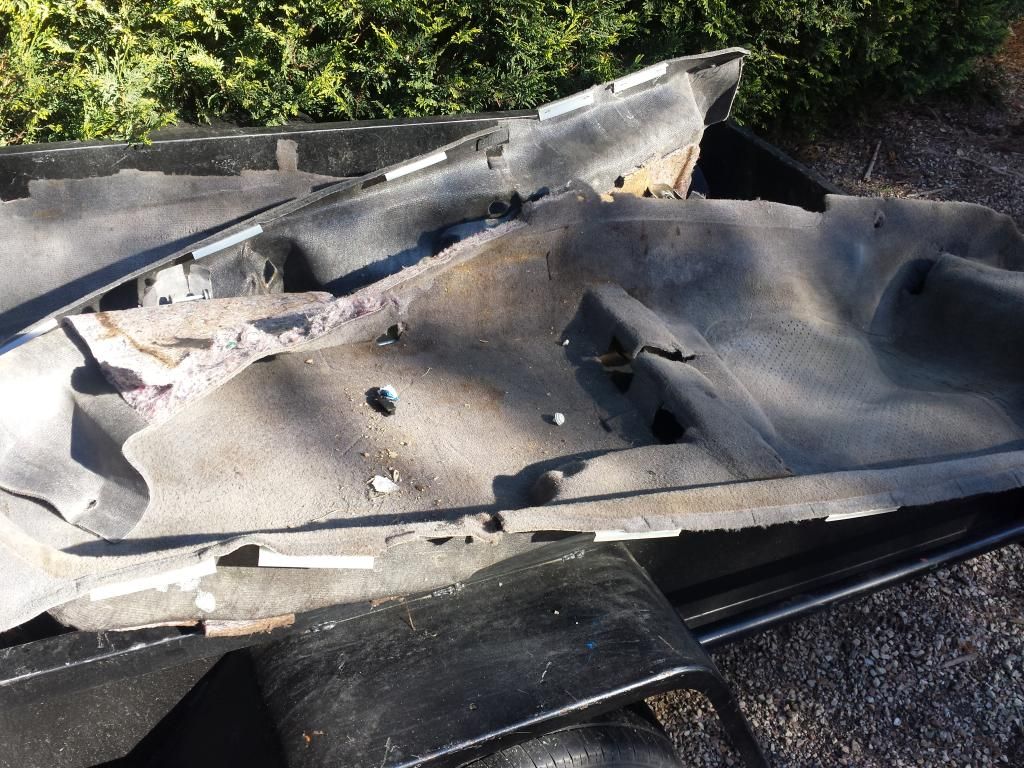
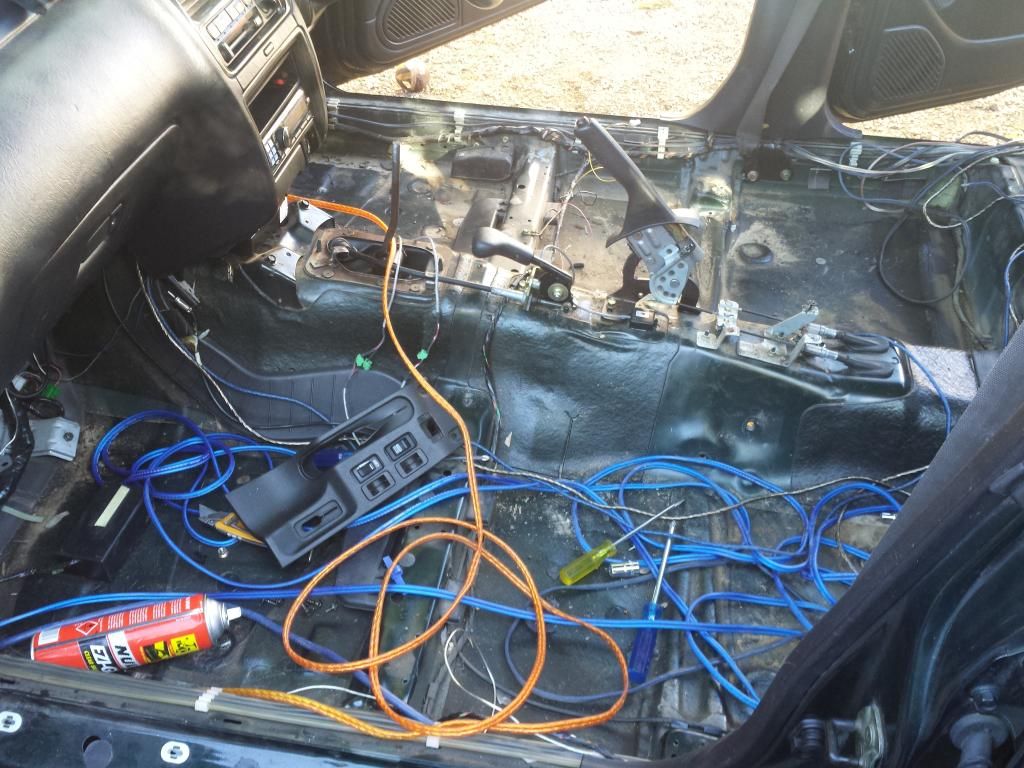
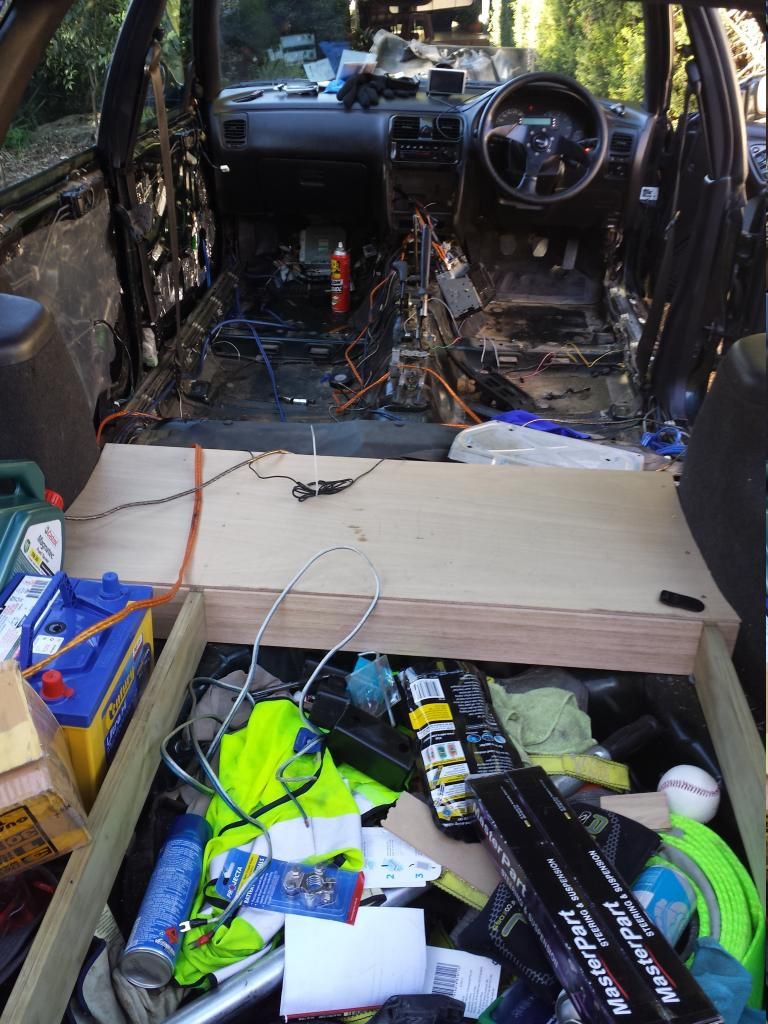
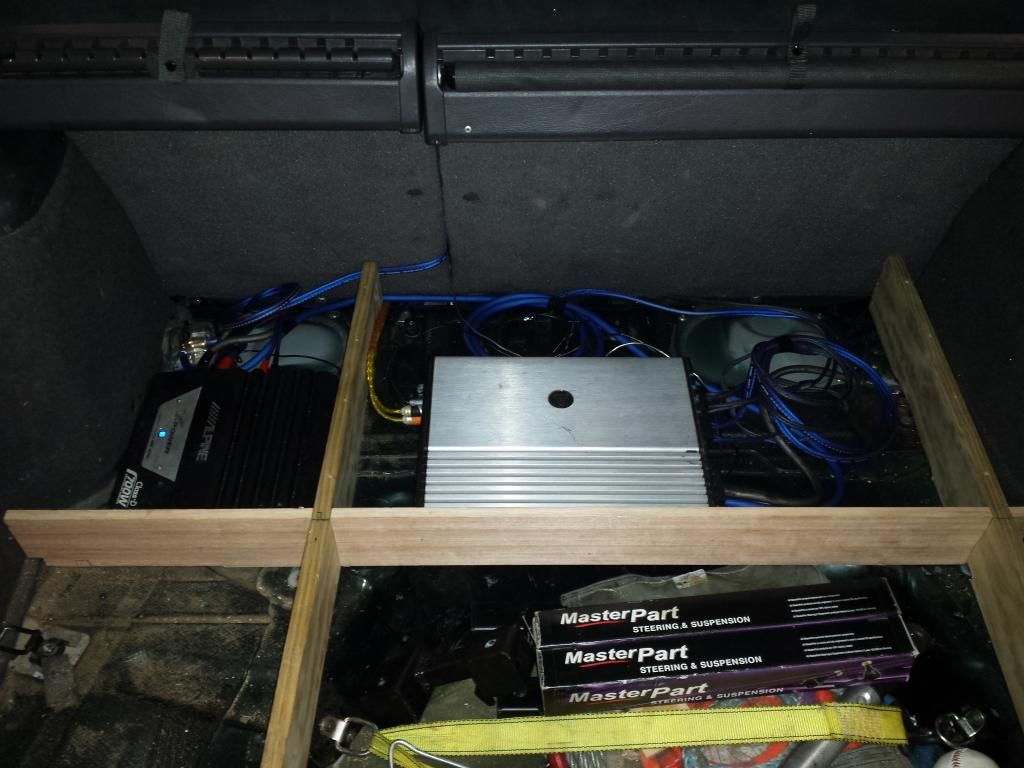
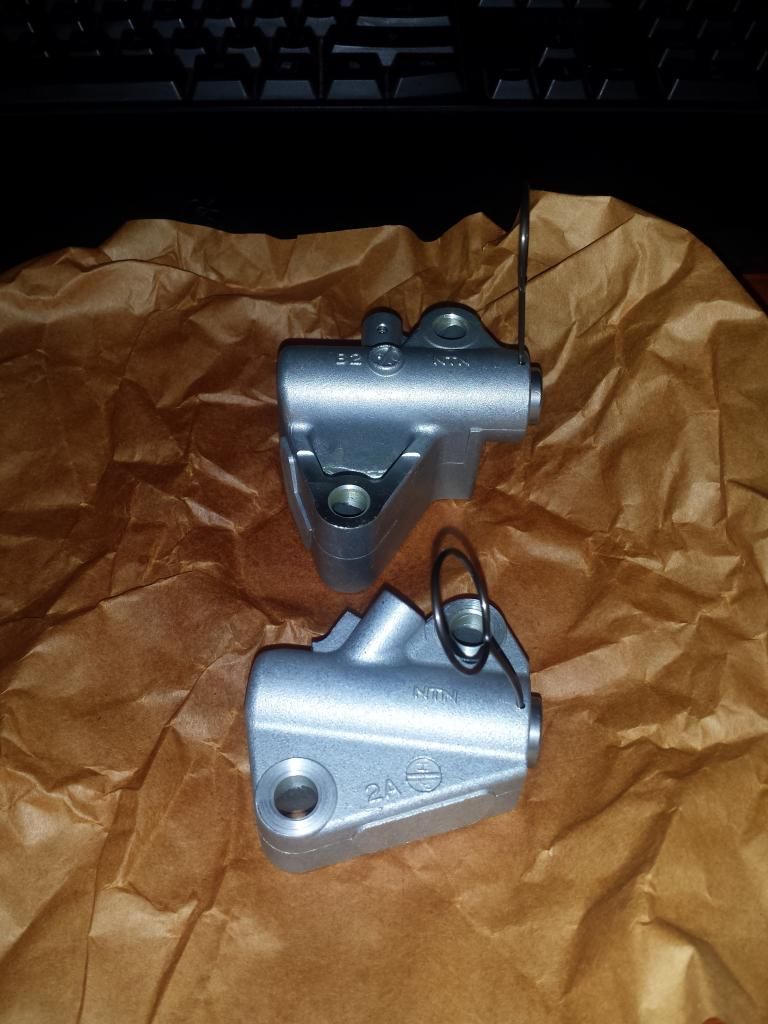
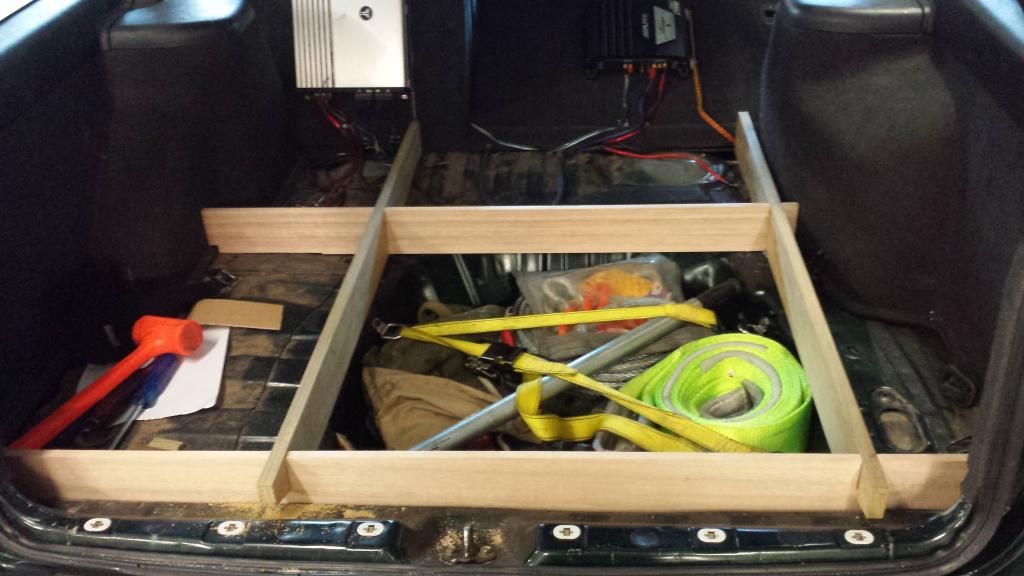
Waiting on timing chain tensioners before I can go back to working on the motor. So started up a little project, a new raised floor for the rear cargo area. Plan is not much higher than stock, just flattens it out and a stronger material as the stock mdf is pretty weak. Then figured it would be a great place to hide the amplifiers which currently reside on the back of the rear seat. After playing around with amp positions I found out the speaker wires and RCA leads were too short. That's cool because I wasn't happy with how I ran those in the first place (guesstimates length, some too short and spliced). So then most of the interior came out to make it easier to run the wires. Then I decided the carpet is ****ing revolting (even after numerous steams cleans) so that was chucked. Then I found out underneath the carpet is filthy so that was washed out.
Will continue the job tomorrow once I get some cable management happening and finish the wiring up, afterwards the interior can go back together and I can get back to that false floor
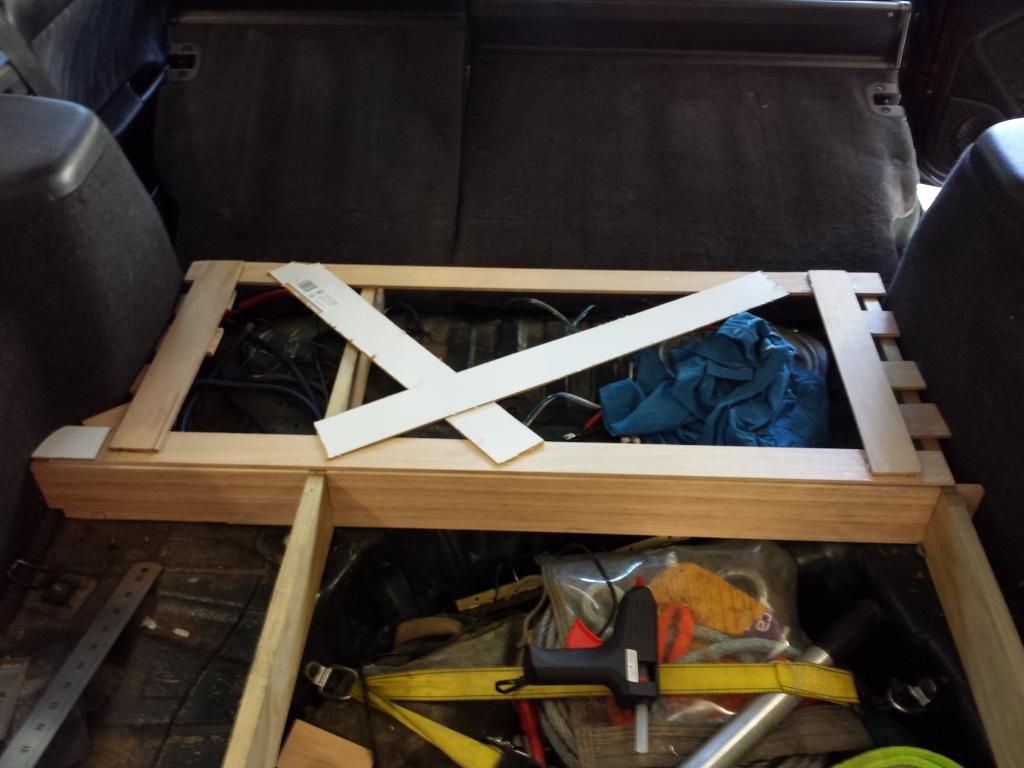
Started with this:
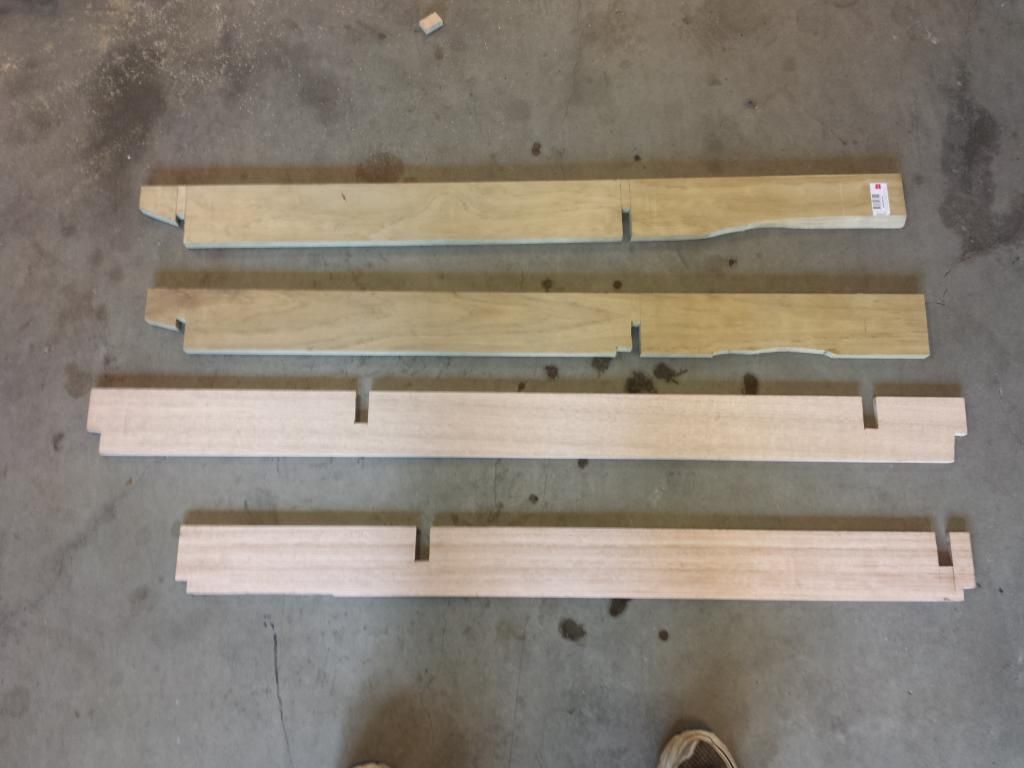
Pretty simple construction, no glue or nails. Tight fit and joins keeps it all in place.
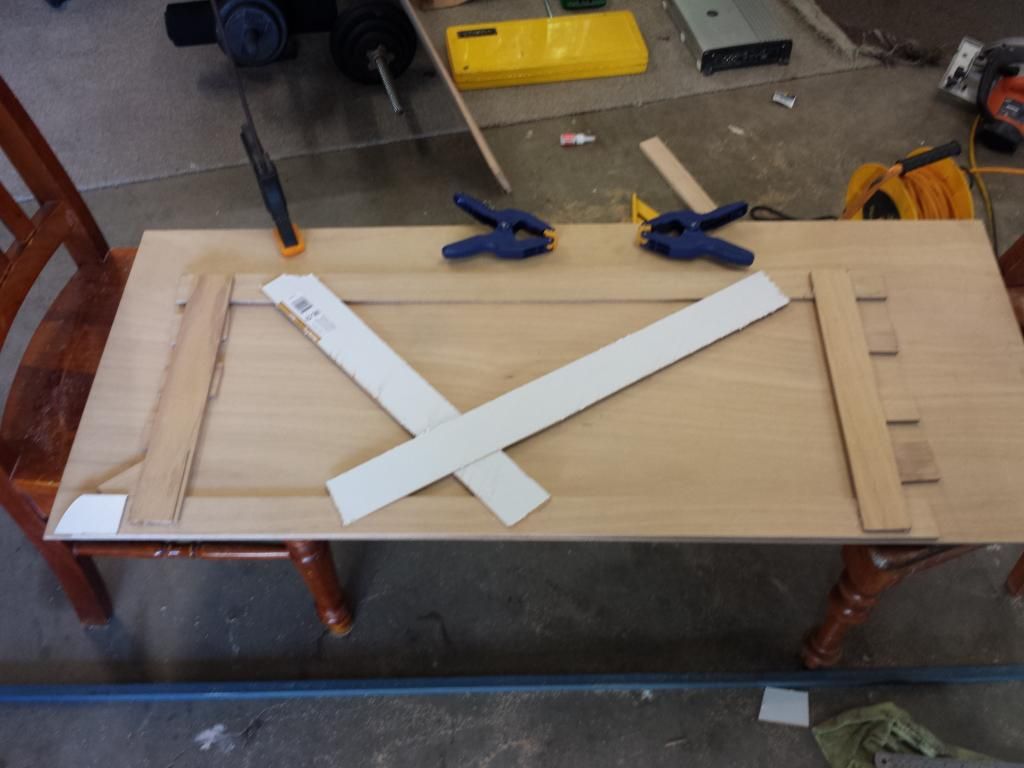
Glue gun, strips of MDF and plywood to make up a template.
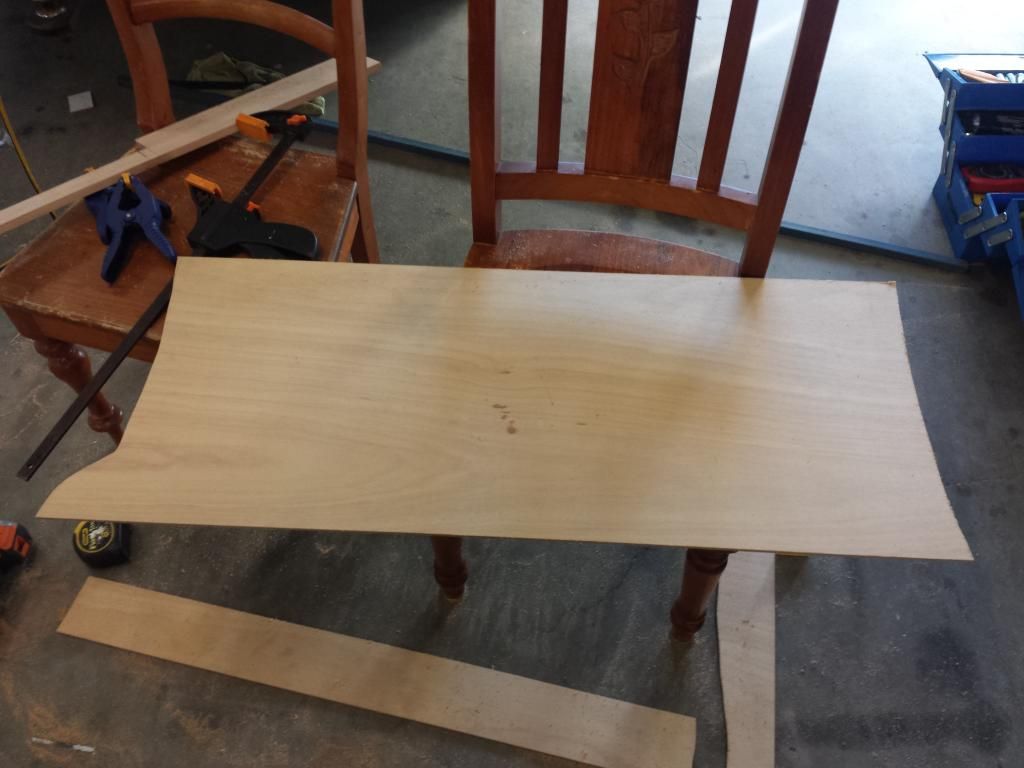
Marked out on the plywood.
Cut out, not bad for a very first attempt doing this sort of thing.
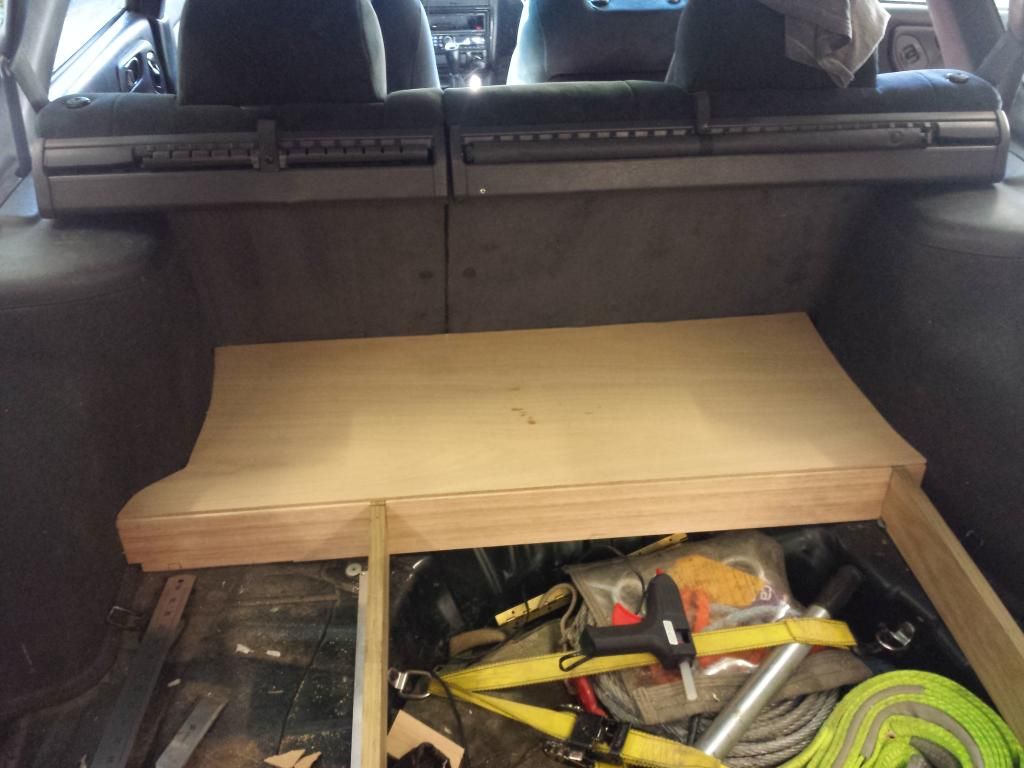
In place. Using minimum number of screws to hold it down.
[SIGPIC][/SIGPIC]
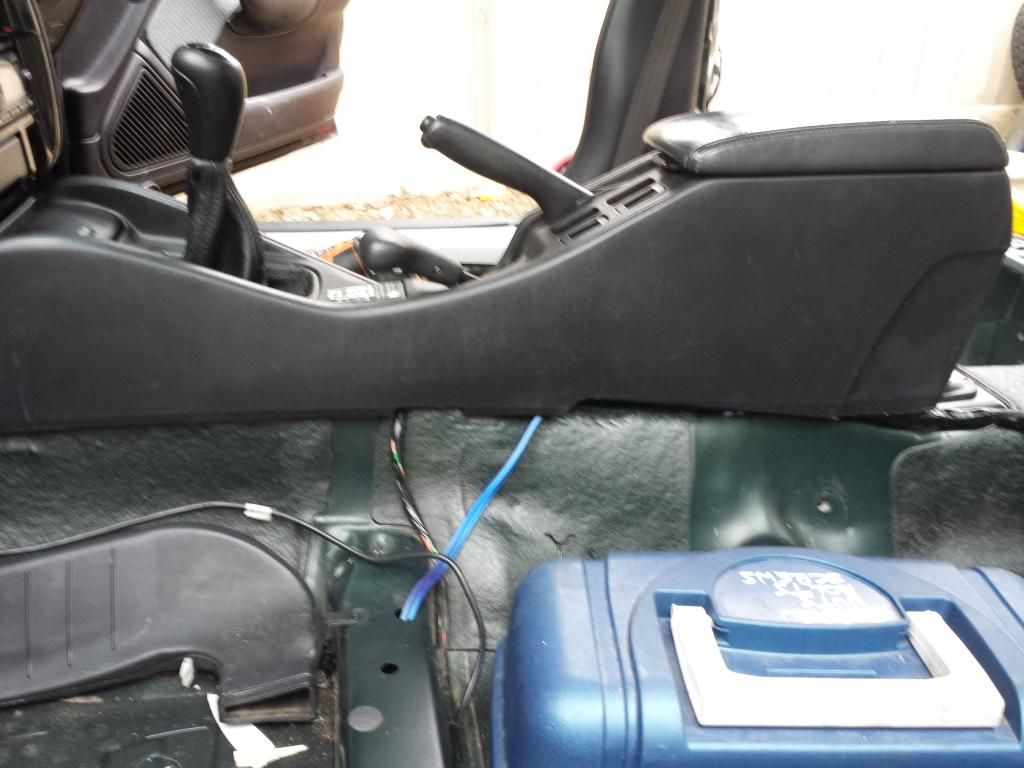
RCA cables taped up and sorted out. Had some screw in cable tie mounty things which came in handy. Can also see the DCCD g-sensor next to the handbrake. Oh and the DCCDPro controller under the stereo where the factory airbag controller would be if I had any.
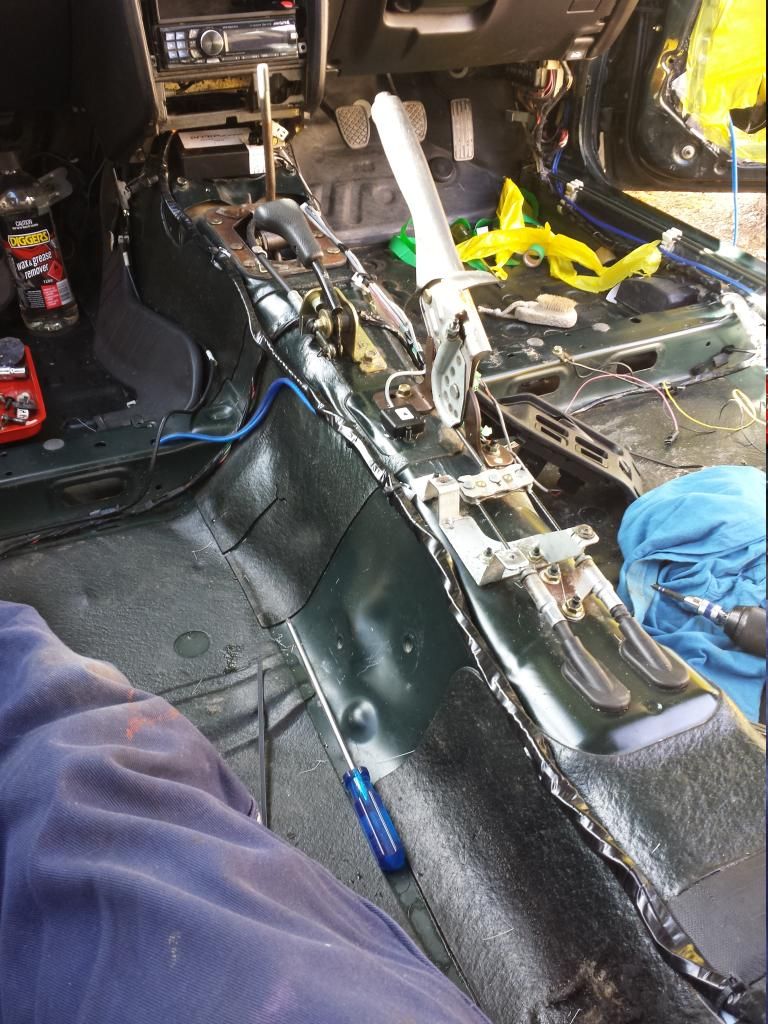
DCCD cables fixed down and neatened up a little.
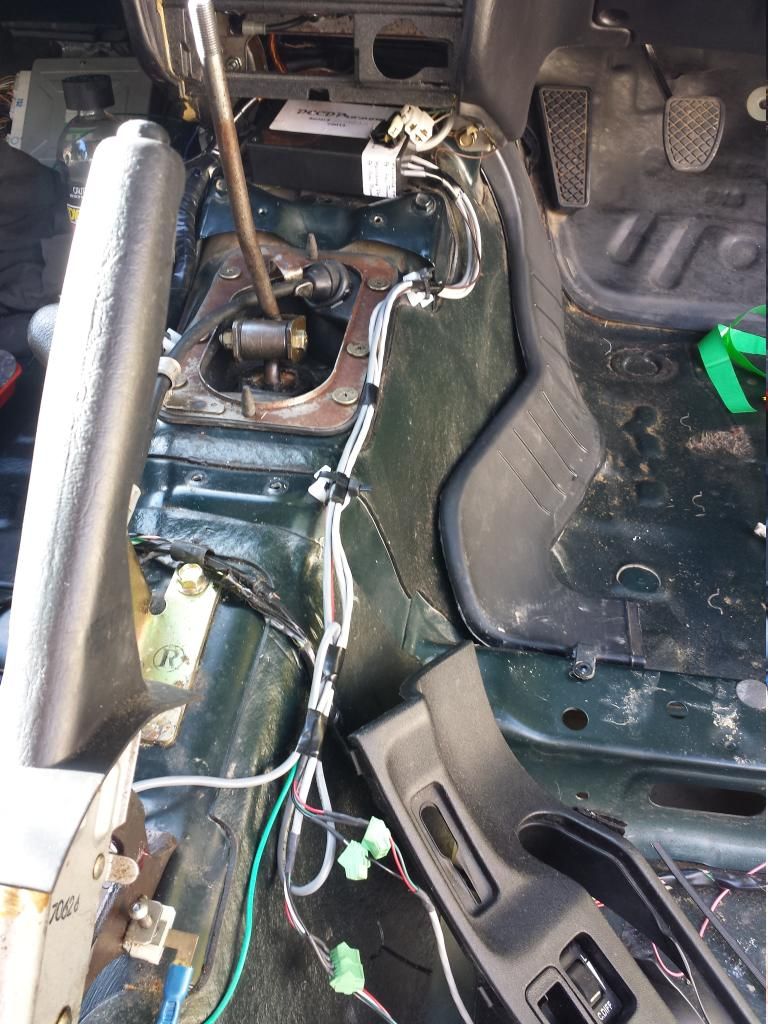
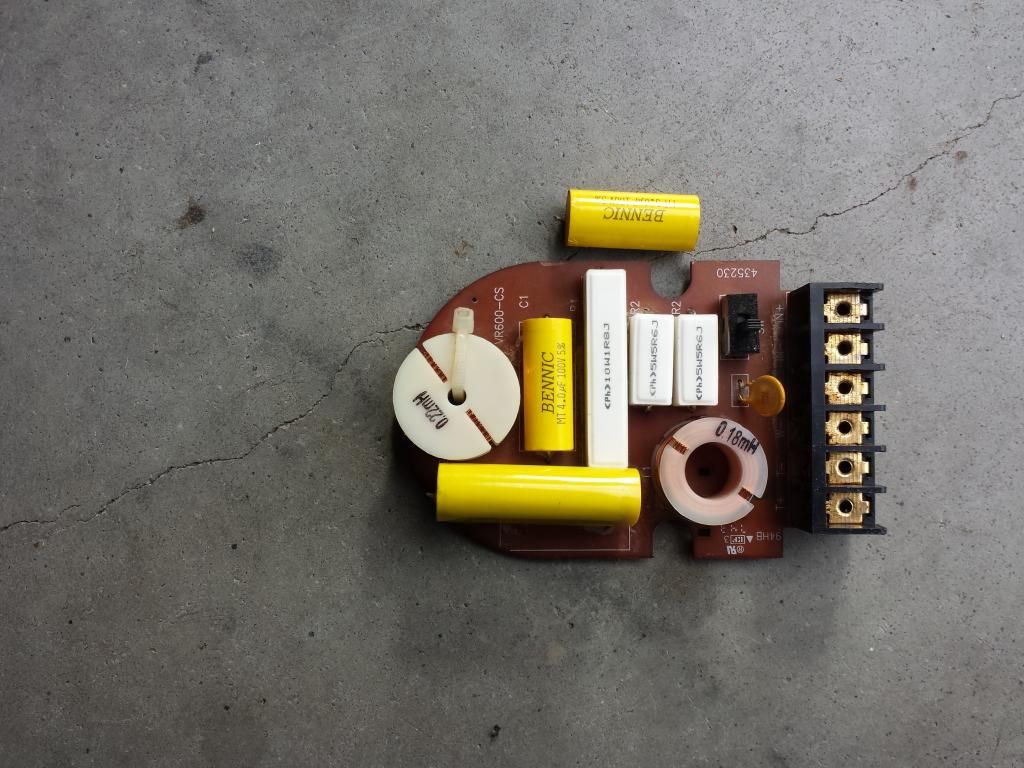
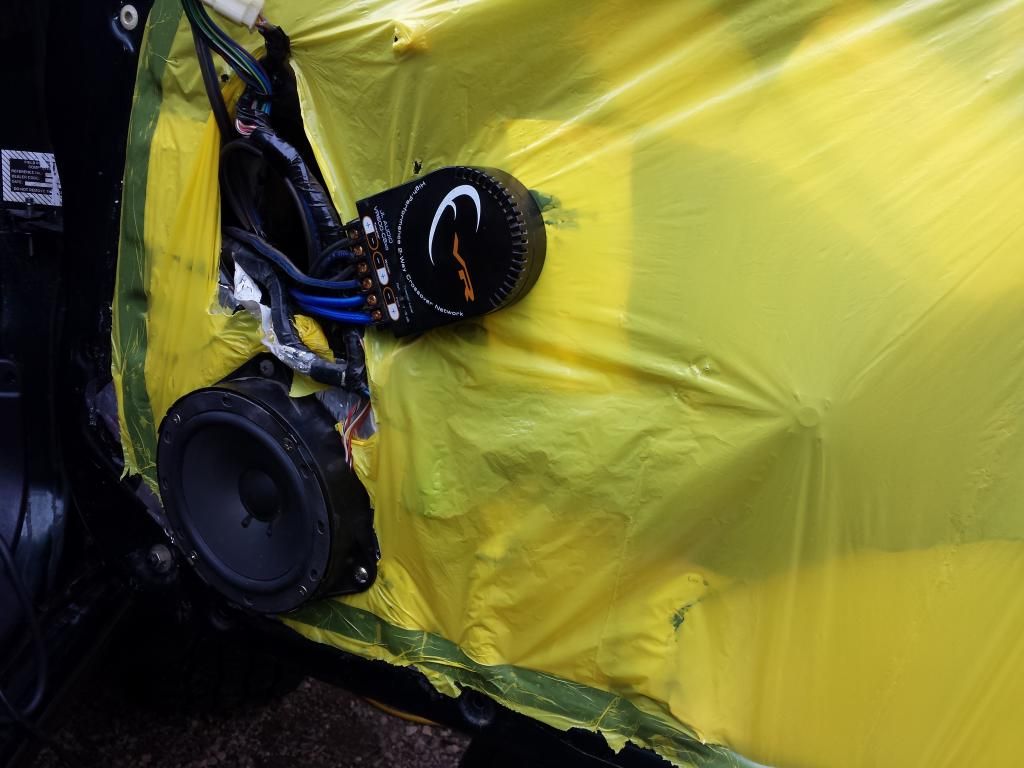
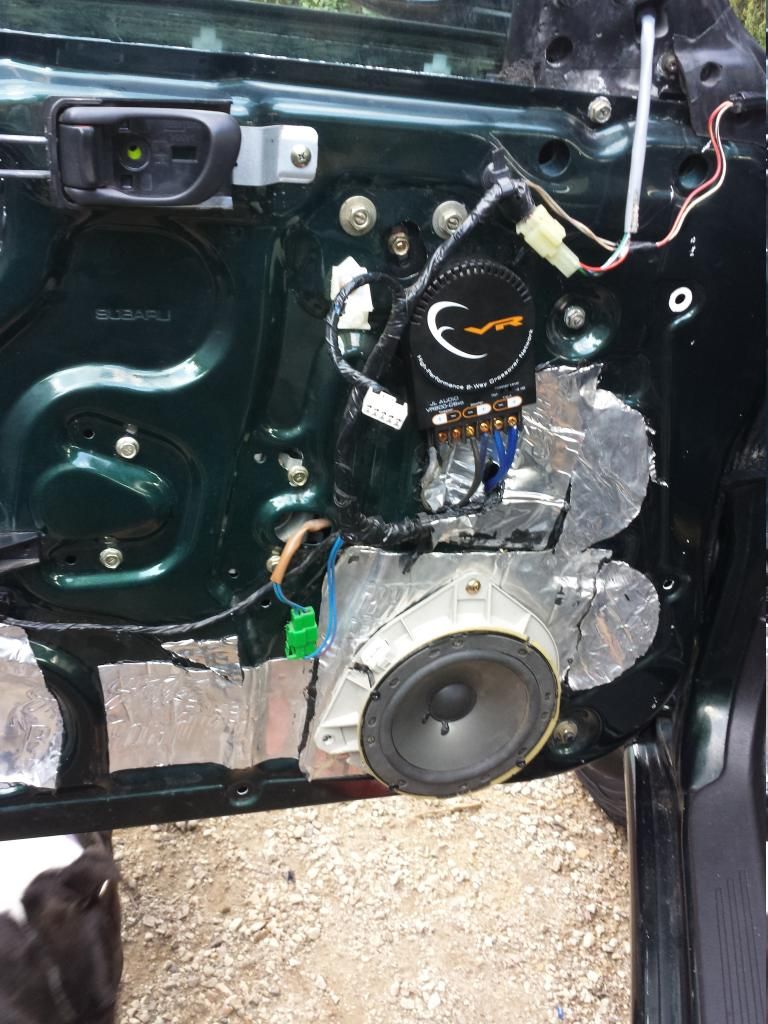
Crossovers moved from inside the door. Positioning isn't great, fouls on the interior door panel by about 5mm. Might move it later when I redo the plastic door linings.
DCCD cables hidden away nicely.
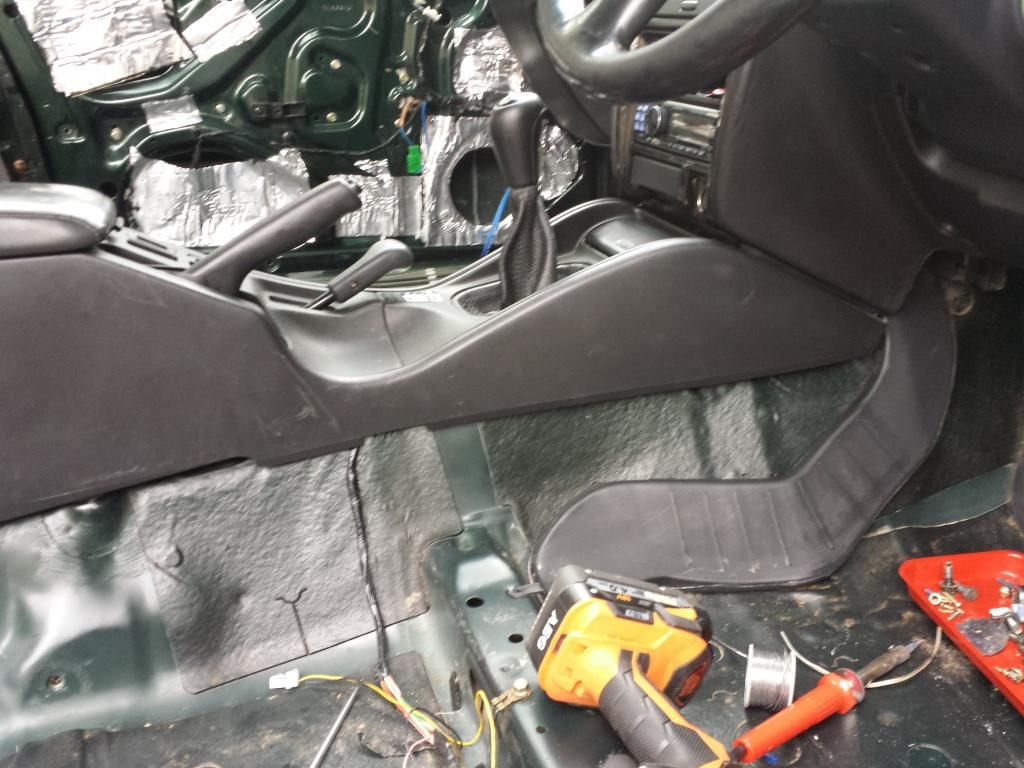
Same with the RCA leads.
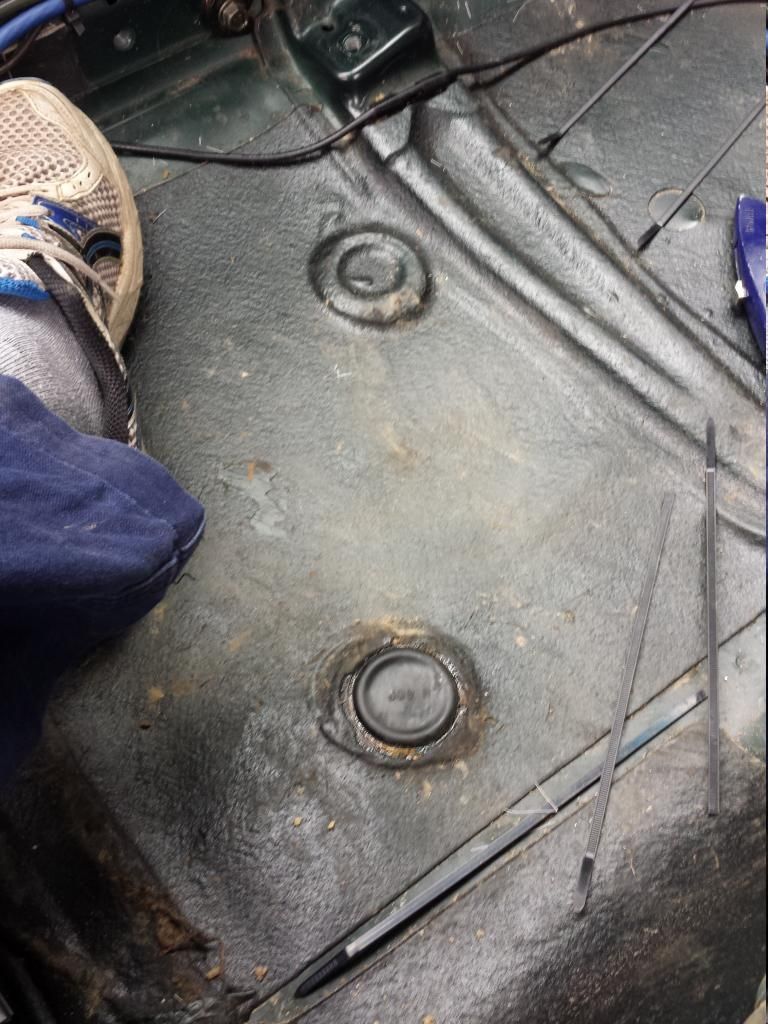
Found this bung had been knocked out and was letting water in. Replaced it with a rubber one I had.
Water also had come in through this hole. I drilled this out to access a broken captive nut on the trailing arm mounts. Will sort out something for it later.
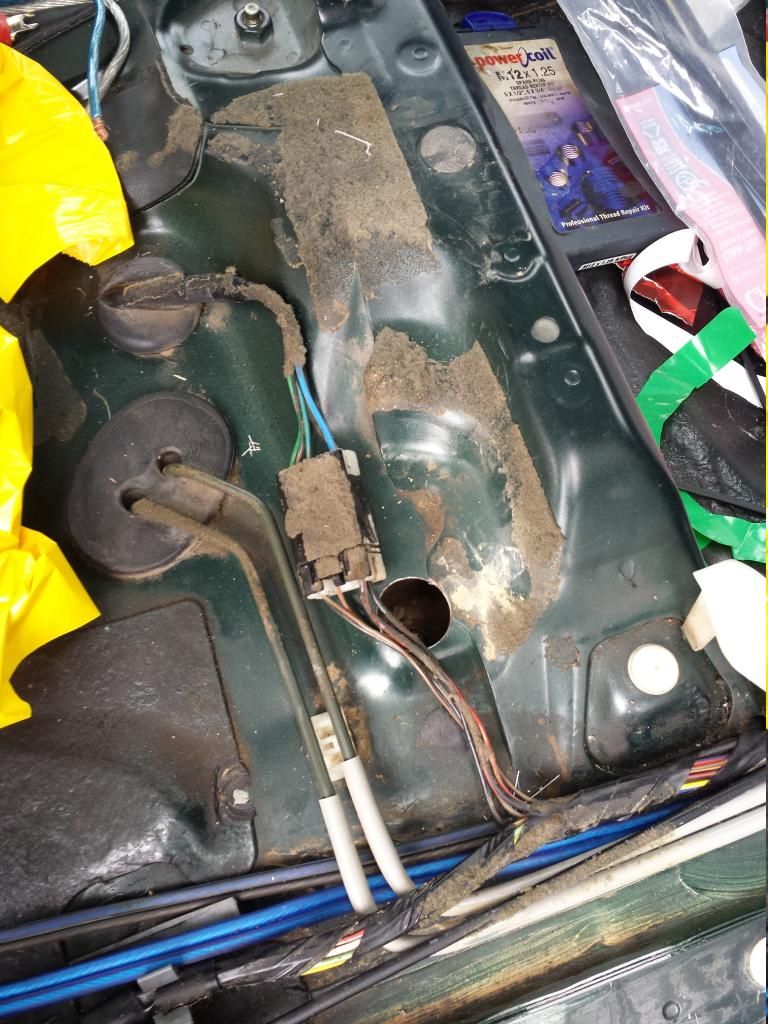
This crossover position worked out better.
Seats and sill trims all refitted. Stereo cables have all just been run to the back and ready to wire up another day.
Going carpet-less for a while to see how I like it. May end up doing a bed liner. I like the idea of been able to see any water for an easy clean up.
[SIGPIC][/SIGPIC]
- vincentvega
- Senior Member
- Posts: 2446
- Joined: Tue Oct 04, 2005 10:00 am
- Location: Brisvegas
- Contact:
since you have gone to so much trouble with your stereo, instead of the yellow plastic make some liners up out of 1mm rubber sheet.
I did this in a gen1 many many moons ago and it pretty much silenced all the rattles in the doors.
brumbyrunner wrote:And just to clarify the real 4WD thing, Subarus are an unreal 4WD.
Well doors are done for now anyway so I might look at some rubber matting in the future. The front doors are dynamatted anyhow the plastic is just for dust/water.
Nothing on the floor while I test it out. So far really very little extra noise from removing the carpet, so I plan on leaving it that way. Once the floor mats are down you can hardly tell anyway, and it makes any future mud/water clean up a lot easier.
I'd like to do a rhino lining but that stuff is like $200 for a tin.
[SIGPIC][/SIGPIC]
Amps finally installed and wired up.
Had a capacitor fail on the drivers side crossover, so a quick trip to JayCar for a newie which was a fair bit bigger (250v to 100v, same specs though).
Killed a lot of time to diagnose that failed capacitor Accidentally picked up the soldering iron by the hot end while replacing it!
No real change in audio quality, just more stealth and better location for the crossovers (one of which was nearly full of mud).
With the rear seats folded down there's only about a 2cm height difference between the seat back and my false floor, pretty good. Also occurred to me that the new floor probably provides enough height for a second battery to stand up in the spare wheel well.
Cleaned my IACV today. Literally blew chunks of carbon out of it with carb cleaner and a soak in petrol. Also installed a new IACV gasket, because once taken out they always farking expand and never go back in.
[SIGPIC][/SIGPIC]
I think there is an off the shelf supercharger kit you can get now, should get one for my wife's 3RB. Lol Bennie, rekon you'd fit an H6 in an L series?
EZ30 L series - Monsterwagon
https://www.ausubaru.com.au/viewtopic.php?f=71&t=26163
Booked in for front and rear Eibach camber bolts and of course 4 wheel alignment. Hoping to get it tracking down the freeway better. From memory it has about neutral to .25 deg camber. Aim is .75 deg up front and 1 deg rear. Might get them to looses up the LCA mounts to adjust for caster, same for the rear crossmember to get it in spec a little better. Imagine unbolting everything to do the lift kit install moves such things around to some extent.
In quest to cure the on/off throttle judder I'm looking at STI group N tranny mount, positive shift kit (mmm maybe) and the poly rear diff bushes. Thinking H6 + the 65% rear bias probably introduces a lot of flex in the diff bushes, even with the lock out kit on the mustache bar.
[SIGPIC][/SIGPIC]
Alignment and camber bolts turned out great. So much happy with the way it drives. It seriously felt like a bit of a death trap and it was a constant chore keeping it in the middle of a lane.
STI group N tranny mount had some positive results. It's dampened down the shuddering, although the cause of it is still there. More bearable. Seems to find gears a little easier and operating the clutch isn't so touchy.
Didn't get poly diff bushes but I did get the poly bush inserts from Whiteline. Figure this would be good compromise.
oooh and OEM Sti shift knob fitted, another win. Feels better in the hand than the original which was pretty ugly too.
[SIGPIC][/SIGPIC]
- d_generate
- General Member
- Posts: 1529
- Joined: Sat Feb 16, 2008 1:51 am
- Location: Back in Perth and SORing it atm.
My WRX was very scary to drive until we lengthened the lateral? arms by 25mm pushing the wheels back by about 20mm, it would just weave all over the road, got 2 for each side, cut them in half (staggered) leaving an extra 25mm on one half and boxing them in, difference was absolutely remarkable, that was the last thing we tried unfortunately after trying 60mm lift blocks instead of 25mm in different places front and rear
98 Libbo with V3 STI running gear. 13.0 @ 105mph with CAI & 3" Zorst:mrgreen:
http://www.youtube.com/watch?v=TKrsF-2JS3M
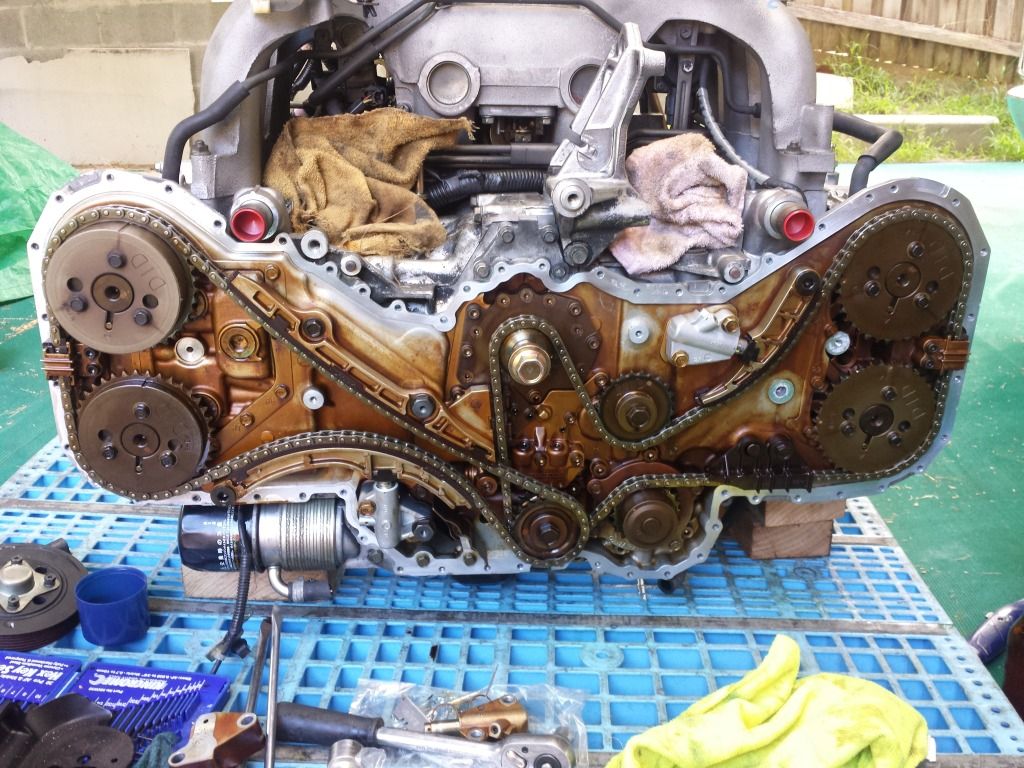
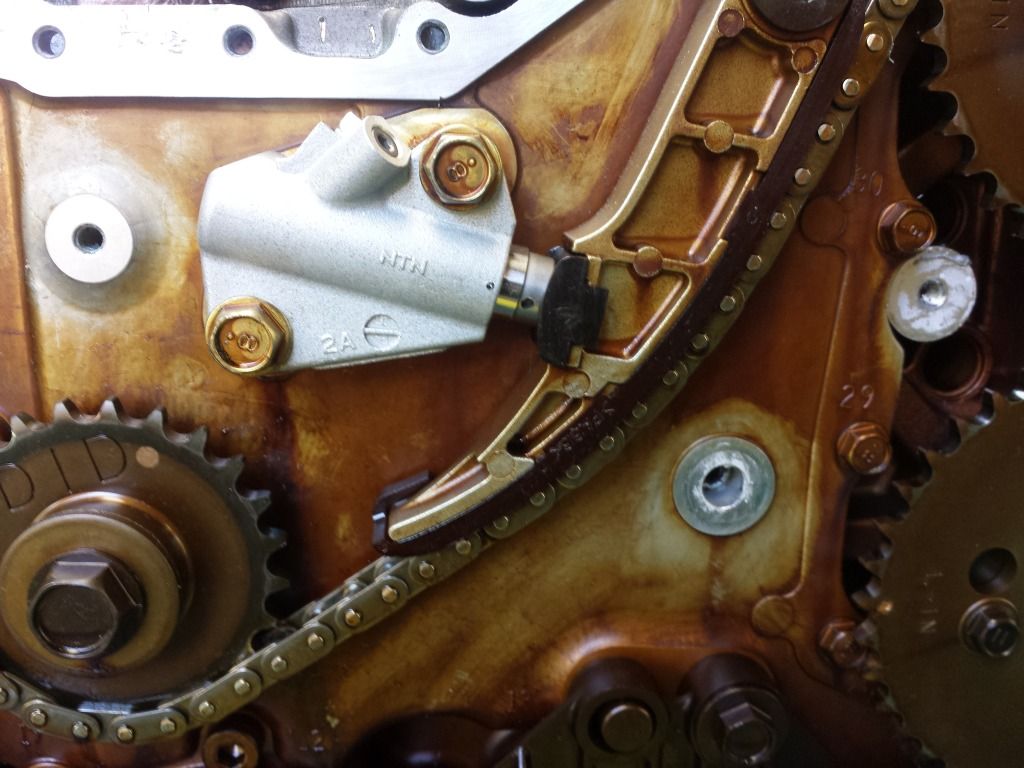
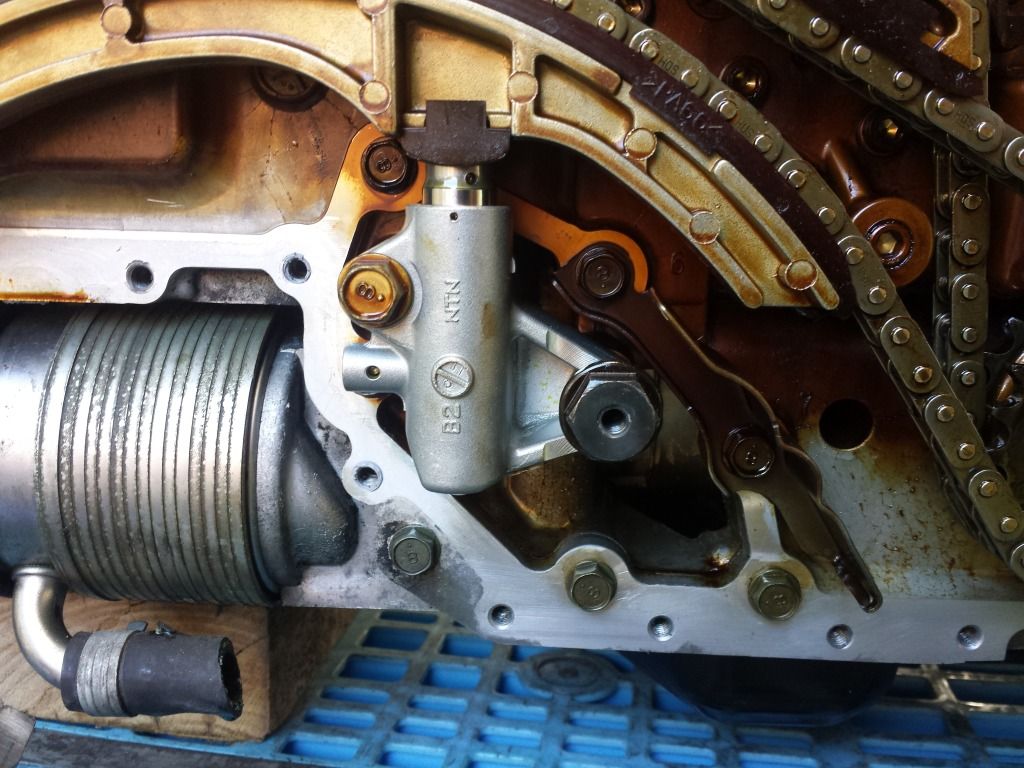
Been slack with the new motor. In two minds about valve shims, $400 on the proper tool or taking the motor somewhere to get it done. Anyways new timing chain tensioners fitted:
This was followed by hours of cleaning the gasket surfaces. Again. Didn't reinstall the timing chain cover though because some of the bolt heads are now stripped so I'll price up a fresh set.
[SIGPIC][/SIGPIC]
Good work. Love these motors, I drive one regularly (my wife's 3.0RB Liberty) and it's a tough donk. It is slightly clattery, about 80,000kms now, so we may need to look at changing the tensioners at some point soon.
lol, Firefox thinks "tensioners" is a spelling mistake and it's suggestion for a correction is "pensioners".
EZ30 L series - Monsterwagon
https://www.ausubaru.com.au/viewtopic.php?f=71&t=26163