The other design requirement was that building it had to be within my limited metalworking skills , which means a tube frame rather than plate elements.
50x50 tube is almost the perfect size to slot into the chassis rails, and works nicely to make the 150mm height and the ~130mm front-back depth of the finished bar. I chose 3mm wall thickness, which I've since decided is massive overkill, because it's heavy, and won't deform in a collision. 2-2.5mm would be heaps.
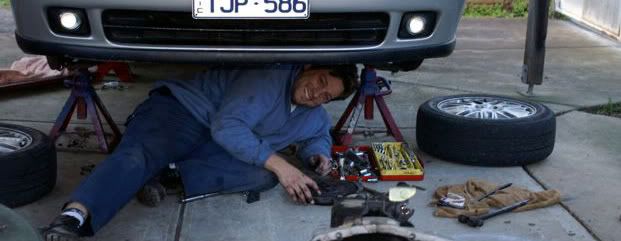
First step: Make a couple of these to slide into the chassis rails and bolt up to the original bumper mounting points. The nuts need to be welded on in exactly the right spot to allow a tube on top without fouling the tailgate, and another below without fouling the towbar. I got that part a bit wrong and the tailgate just touches the upper tube.

Whack a tube on top, centre it and tack it on. IIRC this one is 1540mm long.

My design had another tube forward of this one, running the full width of the car, but it turns out the back of the car isn't straight in plan, but curved, so I just used a 300mm piece running out from each rail. The gap between the tubes is slightly more than the diameter of the bike steering head.
The pivot tubes were then welded on (one on the right for a possible jerry can). They're vertical viewed from the back, but leaning back a bit so that the wheel carrier arm will want to swing out 90deg. (I don't want struts to keep the arm out, and the bearings preclude a cam)

Fixing the 1" diameter x30mm long stub from the bike forks onto the 50mm tube of the arm was a bit fiddly. It worked out easier to weld the small tube into a bit of 30mm square tube, then weld that into the arm. Didn't get any pics of that though.
This is the other problem I ran into upon realising the bottom edge of the tailgate is curved. The arm can't swing all the way in. I put a 6deg angle on that top bar of the arm, so the wheel, once attached, will sit square to the car, even if the arm is a bit cock-eyed.

Rattle pin to secure the arm. Still need to weld a little tab onto the arm for it.

It works! Swings nicely, and (just)stays out where it should.


Still need to whack a plate with a couple of bolts onto the arm so I can actually attach the wheel, then a bit more work on the lower part of the bar with a spot for the number plate (when i f****n get them, but that's another story) and maybe recovery points, then fill in the gaps with some sheet. Might also try to incorporate some lights, as the pivots partially obscure the reversing lights and reflectors. I'll make another arm with a jerry can holder one day soon too
Dane.