1st gen lib: AN interior light that'll burn your face off
Posted: Tue Jul 26, 2016 10:00 am
So here's a little thing I thought I'd quickly put up.
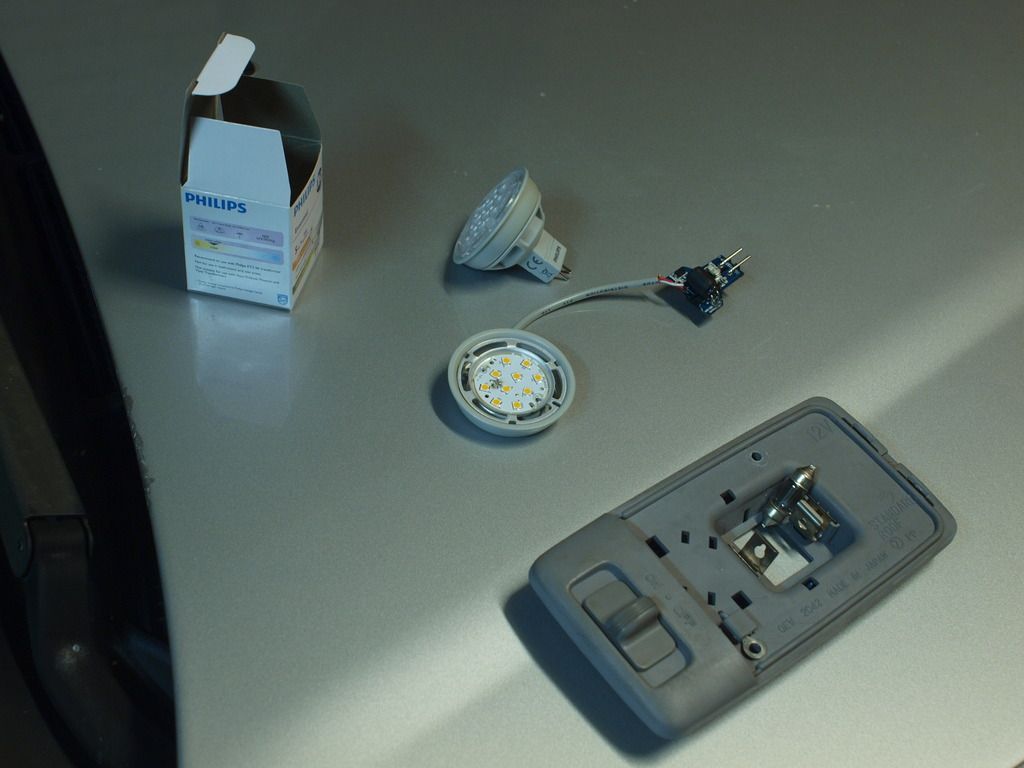
I got a hold of a whole bunch of Philips 12V 5W LED downlights for $2 a piece and have been thinking of how to use them. Never really been happy with the light output of the interior light in my liberty, so I thought I'd investigate shoehorning one in. Turns out it fits rather well. And it'll burn your face off.
First you've got to pull down your downlight. Pop off that plastic lens revealing the white LED board. Then you take a couple of screws out and remove it while melting the solder on the pins that run from the driver board below. Next you break and chip away the lower plastic body (the cream colour part) with pliers to reveal the driver board, which is covered in this black silicone silastic stuff. It's not too hard to remove the gunk, and it comes off clean. Solder some wires in place of the power supply pins, paying attention to polarity, and you get to this point here.
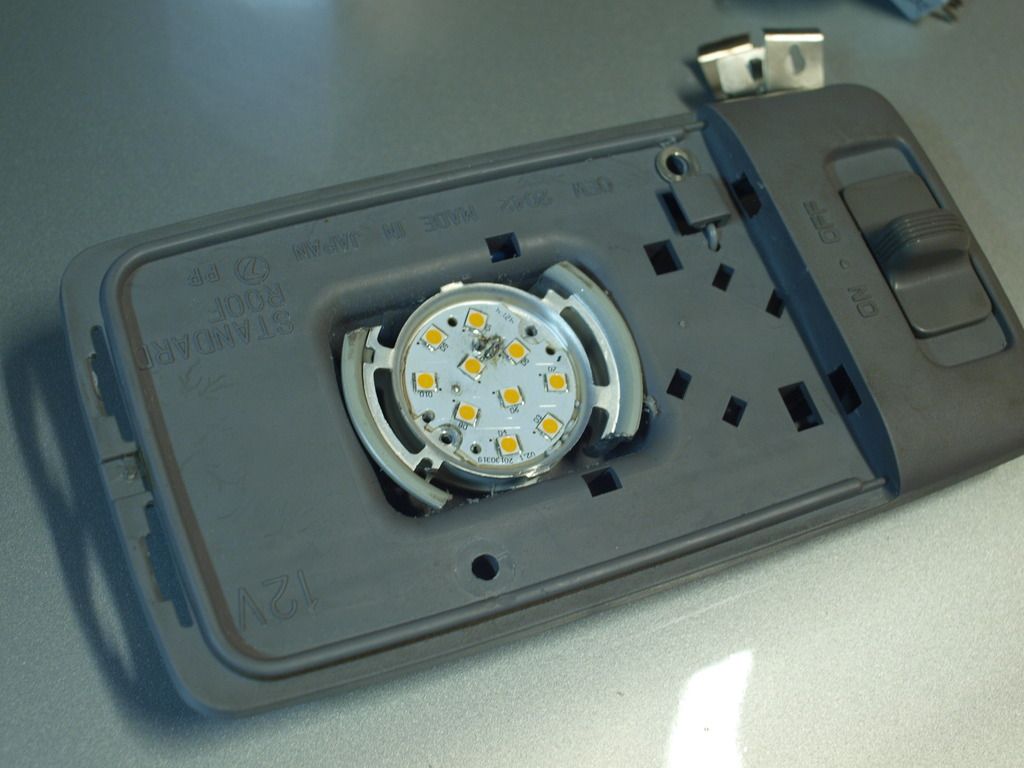
After modifying the heatsink a bit and removing the old bulb contacts from the light fitting, it all fits in pretty snug.
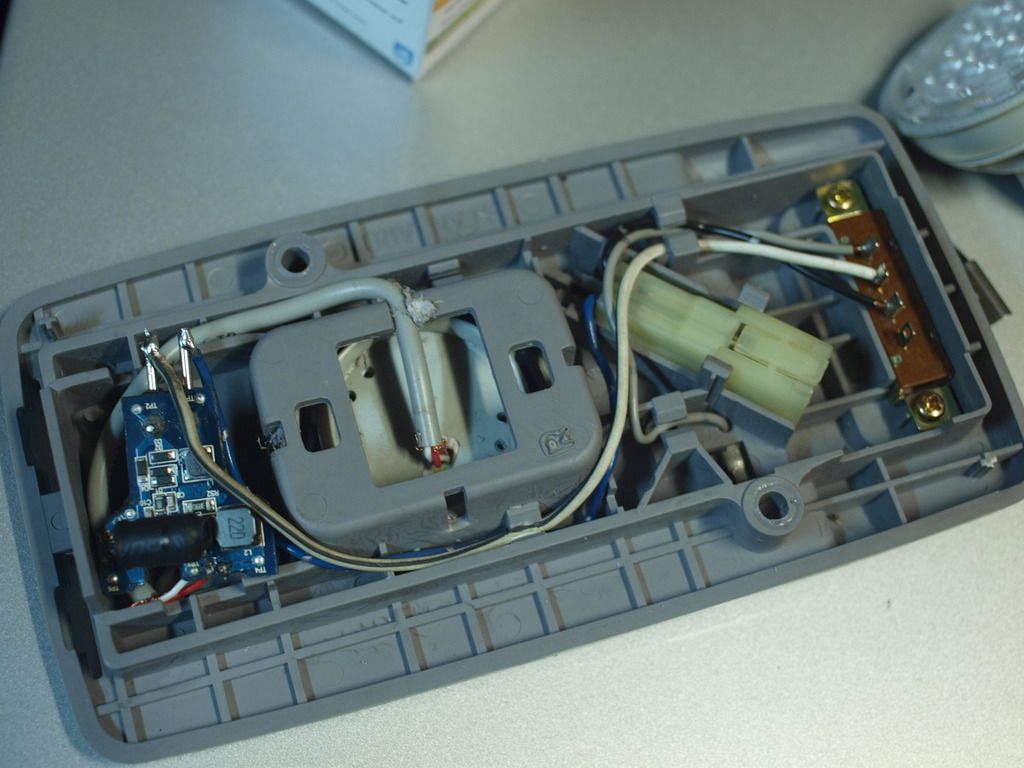
On the other side, there's this sweet little pocket for the driver board. Its as if its made for it. Solder some wires, easy.
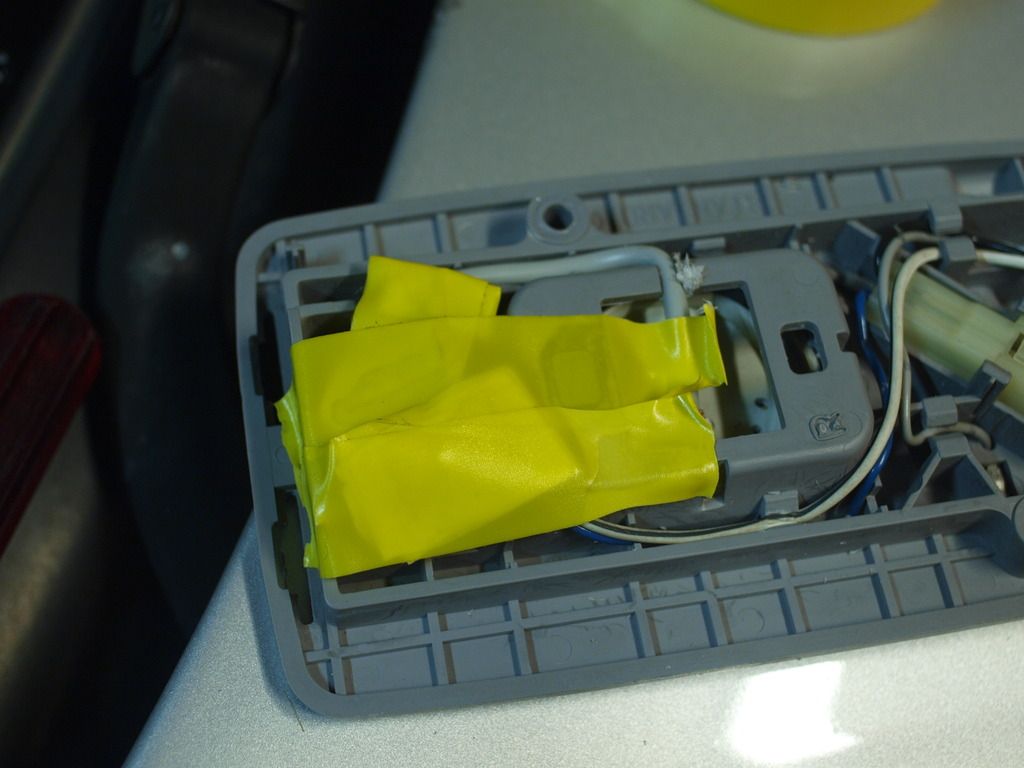
Cover it up with electrical tape, because it bolts up into the metal roof.
Now the interior light is a bit too bright, but that's better than being too dim.
Tell you what though, those 12V LED lights are awesome. Talk about cheap and efficient camp lighting.
I got a hold of a whole bunch of Philips 12V 5W LED downlights for $2 a piece and have been thinking of how to use them. Never really been happy with the light output of the interior light in my liberty, so I thought I'd investigate shoehorning one in. Turns out it fits rather well. And it'll burn your face off.
First you've got to pull down your downlight. Pop off that plastic lens revealing the white LED board. Then you take a couple of screws out and remove it while melting the solder on the pins that run from the driver board below. Next you break and chip away the lower plastic body (the cream colour part) with pliers to reveal the driver board, which is covered in this black silicone silastic stuff. It's not too hard to remove the gunk, and it comes off clean. Solder some wires in place of the power supply pins, paying attention to polarity, and you get to this point here.
After modifying the heatsink a bit and removing the old bulb contacts from the light fitting, it all fits in pretty snug.
On the other side, there's this sweet little pocket for the driver board. Its as if its made for it. Solder some wires, easy.
Cover it up with electrical tape, because it bolts up into the metal roof.
Now the interior light is a bit too bright, but that's better than being too dim.
Tell you what though, those 12V LED lights are awesome. Talk about cheap and efficient camp lighting.
