Page 1 of 3
MY & L Series Turn Indicator Fix ...
Posted: Tue Aug 14, 2012 7:36 pm
by Bantum
Have your blinkers stop working for you ? Fed up with trying to get them to go ? Other than going to your local wrecker & trying to find a suitable replacement that is not in worse condition than yours ...

... what options do you have ?
Well I have a solution for you, the following thread is a process of turning those wrascally indicators back ...

P.S. - As the title suggests, the fix should also apply to MY / Brumby or 'L' series II indicators ...
Note : Usual disclaimer applies should you choose to implement the following ...
Add : Ok, well this is a composite of all information from this thread :
MY & L Series Turn Fix ...
Enjoy, Bantum ...
Step 1 ...
Posted: Tue Aug 14, 2012 7:44 pm
by Bantum
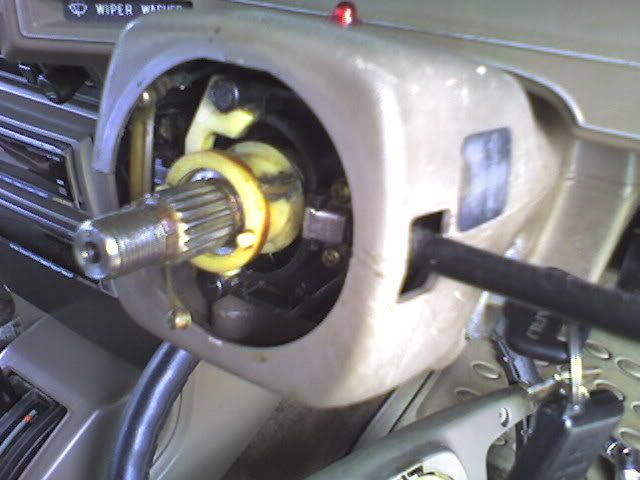
Firstly take the usual steps to remove said offender ... ( I'll be using the Brumby as an example - I'm sure it's similar for other peroid models )
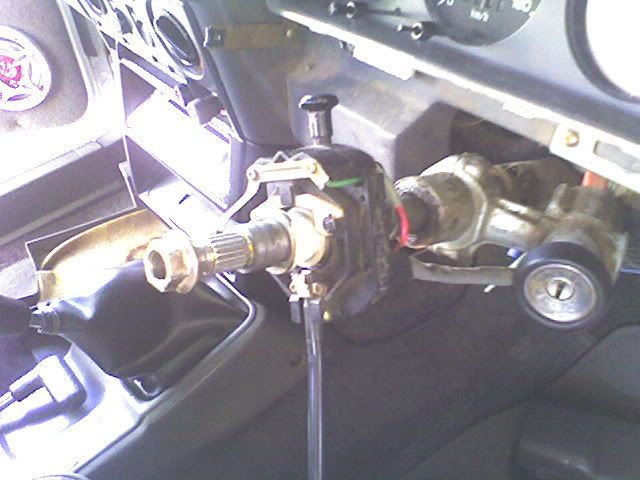
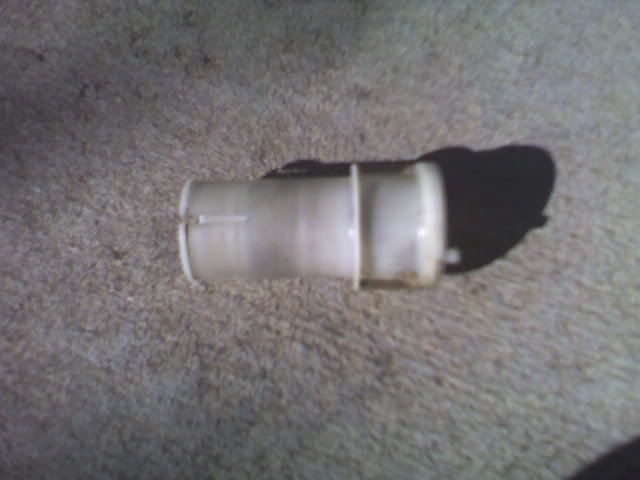
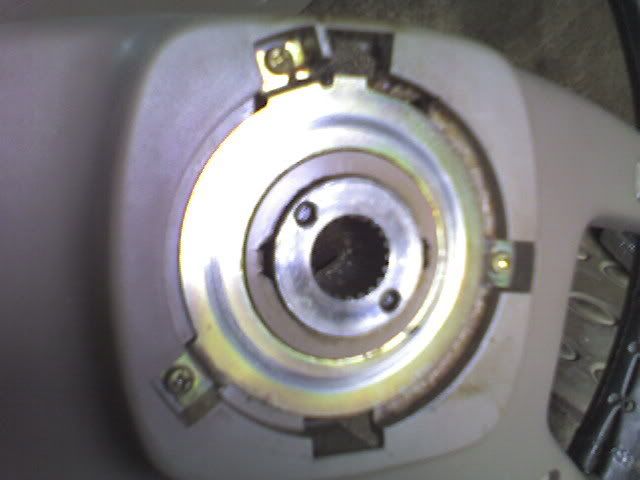
This is the offender ... ( you may be able to see that a 'groove' has formed from where the return hits )
Note: Appologies for image quality, as I did this with a mobile phone some time ago ...
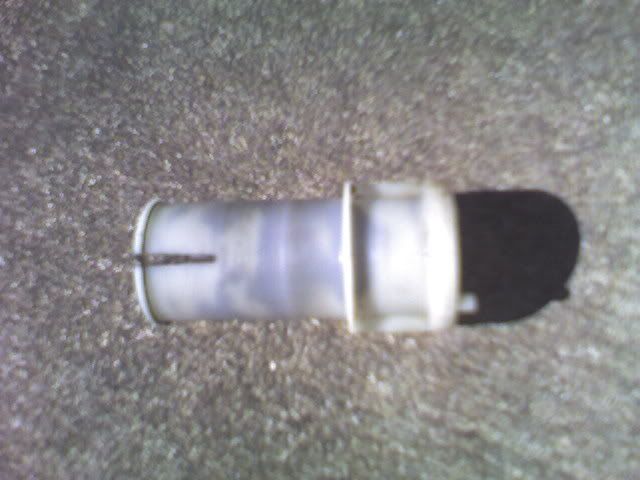
Update :

A bit more clearer shot showing the damage - thanks to
auster ...
Cheers, Bantum ...
Step 2 ...
Posted: Wed Aug 15, 2012 3:47 pm
by Bantum
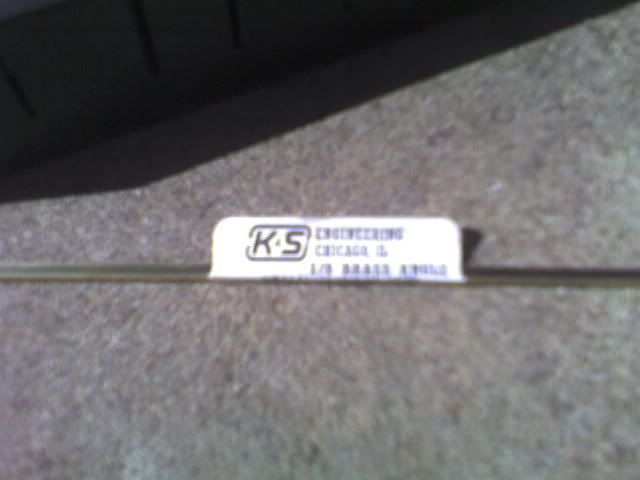
No doubt some of you will have tried various methods - This one involves getting hold of some brass 3mm angle stock ( I got mine from a local hobby shop ) ...
Remember - the primary reason for doing it this way is to provide for a longer wear time than plastic alone can give ...
And doing the following ...
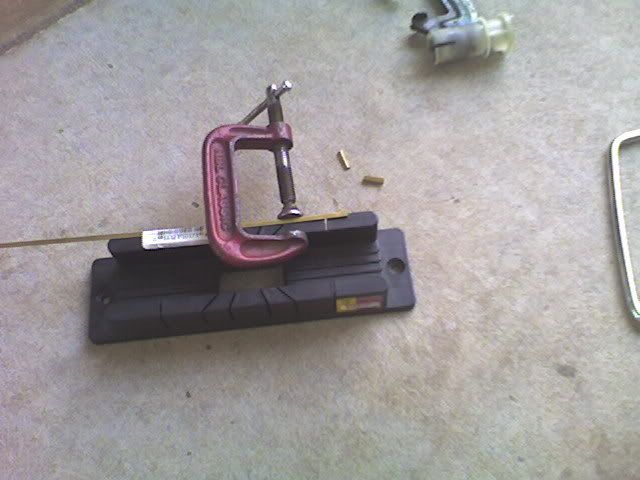
Cut enough to fit snugly between the 'guides' ...
Then
Gently shape it to fit the profile on the return ...
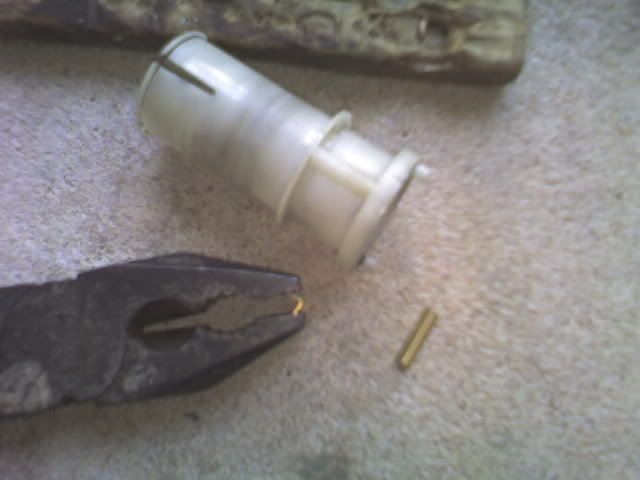 Note:
Note: the angle on return is about 80 degrees so you to need to squeeze the brass to match.
You might also want to give it a file to smooth the rough edges ...
Step 3 ...
Posted: Wed Aug 15, 2012 4:23 pm
by Bantum
Now comes the tricky bit ...
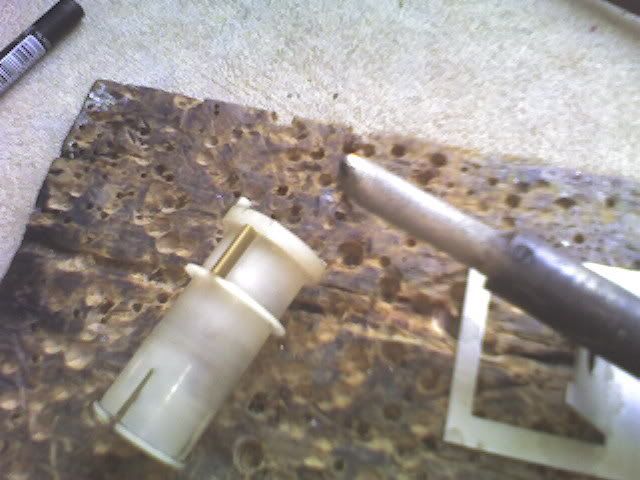
You need to get your trusty soldering iron ( bigger the better ) + basically get the iron up to the right temperature ( not too hot or every thing goes to shit ), locate your angle in the correct position, press down with flat side of the iron tip and let rip. ( If you not confident with the iron, get a bit of scrap plastic to practice on ) - Also helps if you have a third hand ...
 Add Tip: If you don't have a Soldering Iron, you can put the metal bits in a conventional oven & heat them up that way ...
Note:
Add Tip: If you don't have a Soldering Iron, you can put the metal bits in a conventional oven & heat them up that way ...
Note: the aim here is to get the top of new angle to sit exactly where the old one was so that the return engages correctly & does not foul.
It should end up looking something like this ...
 Note:
Note: For those game enough, I've shaped any molten plastic that ooz's out in the process with a wet finger to help retain the brass in place. Be prepared for this as the plastic takes a few seconds to re harden.
P.S. - There may also be a bit smoke & swearing if you stuff it up ( hence the practice bit ) ...
Add : ( courtesy of
auster )

An alternate that may be useful for those challenged by a soldering iron ...
 Tip :
Tip : just make sure its clean & free from grease before gluing ...
Step 4 ...
Posted: Wed Aug 15, 2012 4:37 pm
by Bantum
Ok - now if your happy with it, put it all back together ...
Add : Don't forget the spring ... !
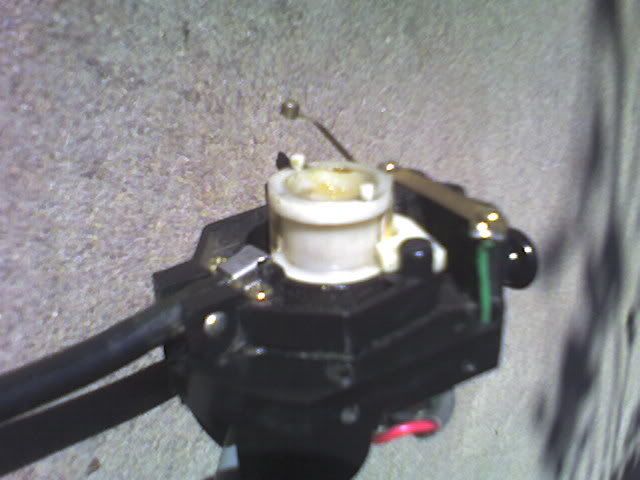 Note:
Note: Just make sure the little raised sections on the end ( spigots ) engages the holes on back of steering wheel / shaft.
P.S. -While your at it, give the controls it a bit of TLC with a bit of lube + clean up the contacts.
Posted: Wed Aug 15, 2012 5:18 pm
by RSR 555
Very cool. What about where the brass strip strikes against? Would you do that bit too?
Posted: Wed Aug 15, 2012 9:02 pm
by El_Freddo
TOONGA wrote:I'm interested as my brumby indicators only self cancel when I turn left
I think this is the same for Sunnie the Brumby!
I'll have to check it out. Do you snap off the original one that's still good or just push this piece of brass over the top of it?
Cheers
Bennie
Return Strike ...
Posted: Thu Aug 16, 2012 2:09 pm
by Bantum
RSR 555 wrote:Very cool. What about where the brass strip strikes against? Would you do that bit too?
Only if it is required ... ( it seem's to be made of sterner stuff ) Other wise if it has worn down, I would do what you suggested + pad it out with a bit of plastic.
Caution ...
Posted: Thu Aug 16, 2012 2:18 pm
by Bantum
El_Freddo wrote: Do you snap off the original one that's still good or just push this piece of brass over the top of it?
Cheers
Bennie
All good to leave in place, as it will melt when you press the brass angle into it with the iron. Just go easy with the iron & don't leave it on for too long, or you'll end up with big mess & have to find another spigot thingy ...
")
Posted: Thu Aug 16, 2012 2:31 pm
by Bantum
For reference the same deal applies in a MY Wagon;
 Note:
Note: I did this one in about 1998 so has lasted a fair while ...
Posted: Thu Aug 16, 2012 4:50 pm
by AshR
hurm might have to check out my brumby too when I take the wheel off it again
Posted: Thu Aug 16, 2012 5:04 pm
by Silverbullet
Nice one! mine don't cancel at all and I just thought the car didn't have them in the first place
Now I know why...
Posted: Sat Aug 18, 2012 1:25 pm
by Bantum
A few other tips for you:
- Make sure all the screws holding the shroud / cover in place are secure, so it doesn't move when you actualy use the indicator.
- Don't force it - if it won't go, it's becasue the striker is clashing - Just turn the wheel a bit more for it to engage.
- If you are still having problems with it, take a look at the alignment / movement of striker + check to make sure it's all free moving also - ie: nothing sticks. ( Don't forget the spring too )
Ebay ...
Posted: Sat Nov 24, 2012 3:22 pm
by Bantum
The other solution is to get a replacement one ...
Add :
 subaru-brumby-parts
 This
Thiscame up on ebay the other day ...
Note : I can't quite make out if this one has the essential spigot bit thingy though ...  Another
 example ...
 Note : this one is from a later model - I think ...
Posted: Tue Jun 25, 2013 9:43 pm
by Stretchomatic
I know this is a thread dig... but I always thought my brumby just didn't have a return... Hmm here's something to look into!
Cheers, Stretch.
Wikied ...
Posted: Fri Aug 09, 2013 9:30 am
by Bantum
I should put this up on the wiki page + get some better shots of it ...
Anybody have some ?
Cheers, Bantum ...
Posted: Mon Mar 10, 2014 4:10 pm
by auster
Bantum,
I have just applied a variation to your fix to my 1987 Brumby. The turn indicators stopped self cancelling. On dismantling it was, as you suggested, that a groove had been worn in peaks of the plastic cylinder which catch the pawl to cancel the lamp.
I bought a 300mm length of 3mm brass angle for $18!!!. The only difference was that I glued it to the cylinder. It was not clear to me why melting the plastic would provide adhesion. I used Selley's plastic glue which is supposed to stick any plastic including PE, PVE and PVC to metal.
We will have to see how long it lasts.
Auster
Posted: Mon Mar 10, 2014 4:27 pm
by Bantum
Hi Auster,
Great that you have found this helpful - the main reason for using heat is to "glue" the angle to plastic & to make sure the top of ridge is aligned in the original position, mainly because if it sticks out too much it will flip the return unintentionally as you turn the wheel & not center correctly ...
I've done it that way for both of my cars & hasn't come loose yet ....
A bit steep on the cost there - where did you get it from ? ... You should post some pics of your mod as well ...
Cheers, Bantum ...
Posted: Wed Mar 12, 2014 10:05 pm
by El_Freddo
I got some brass flat bar from a hobby store, I think it was about $3 - the angle stuff was milled and super expensive like what Auster purchased. The flat bar bent fine to what I wanted. It worked well - I'll have to work out if Redback needs the same treatment before RWC
Cheers
Bennie
Posted: Thu Mar 13, 2014 5:19 pm
by auster
This post is to be read as part of Bantum's post and mine on doctoring the turn indicators. Mine are still going OK. When I glued the angle onto the cylinder it was about 1mm proud. But it does not foul the system and so far works well. I have enclosed a picture which clearly shows the groove worn in the cylinderhttp://
www.ausubaru.com.au/images/attach/jpg.gif. Bantum's pic was a bit out of focus.
This is the glue I usedhttp://
www.ausubaru.com.au/attachment.php?atta ... 1394695103