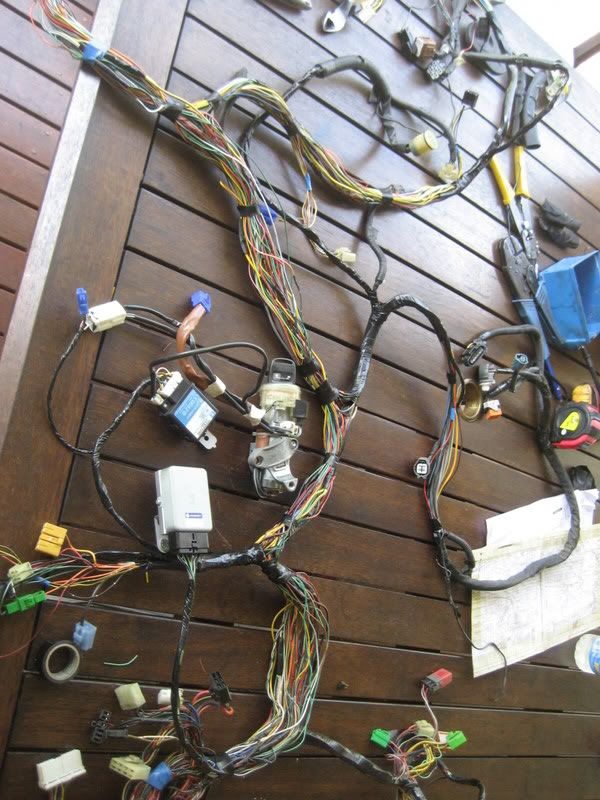
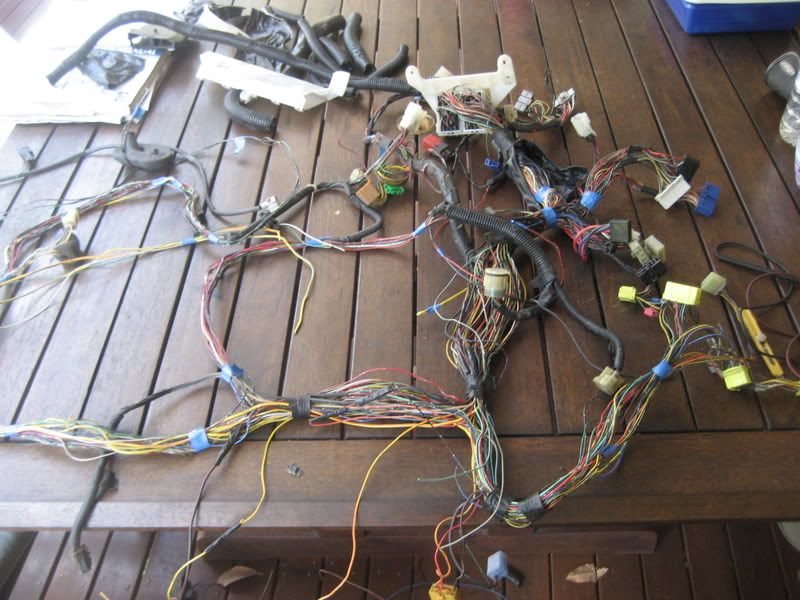
The first step is to cut away the insulation from the harnesses and strip out the unwanted wiring.
On the vehicle harness the unwanted wiring is the original engine management wiring.
On the donor engine harness the body wiring is unwanted, you only want the engine management wiring to remain.
I'll start with the vehicle harness.
First you need to ID which plugs are engine related, there are 3 groups of engine plugs in the engine bay in this particular harness. Start at one group and start stripping the wiring back from there. When you encounter a body harness plug(that needs to stay) you then pull it away from the engine wiring. At this stage I would cut the group of engine plugs off the loom as removal of the plug is the best way to ID unwanted wiring.
As you travel along the harness cutting away insulation and removing the engine wiring you also tape up the remaining body harness wires to keep them tidy and seperated from the wiring to be discarded.
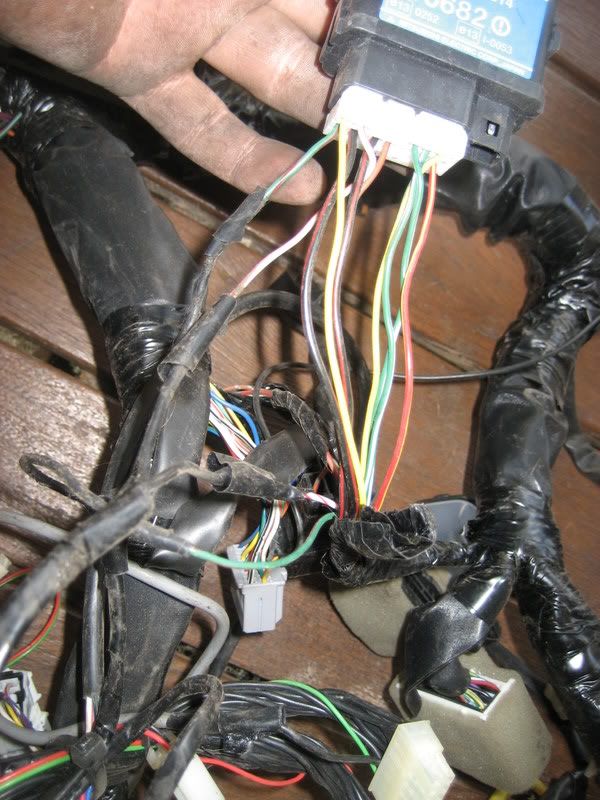
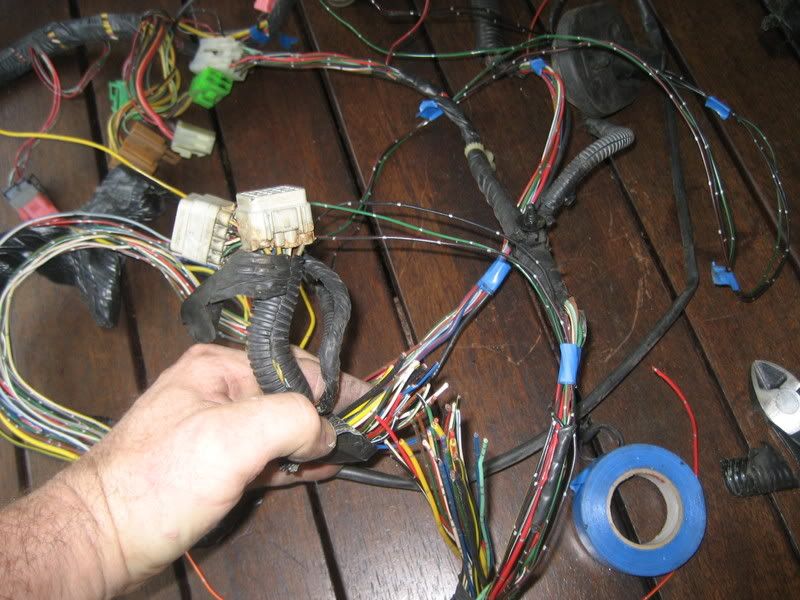
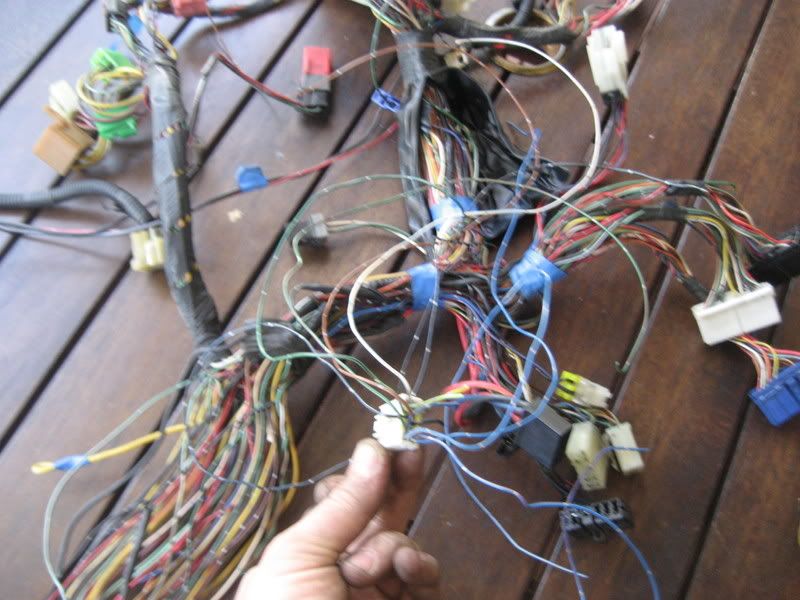
Eventually, after a lot of removal of wiring and insulation you will be approaching the ECU connectors. At this point you can cut the discarded wiring off at the plug, this removes material and avoids confusion later.
DO NOT CUT OFF THE ECU PLUGS. They are your point of reference for any ECU - Body harness wiring. This shot shows the portion of wiring that goes to the engine itself and that is now removed for good.

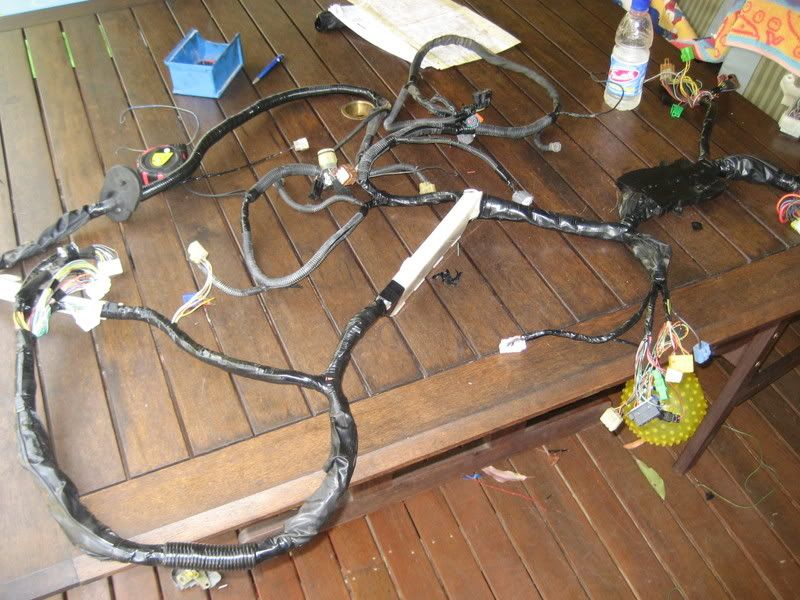
After you do this to all 3 groups of plugs you will end up with a harness that is a shadow of it's former self. It should be taped incrementally to maintain it's original layout and I also use markers to show where the firewall grommetts, anchor points and other points of interest are along the harness.
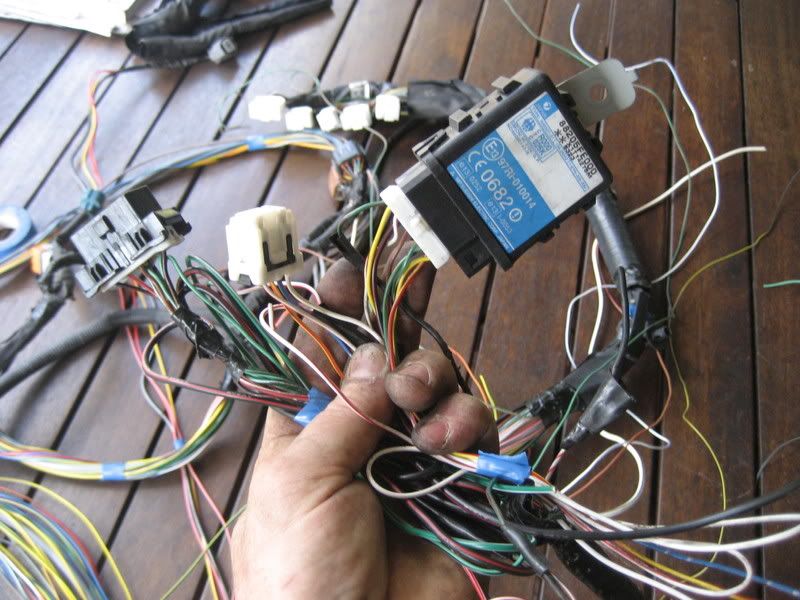
Here's how it looks at this stage. The ecu plugs are still present but now only house wires that are body harness related.
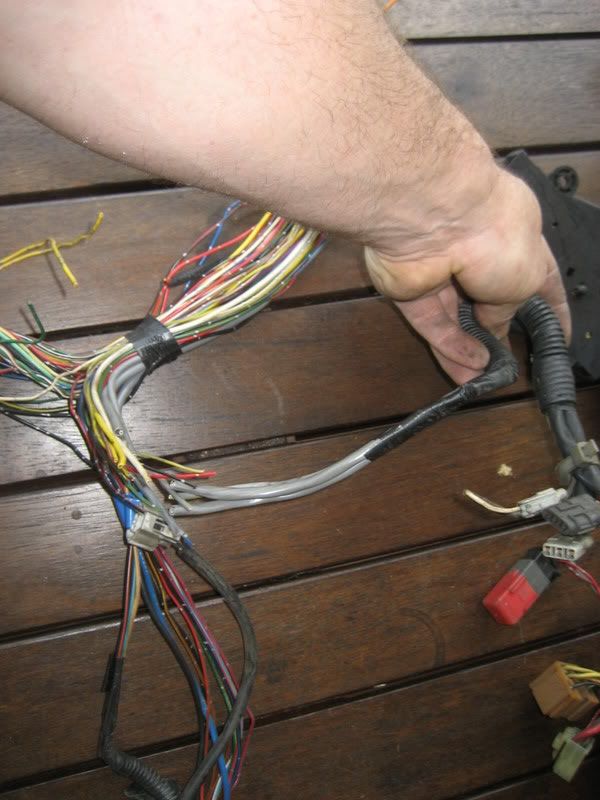
In many cases there is also other wiring that needs to be discarded, commonly air suspension, auto trans and in this case speed sensitive steering. To do this requires tracing of the wires back to there closest connector and removing it there. Tracing the wire back physically is important because they will often tee off to another part of the loom. If this is the case then the wire needs to stay and only be removed at the module plug.
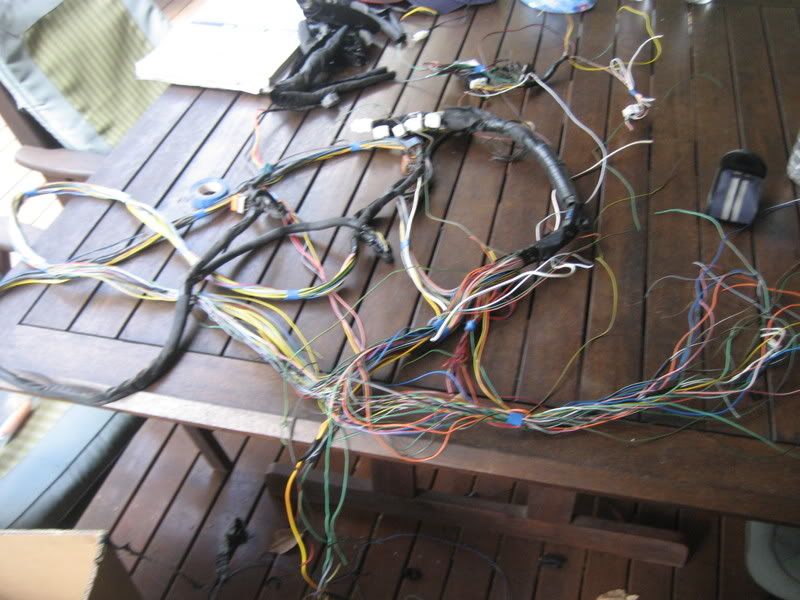
Now that the body harness is stripped out and ready to accept it's new engine wiring you can throw it aside and start on stripping the new engine wiring from the other harness. Here's how they start.

The method here is similiar but the engine wiring is the prize rather than the body wiring.
Start at the engine plugs and start cutting away insulation, this time cutting off the body connectors. As you strip the dead wires leaving the engine management wiring you need to tape up the engine wiring to keep it grouped and avoid tangles.
Eventually you will end up with the ecu plugs and all the engine plugs grouped together. These will be held to the tangled mess of the leftover body harness by about 30 wires(in this case, varies according to complexity of ecu). These wires are the links between the body and ecu and are what needs to be joined once the two harnesses are overlayed. Chop them off and group them together.